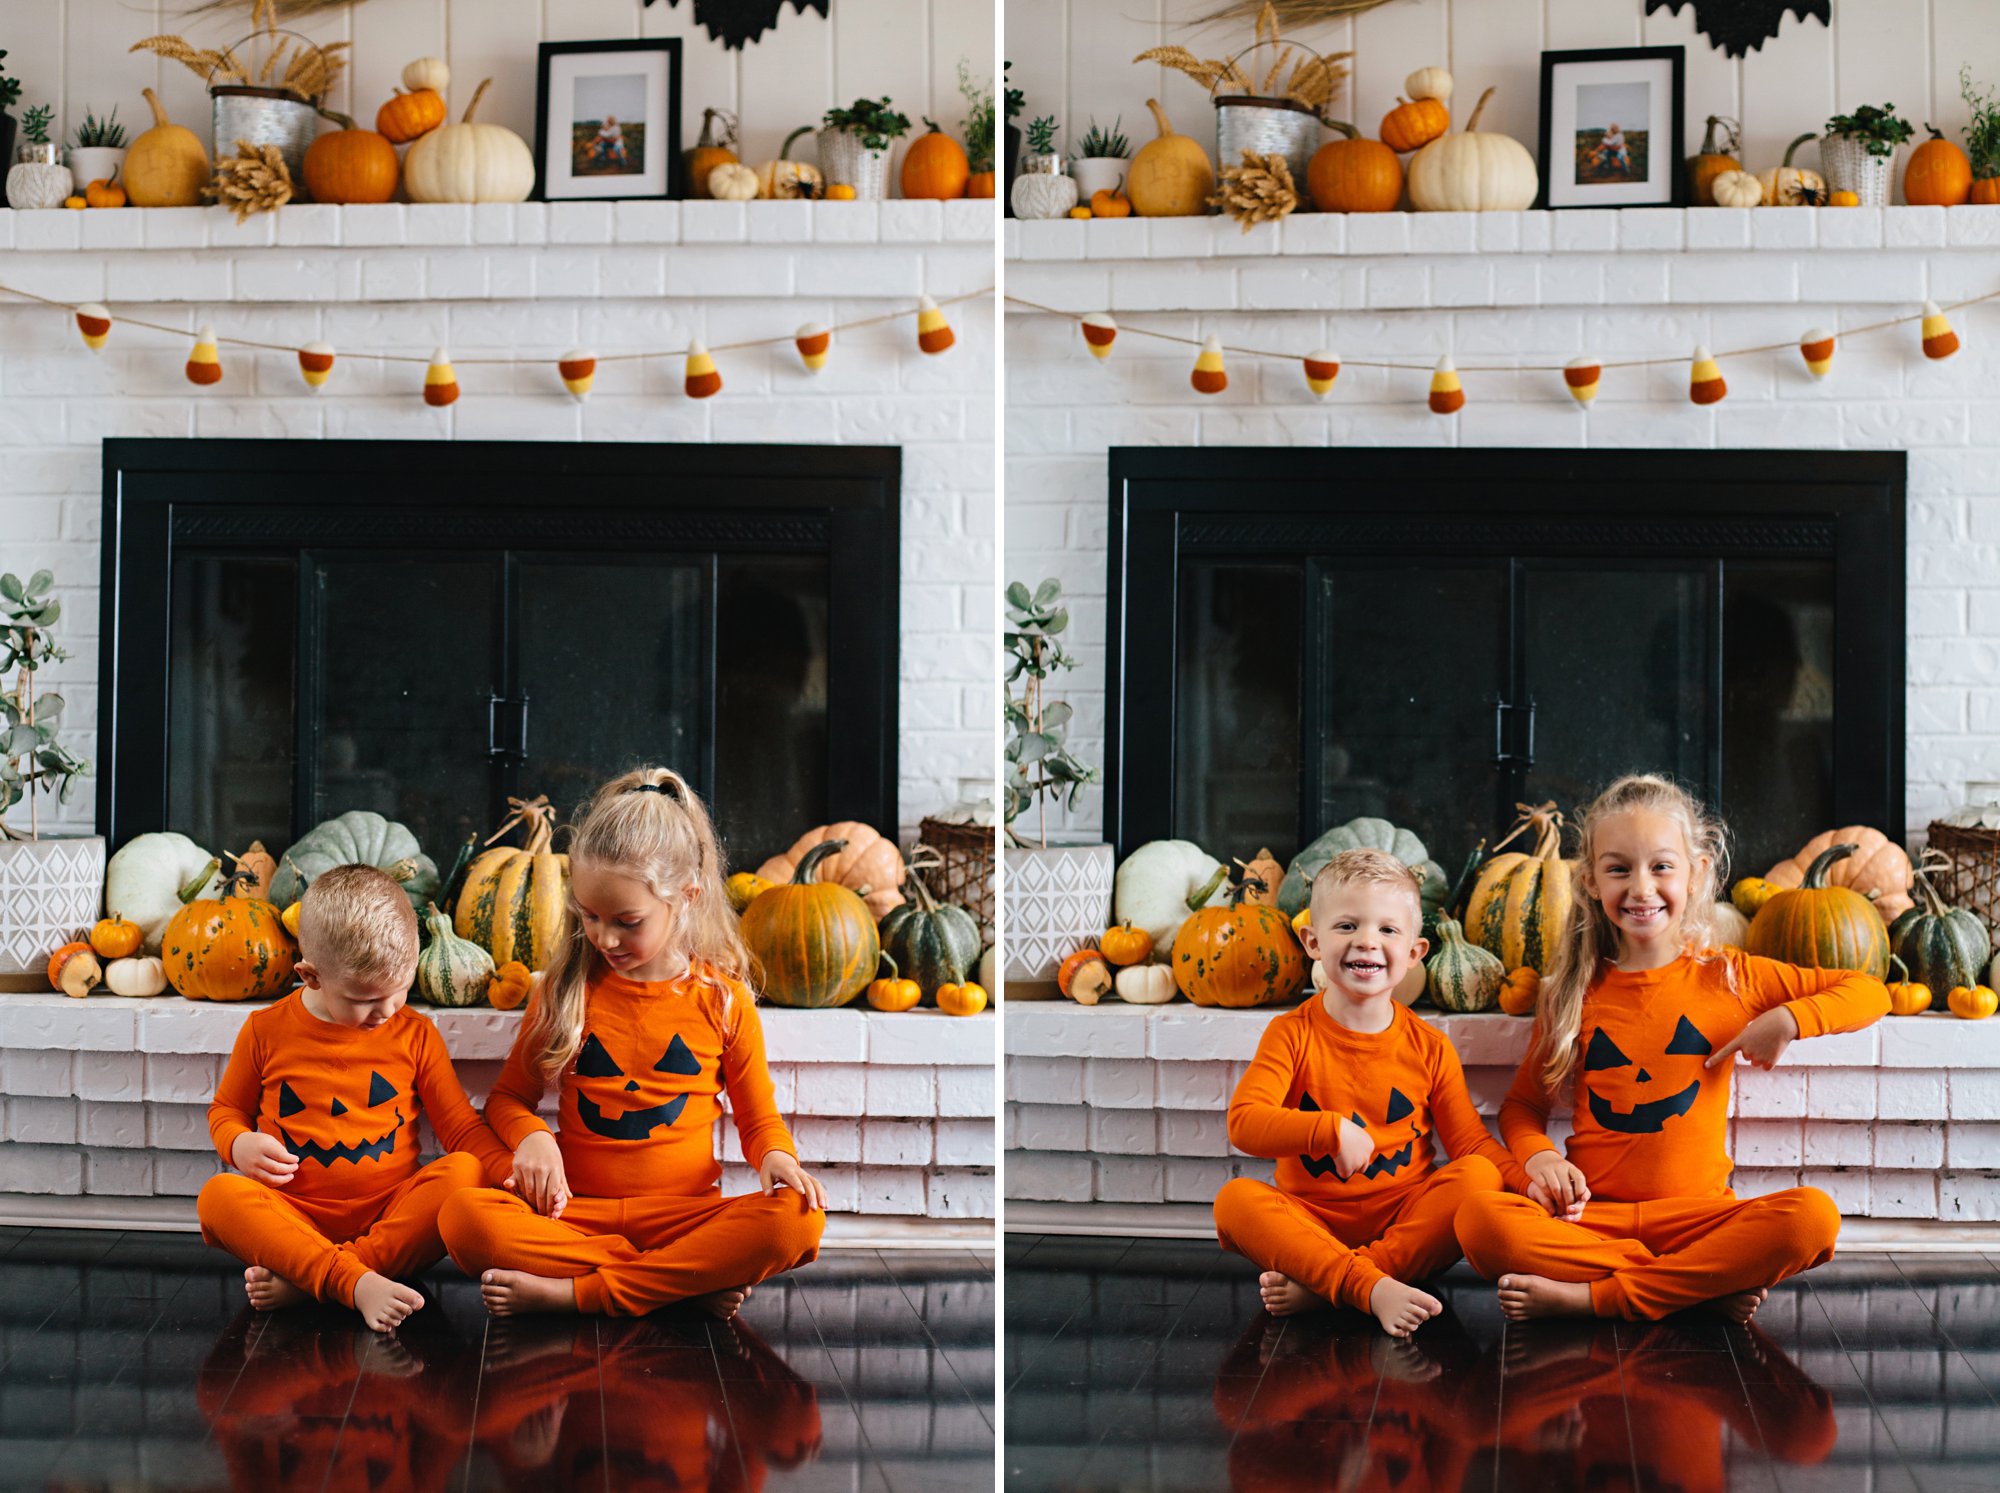
The idea for these DIY Jack-O-Lantern jammies using our kiddos’ artwork came to me on November 1st last year, so I have been waiting oh-so patiently for an entire year to make them a reality.
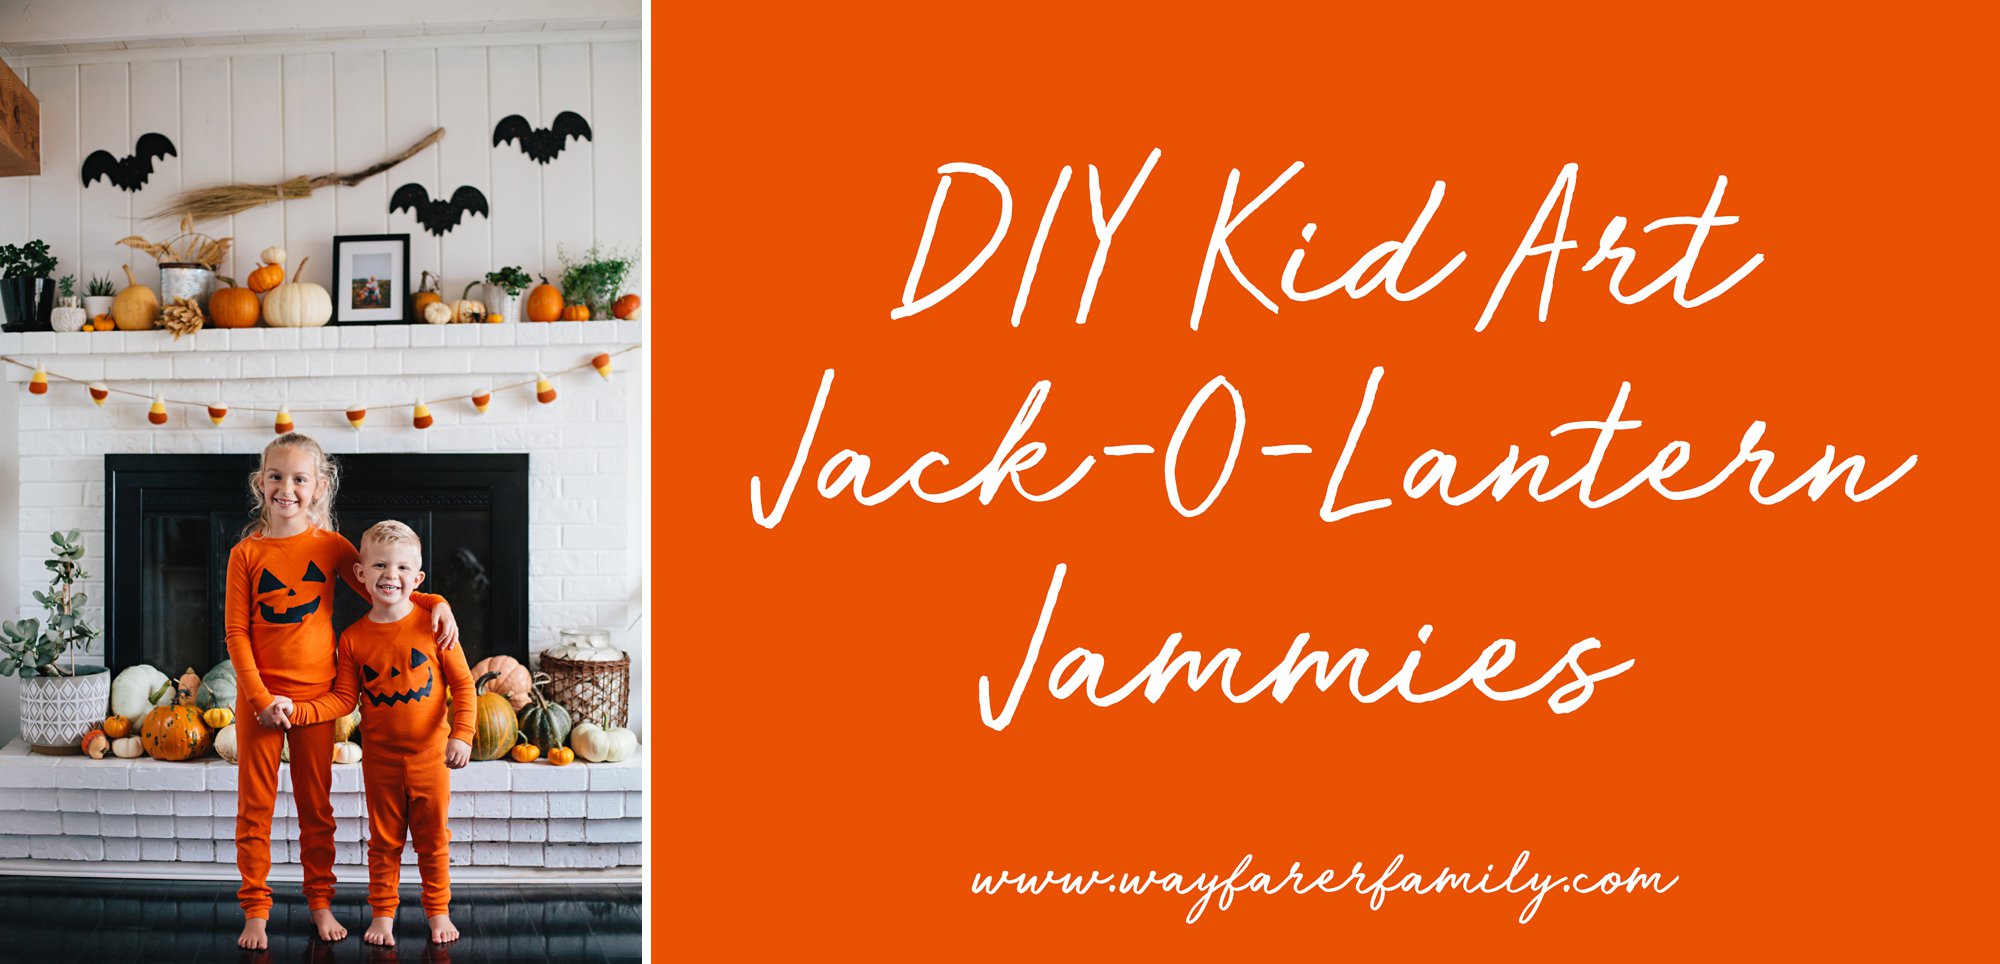
I must say, the finished jammies (and the time I spent working with the kids to create them) were absolutely worth the wait!
Supplies:
- Orange pajamas (we used Primary and cannot recommend them enough! They are super soft and so easy to work with)
- Silhouette or comparable cutting machine
- Black heat transfer vinyl
- Orange construction paper
- Black construction paper
- Pencil
- Black marker
- Glue stick
- Iron
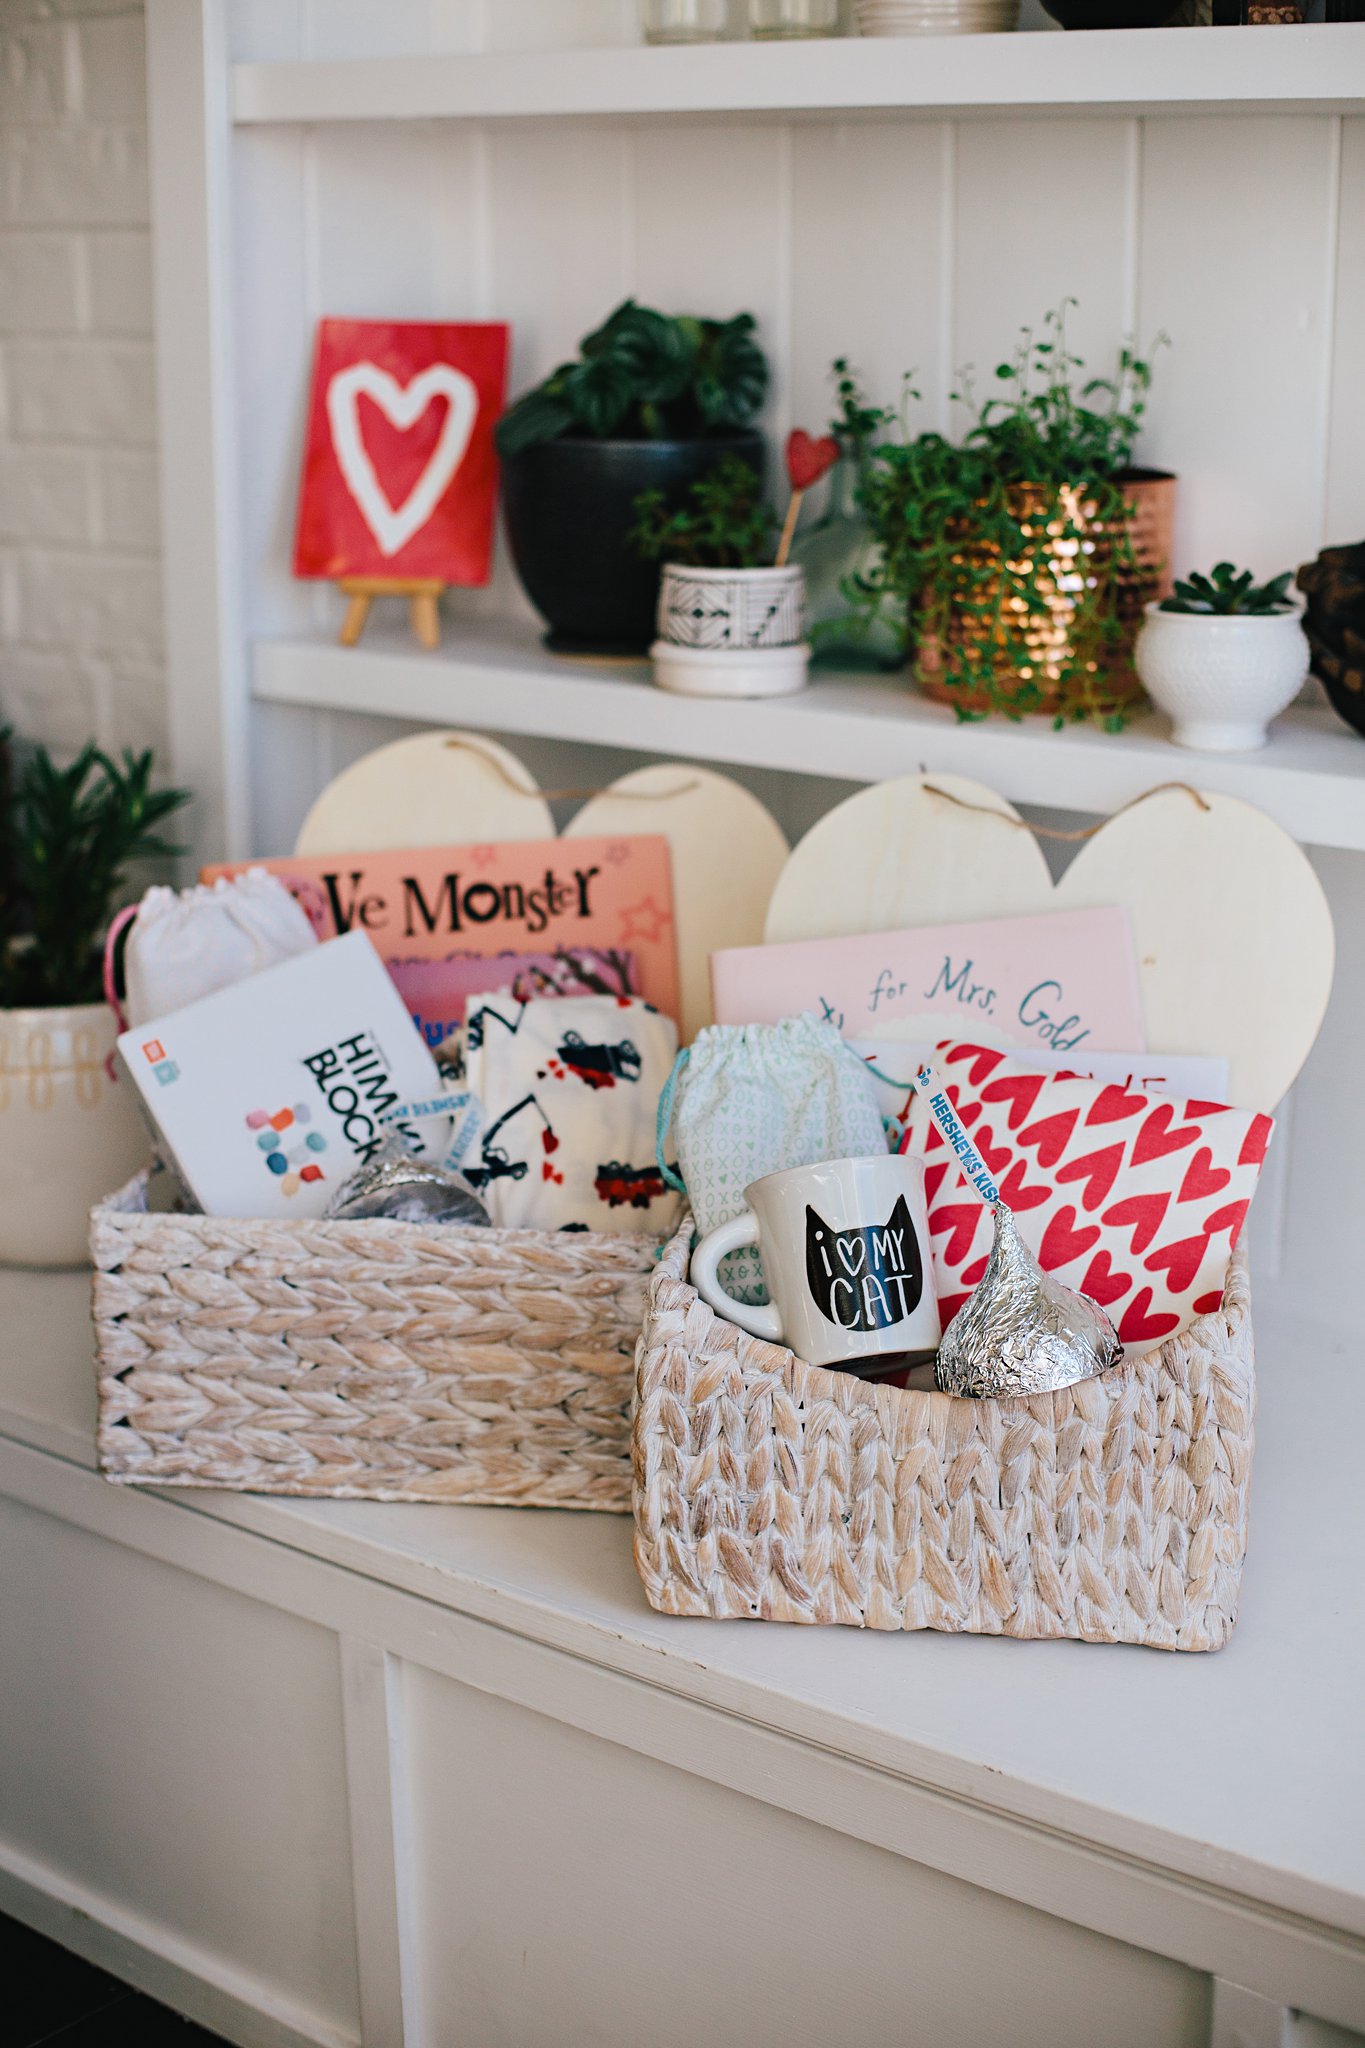
I knew I wanted to include these Jack-O-Lantern jammies in the kids’ Hooray for Fall baskets, so I had to be a little sneaky in my approach for creating the face designs. Crafty things are happening all the time in our house, so I simply told them we were celebrating the arrival of fall by creating Jack-O-Lanterns!
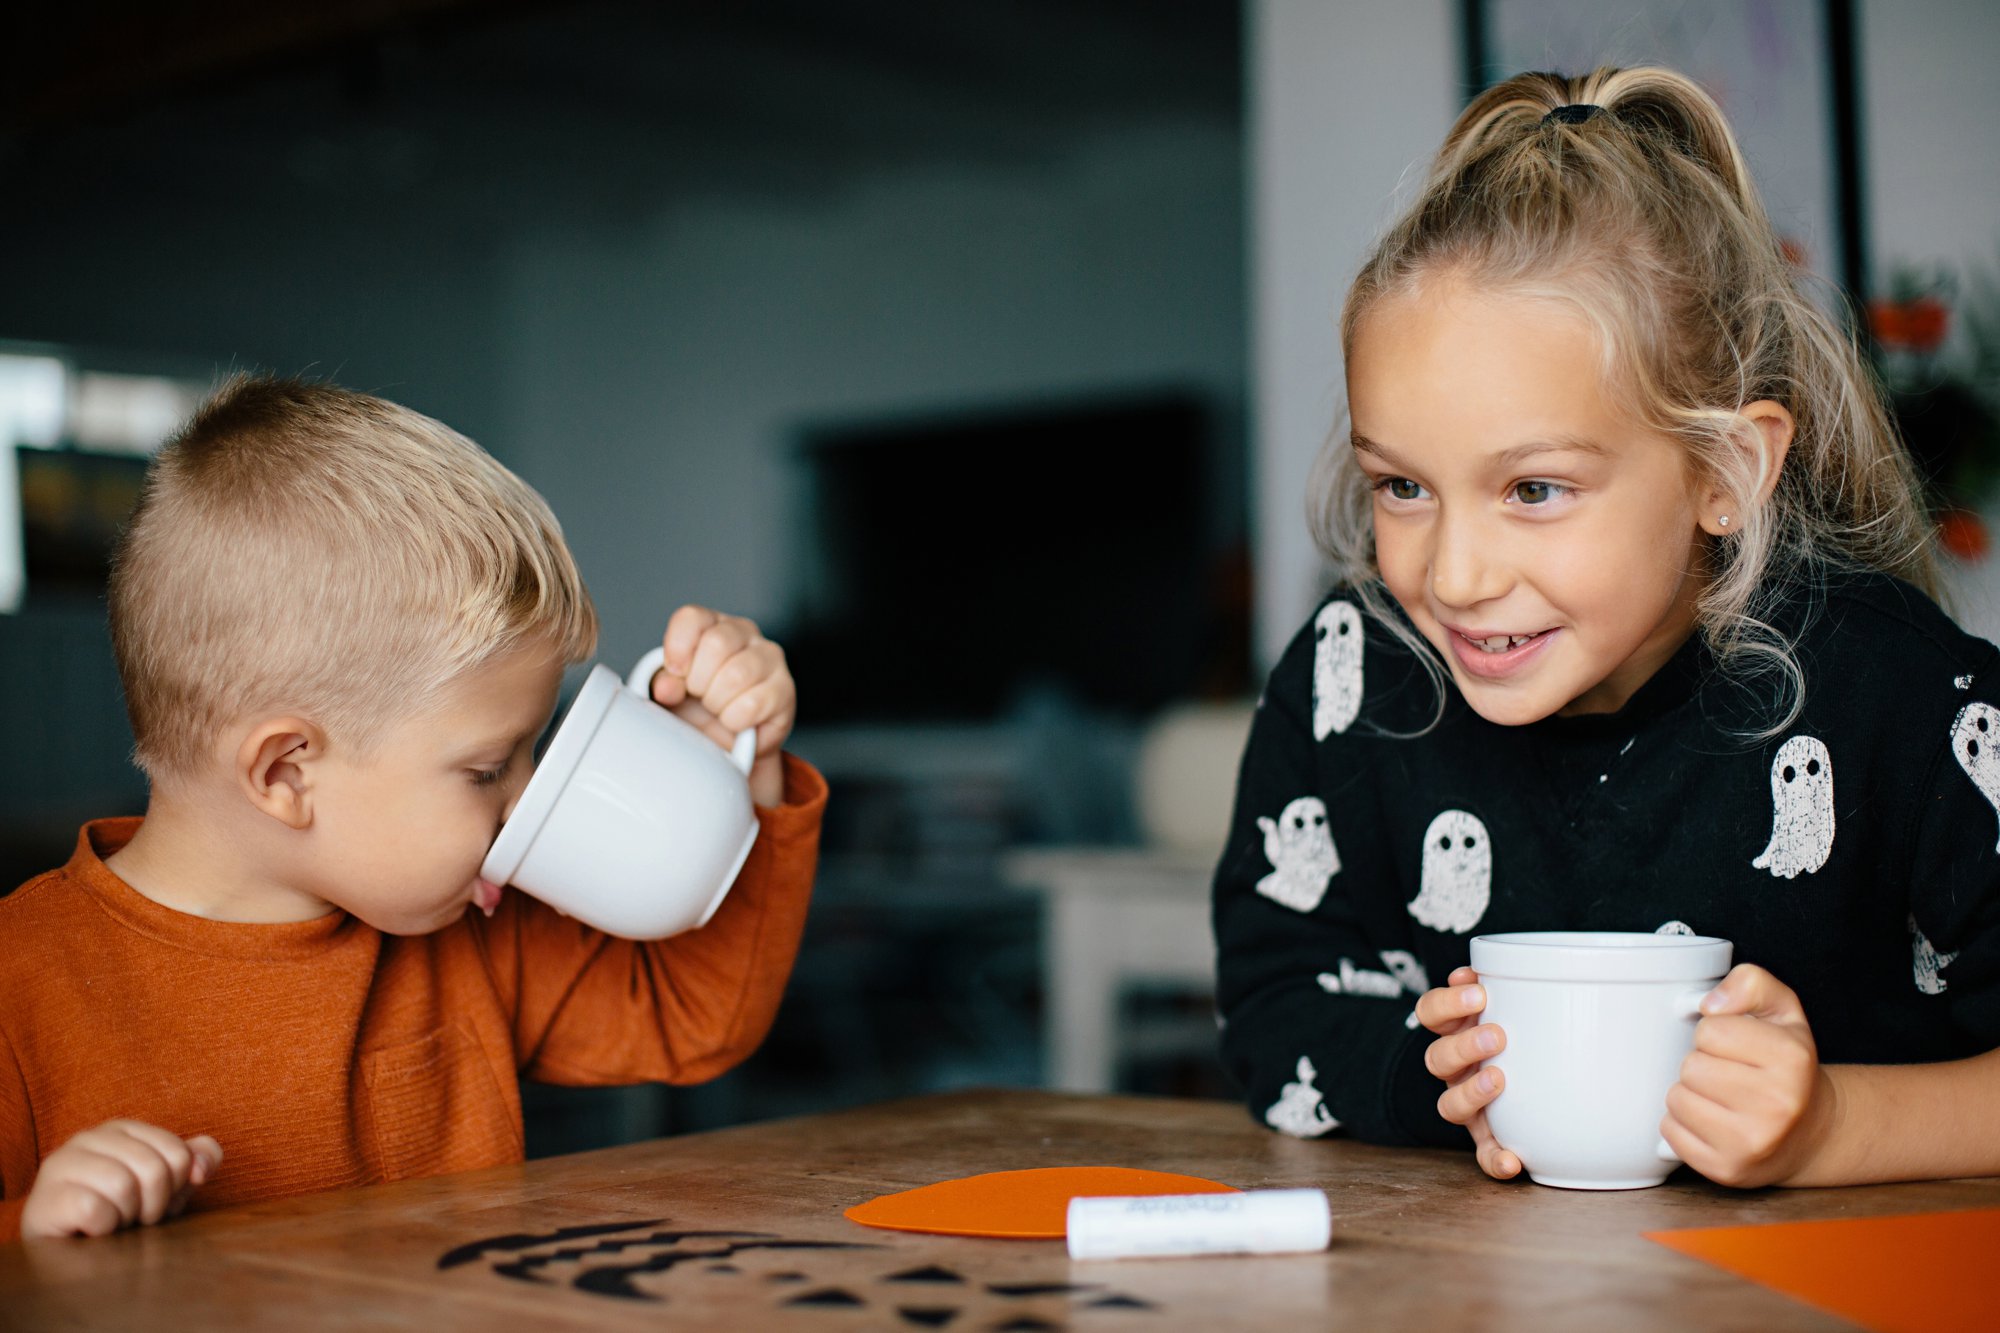
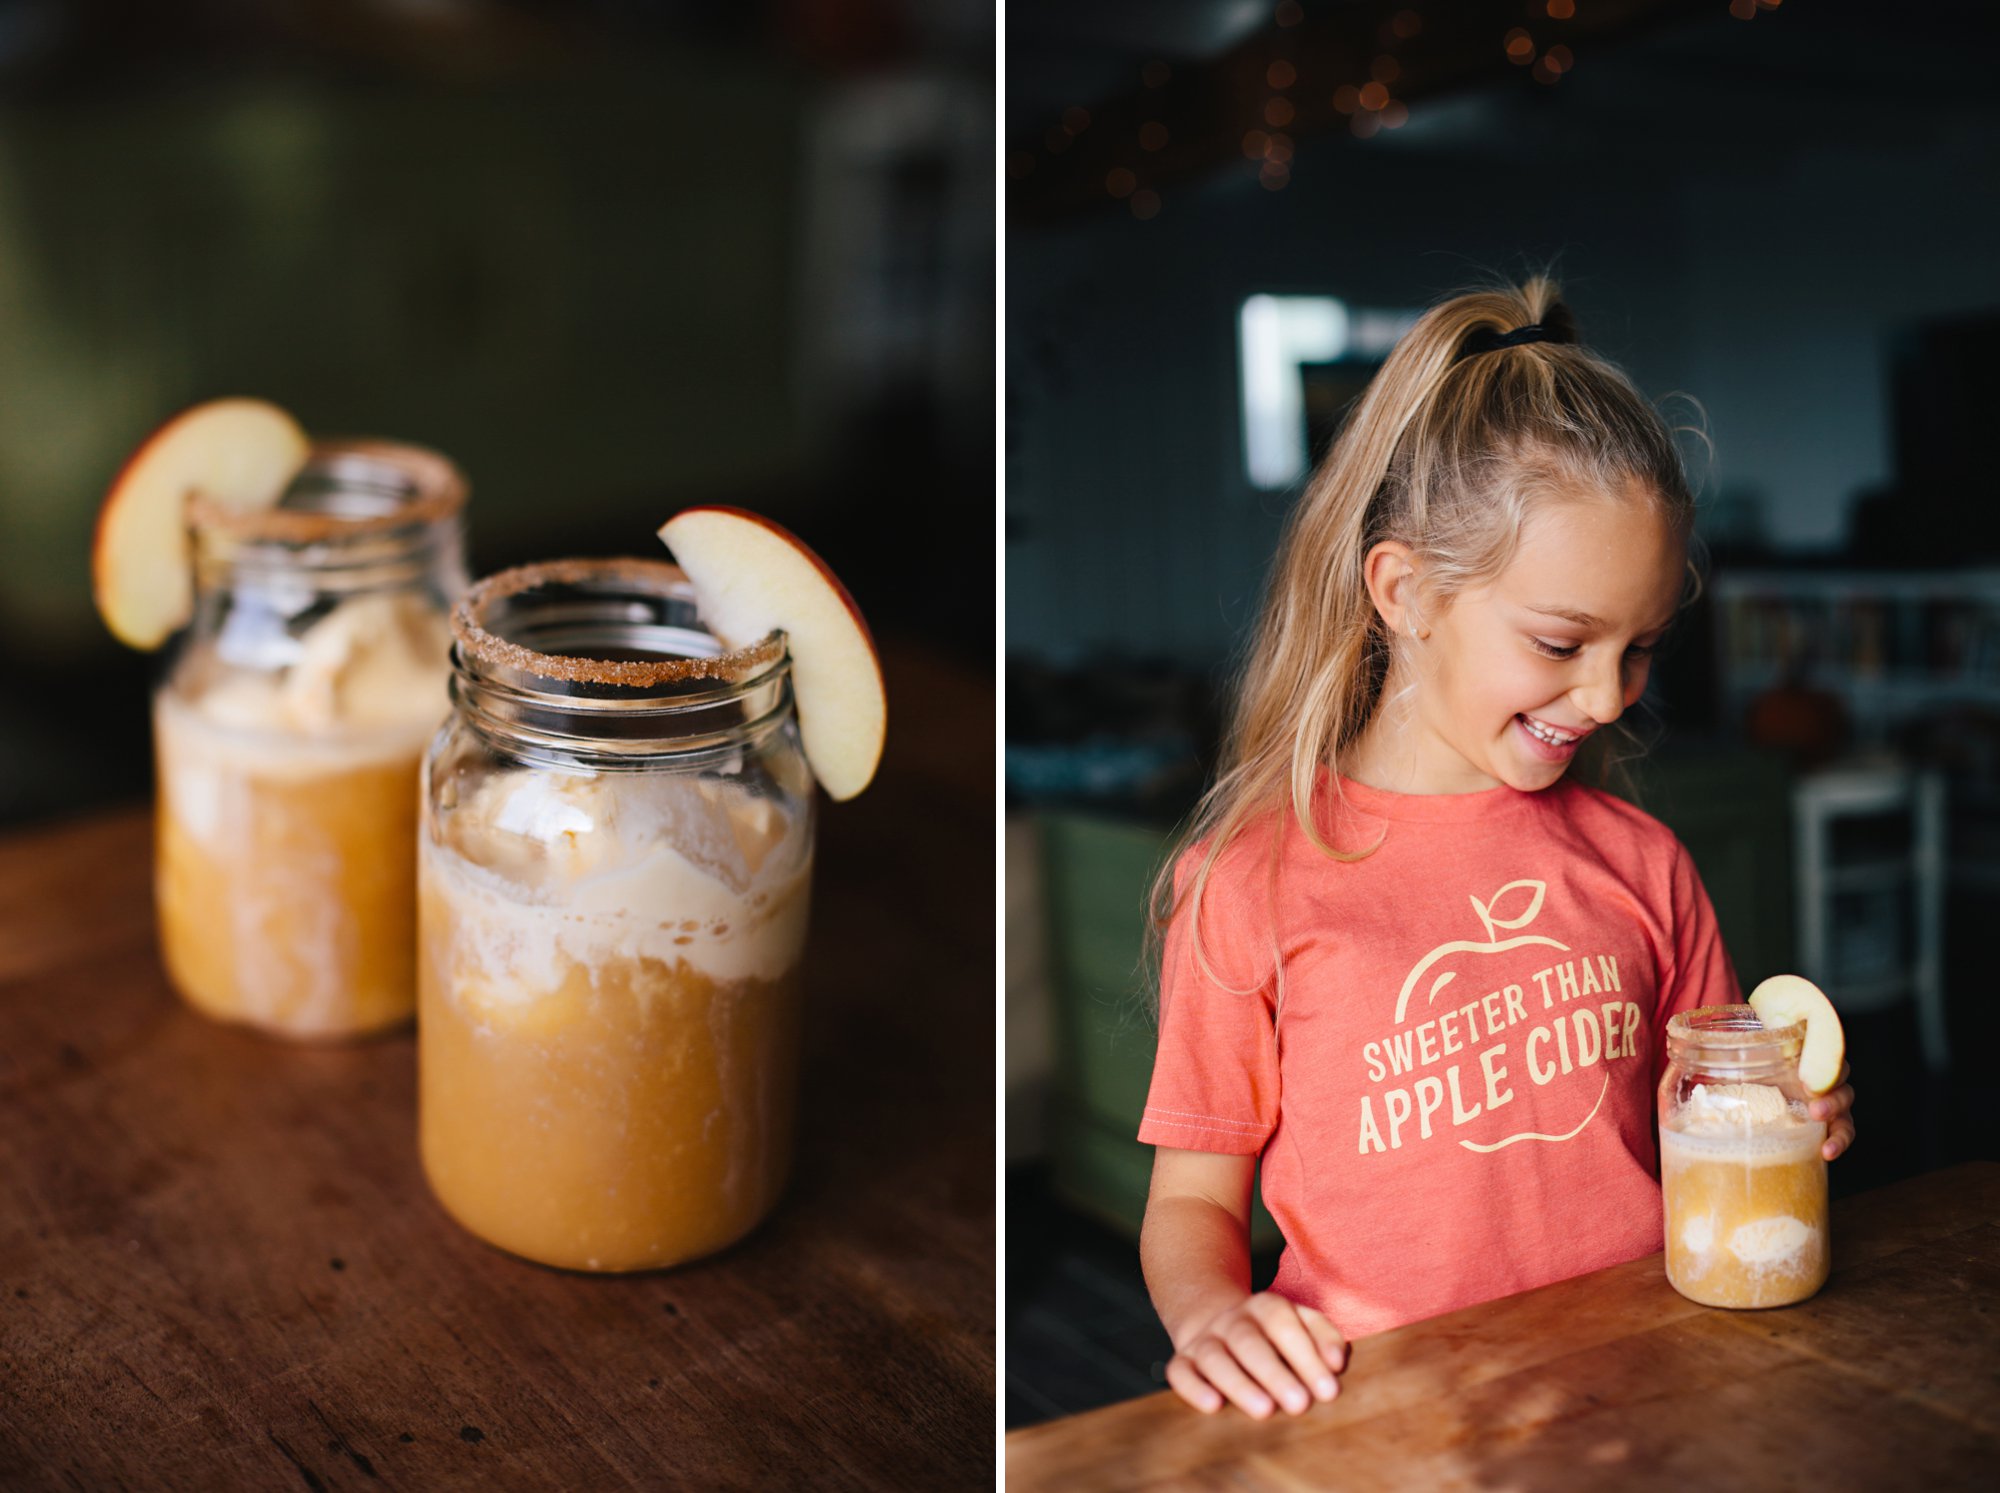
I made the Jack-O-Lantern decorating a little event in itself by putting on our favorite fall sound track and surprising the kids with their first apple ciders of the season.
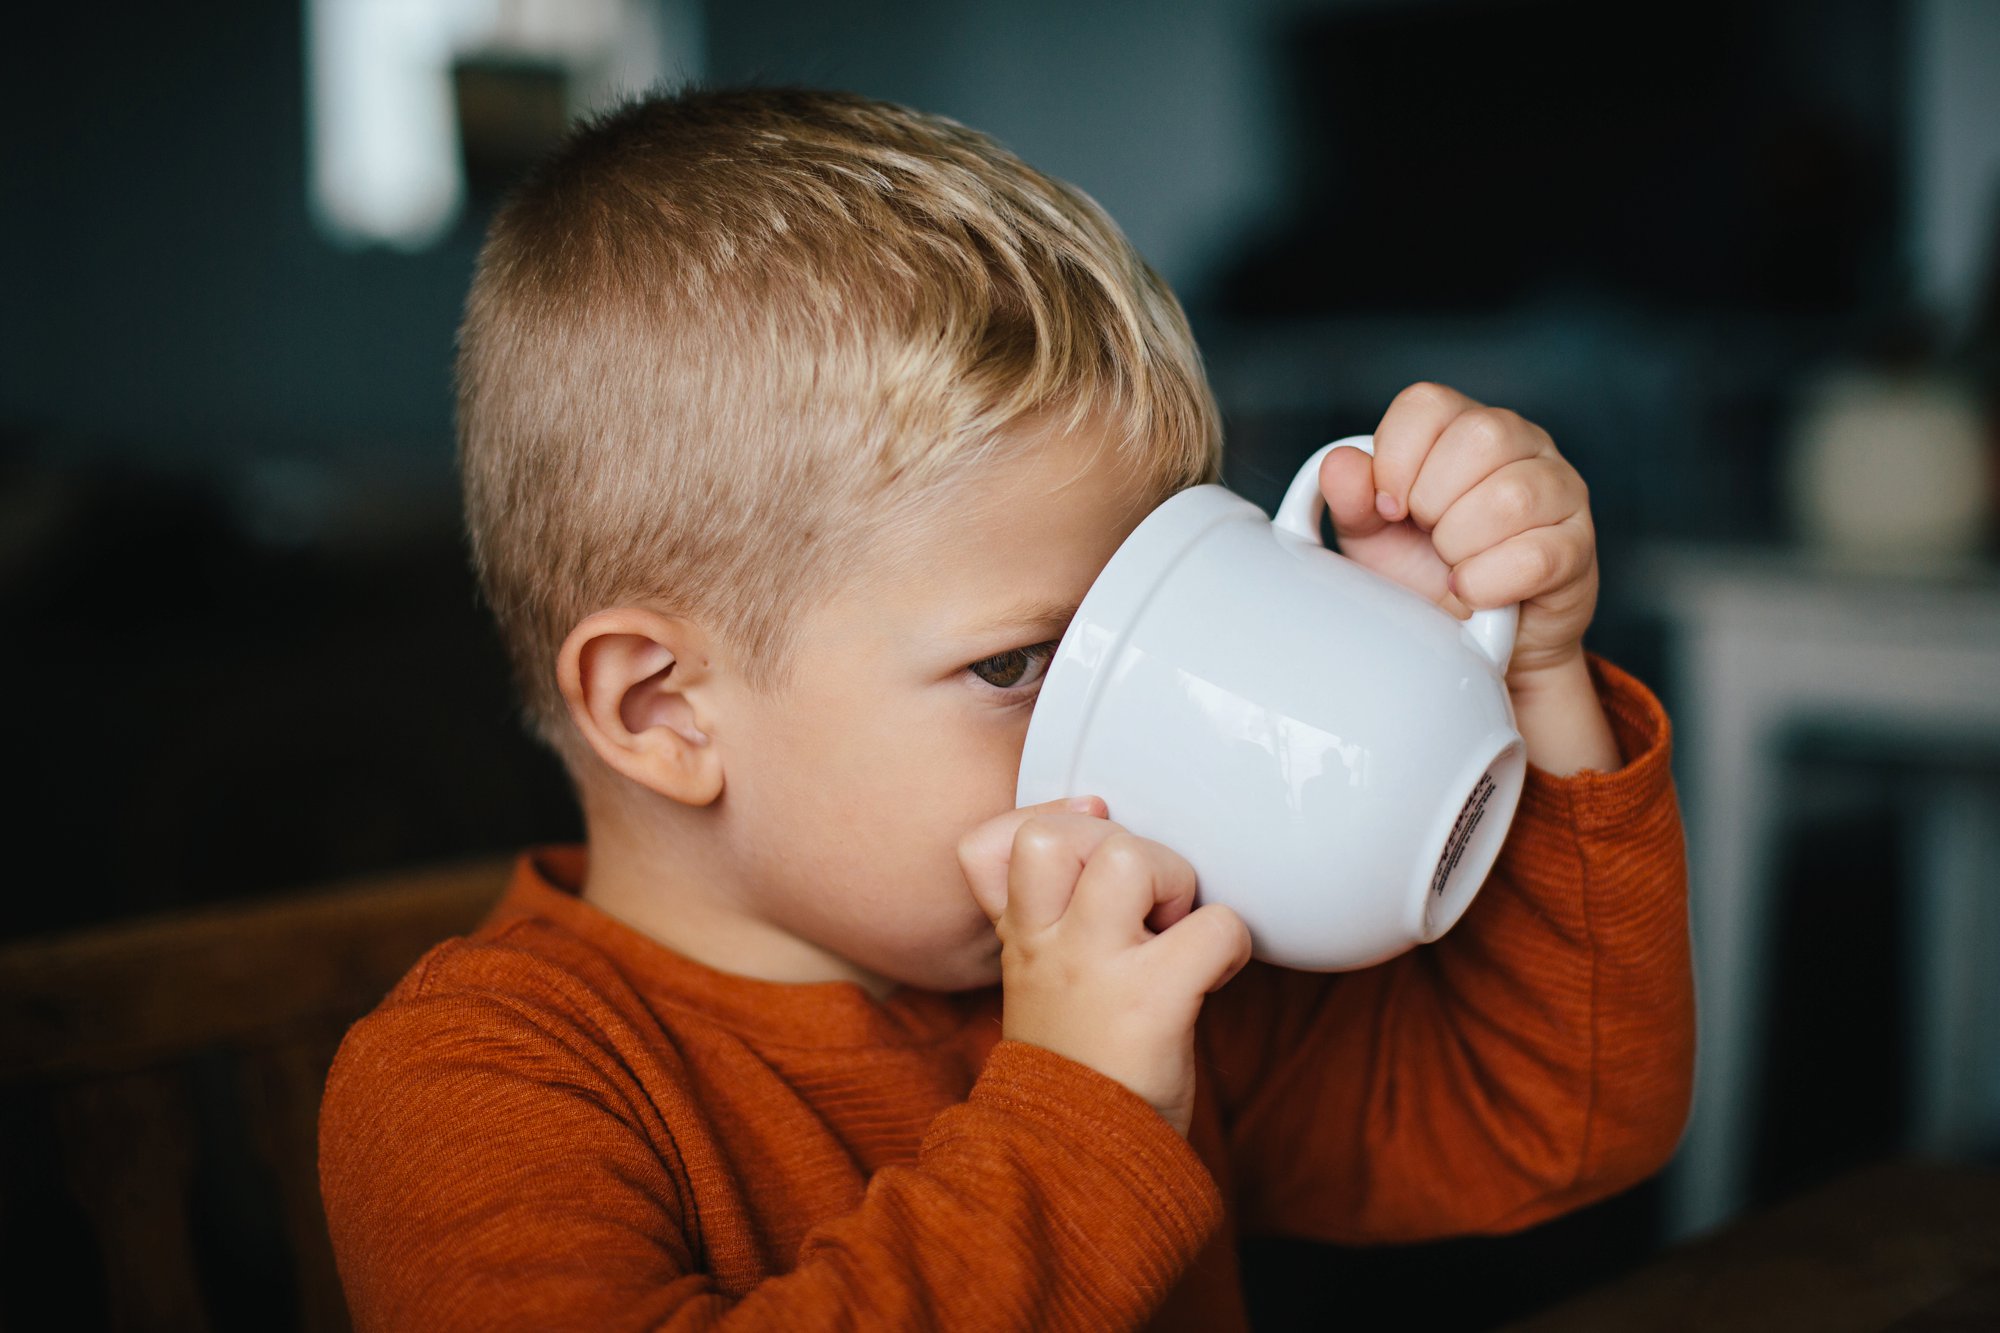
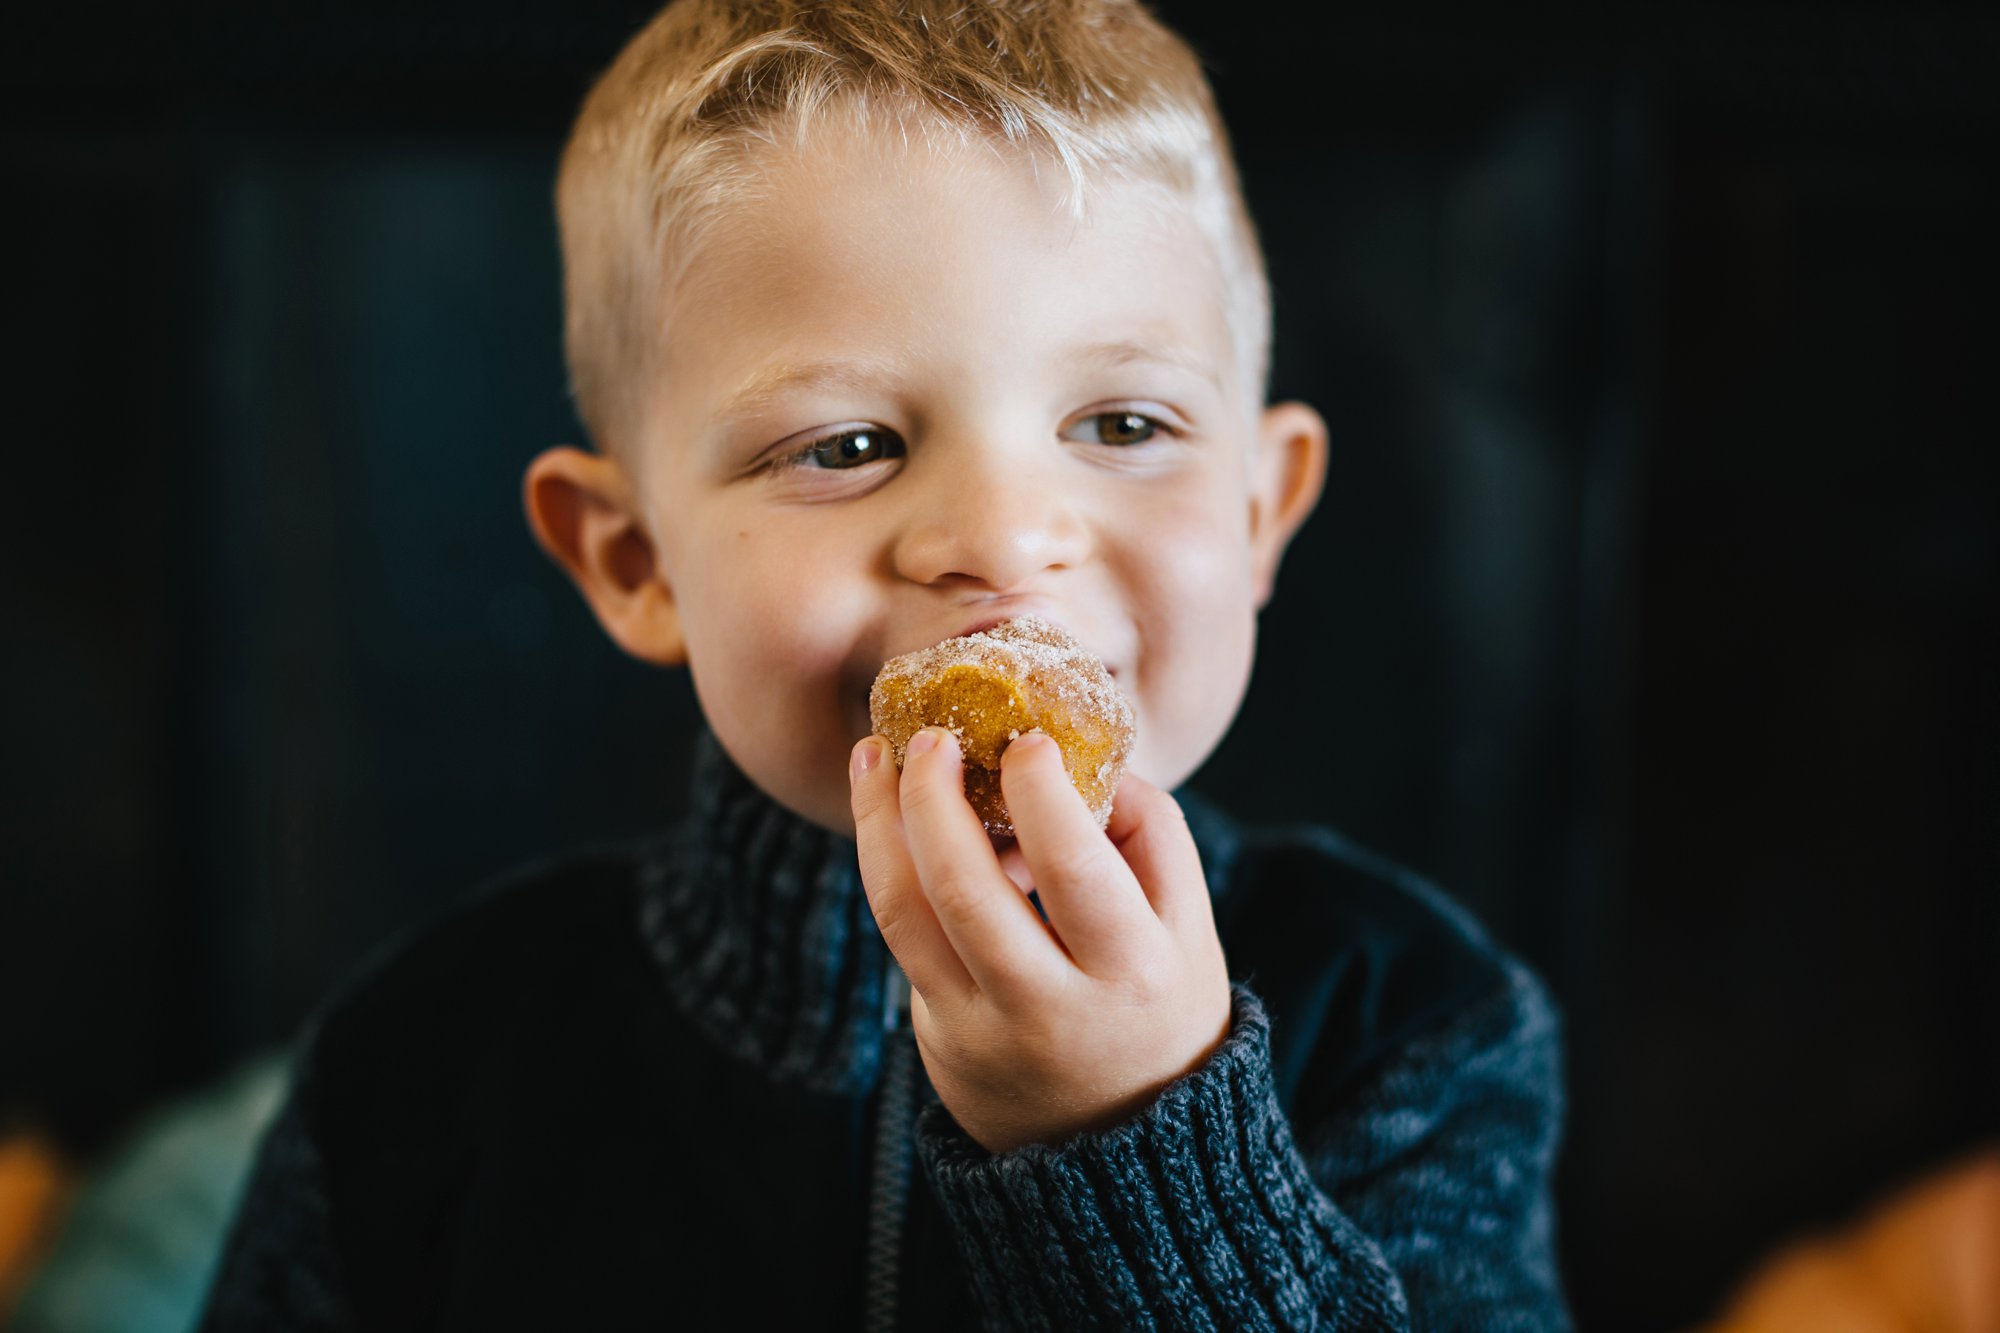
This photo of Cole has nothing to do with making the jammies, but I was clearly getting too close to his cider and his side-eye just kills me!
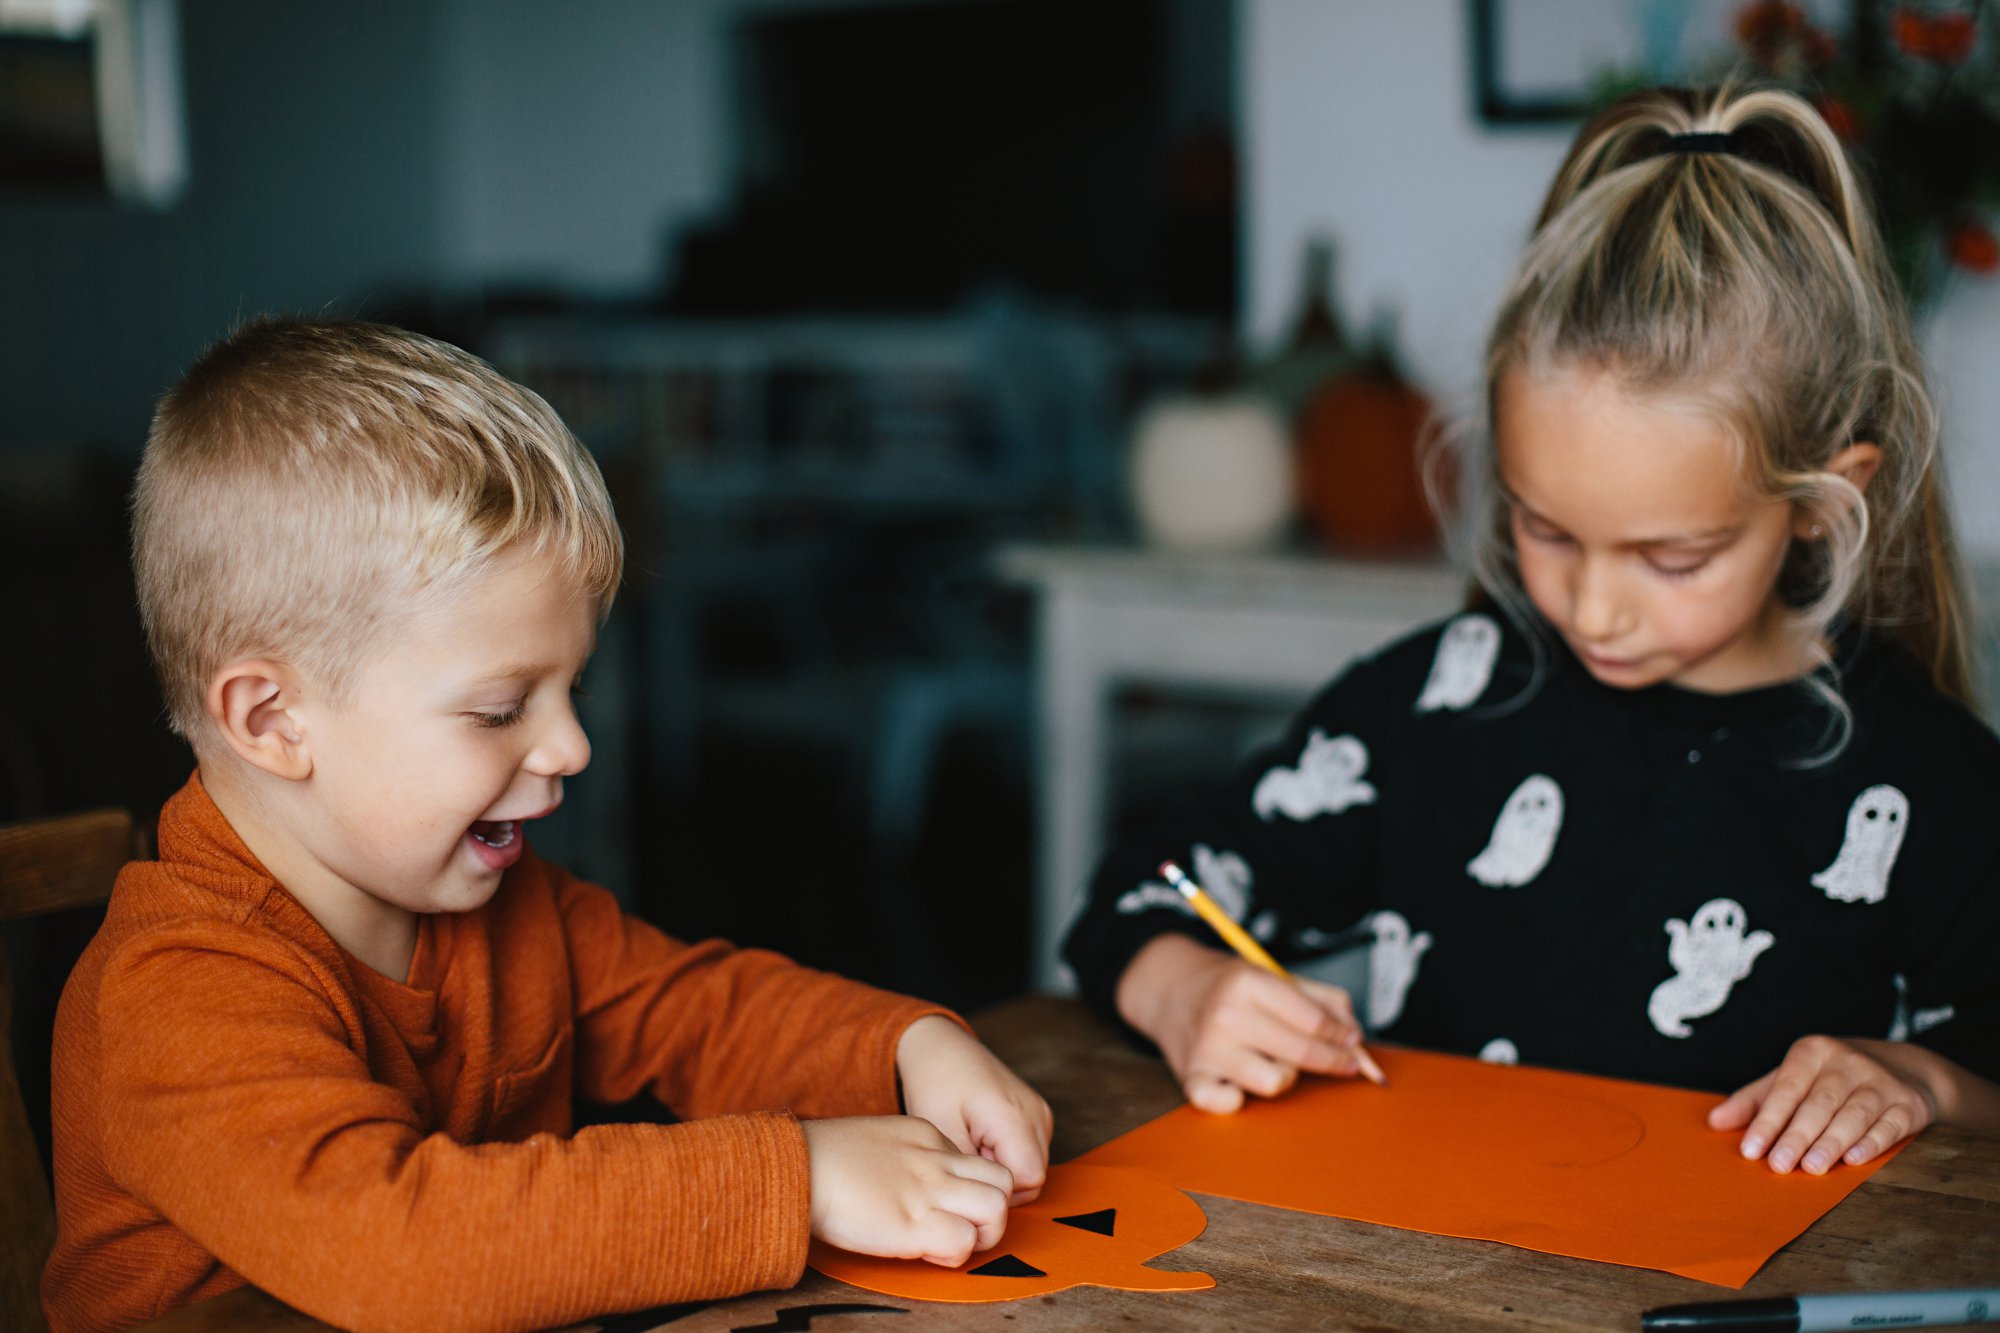
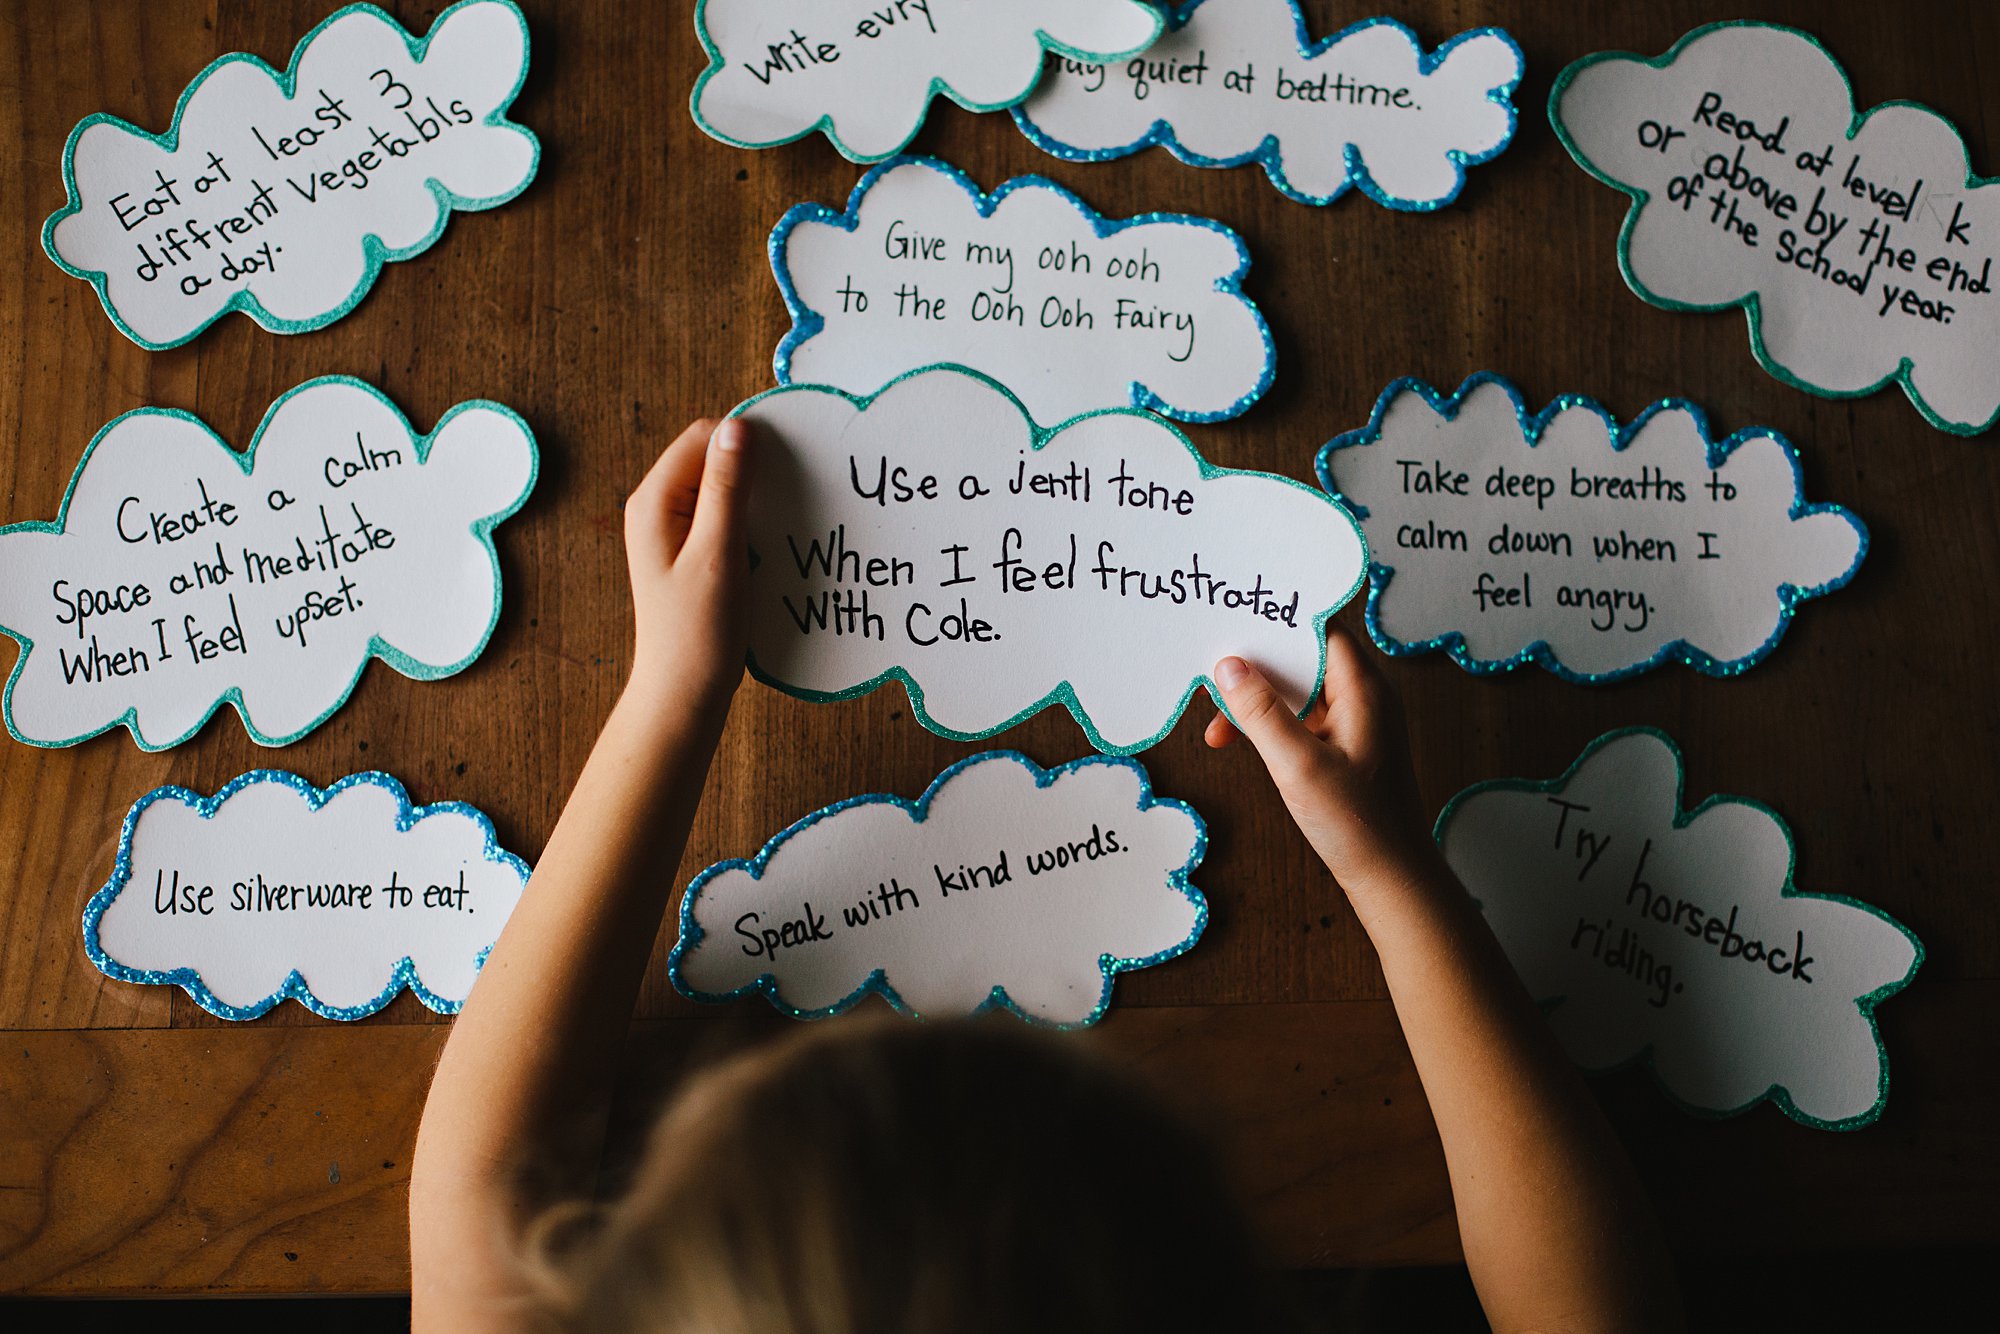
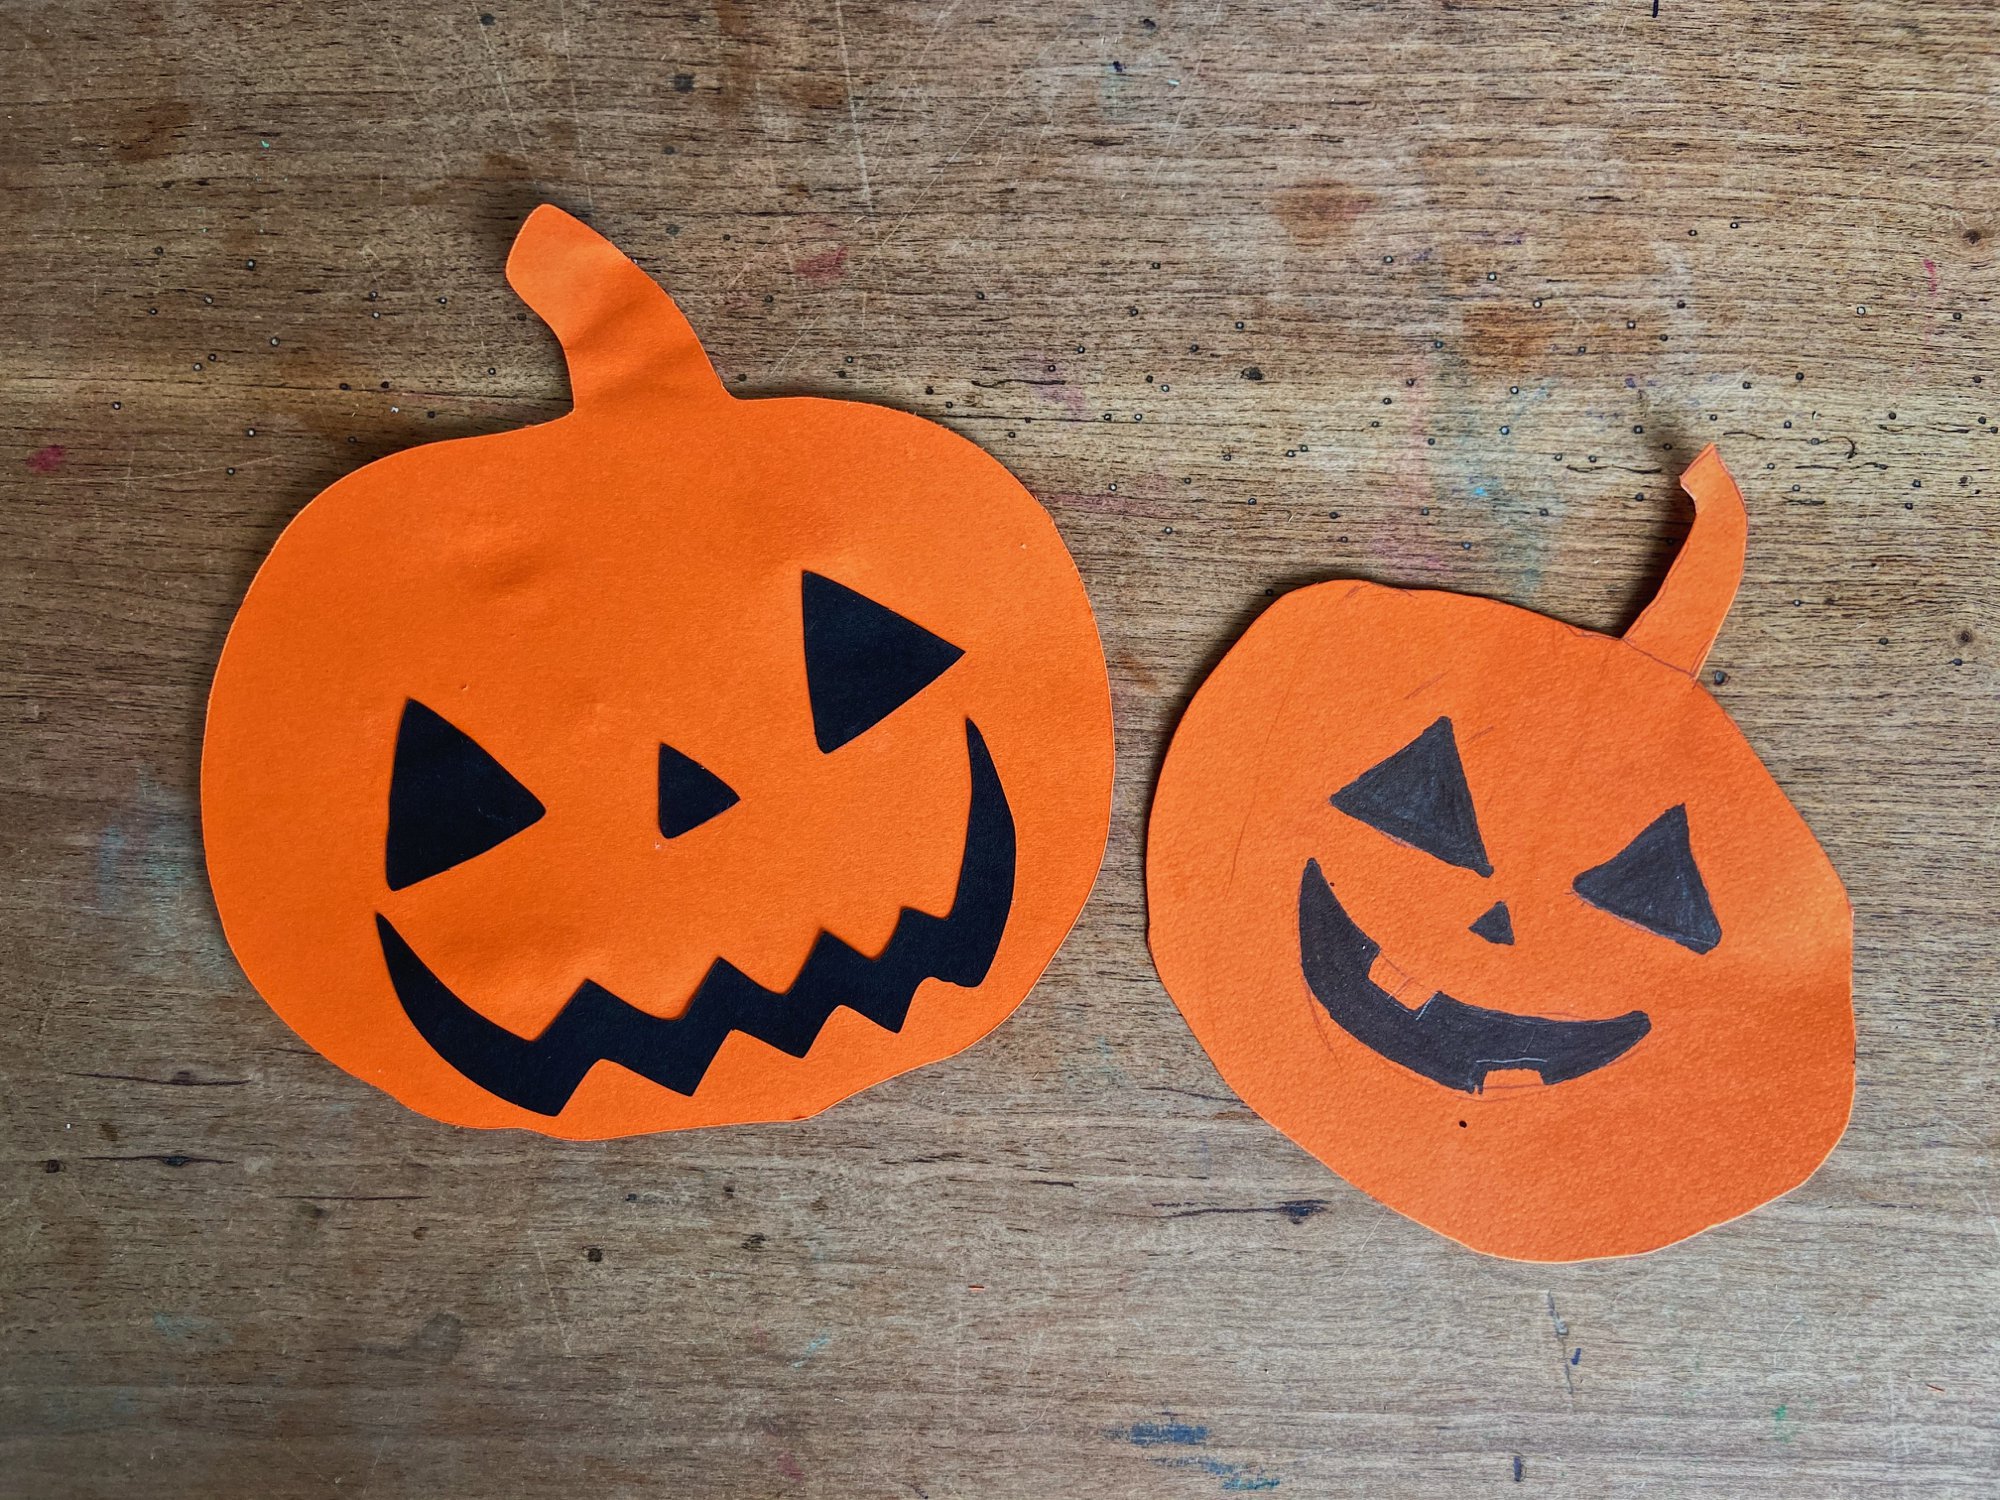
Knowing most 6 and 3 year olds’ artistic abilities are vastly diverse, I differentiated the activity, and the kids created their faces using different methods.
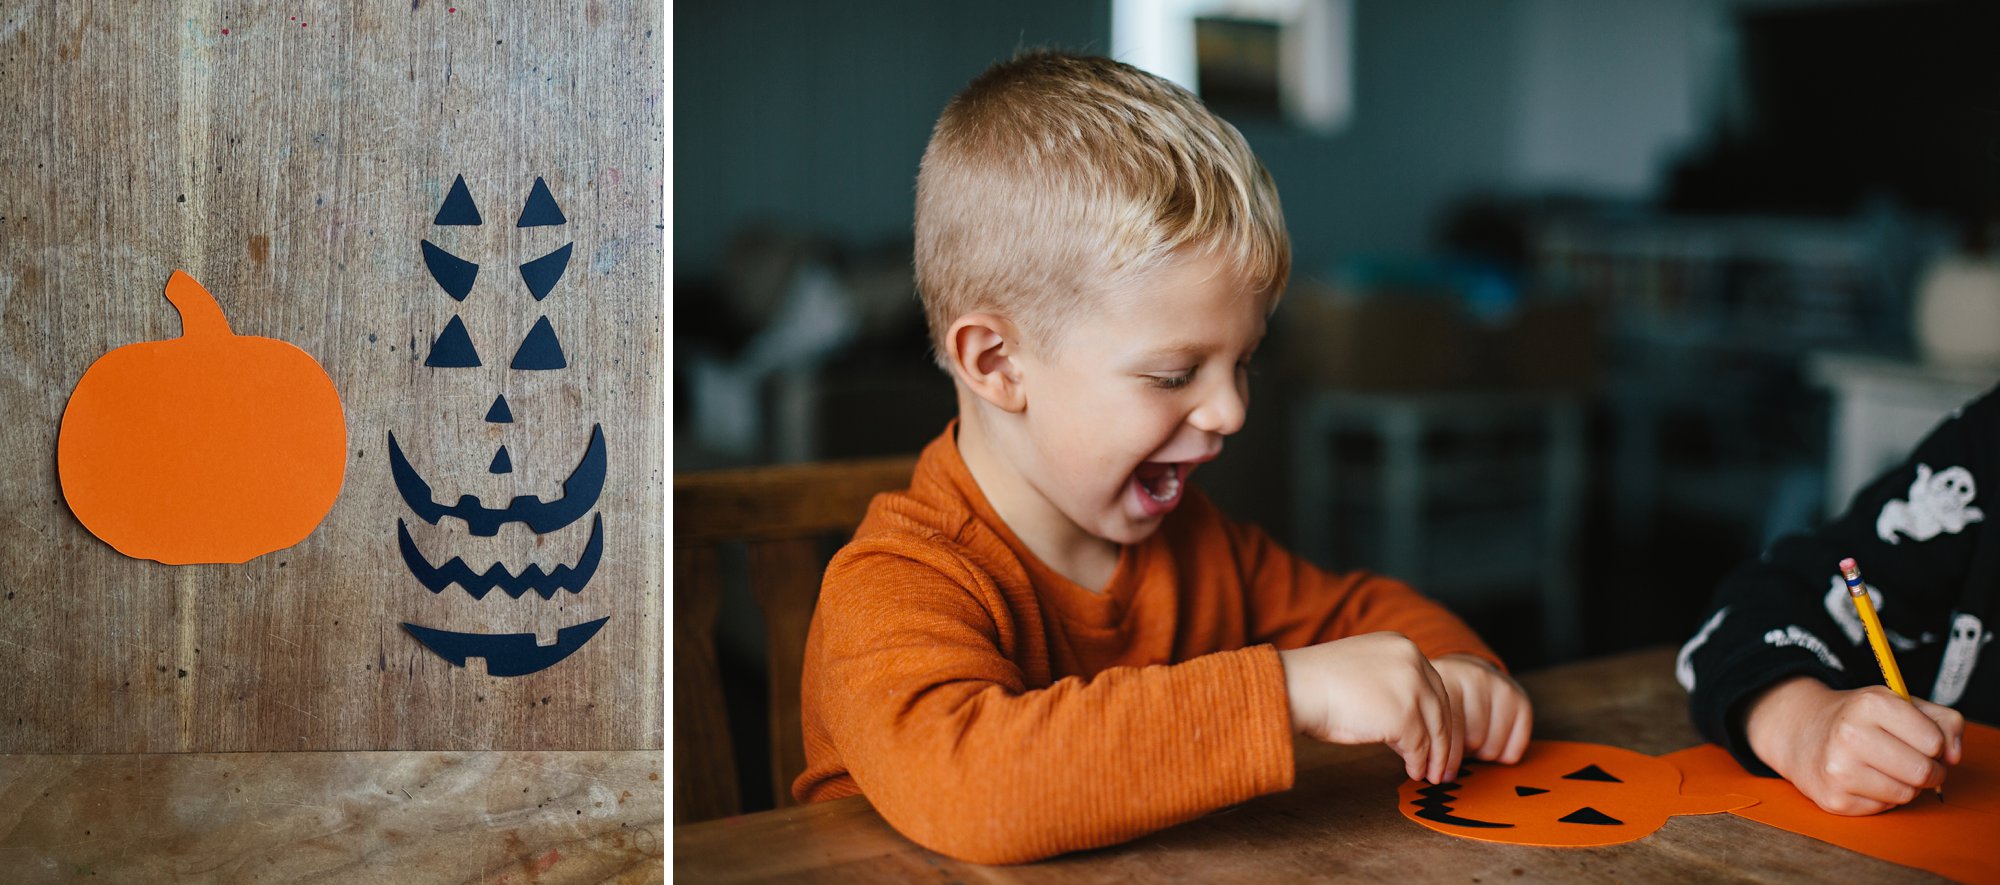
For Cole (who mostly still scribbles), I used my Silhouette to cut out several different eye, nose, and mouth shapes. I let him pick his favorites and he arranged them on the pumpkin. Then I helped him secure them in place with a glue stick, being careful to maintain his exact placement. To be totally honest, I was expecting more of a Picasso pumpkin from him– can you imagine how fun those would be?!
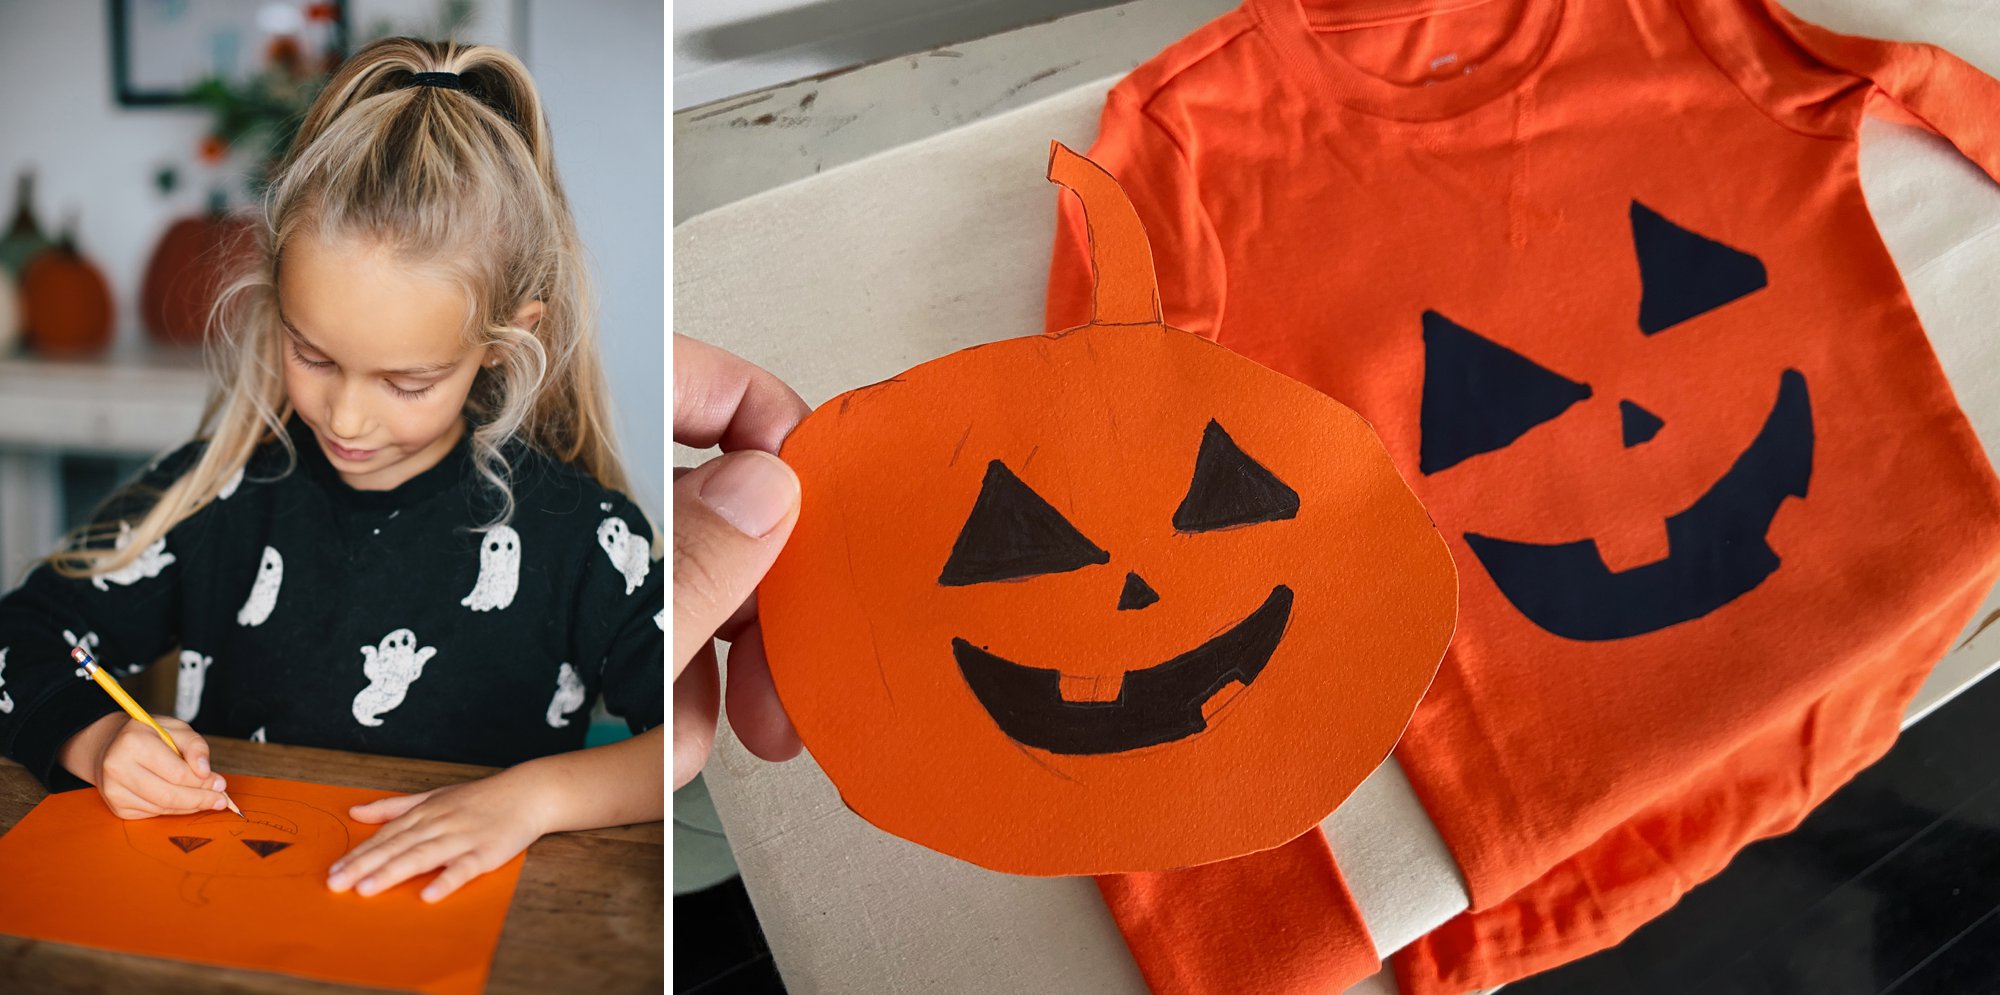
Isla loves to draw, so I simply gave her a sheet of orange paper and she sketched her own pumpkin and features. I asked her to outline and color the eyes, nose, and mouth so that it would increase the contrast for my Silhouette software.
Later, when the kiddos were elsewhere, I photographed their pumpkins, uploaded the photo into my Silhouette software, used the trace tool on the faces, and increased the size of the design. I knew I wanted the faces to be as large as possible, so I held a ruler on the blank top to get a feel for the appropriate width. Remember, you must account for the curve of your child’s torso once they are wearing the top, so if you print something all the way to the side seams, those details will end up under their armpits. I left around 3 inches of buffer space on each side. Once I had everything finalized with the design, I cut the face features out on heat transfer vinyl. Be sure to mirror your image prior to printing!
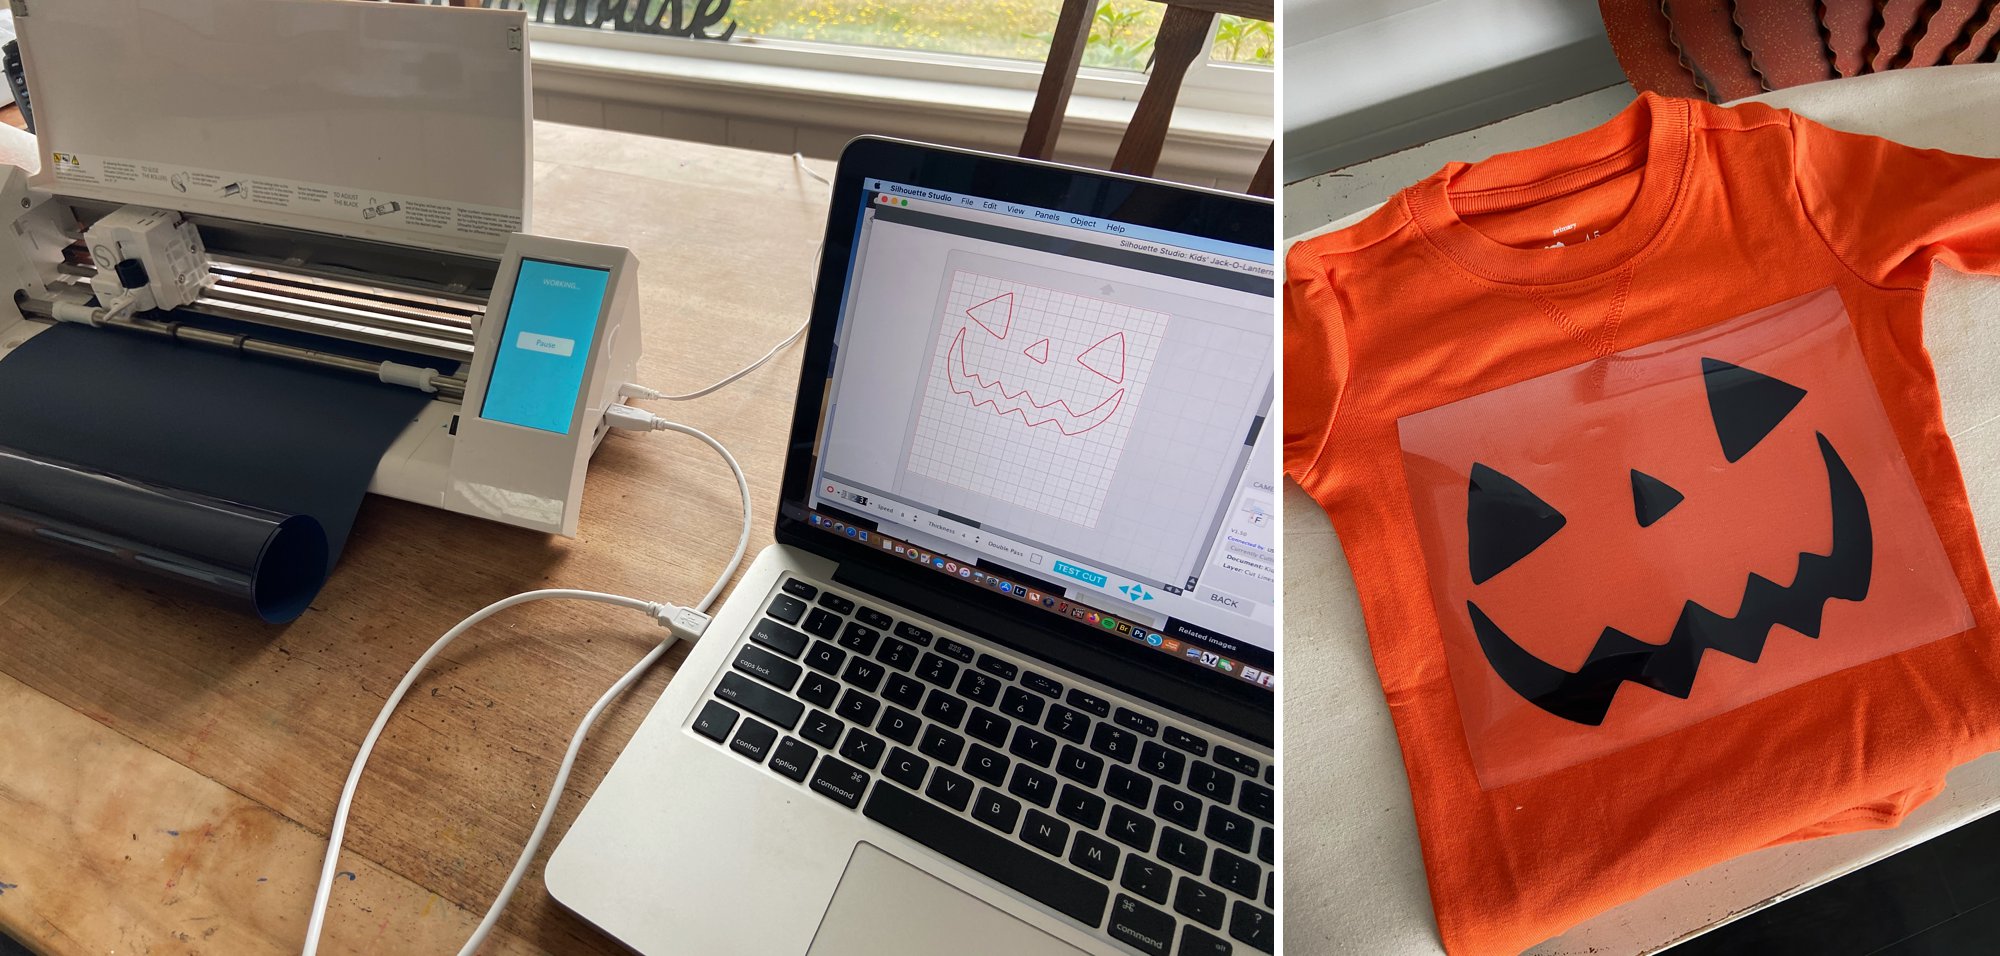
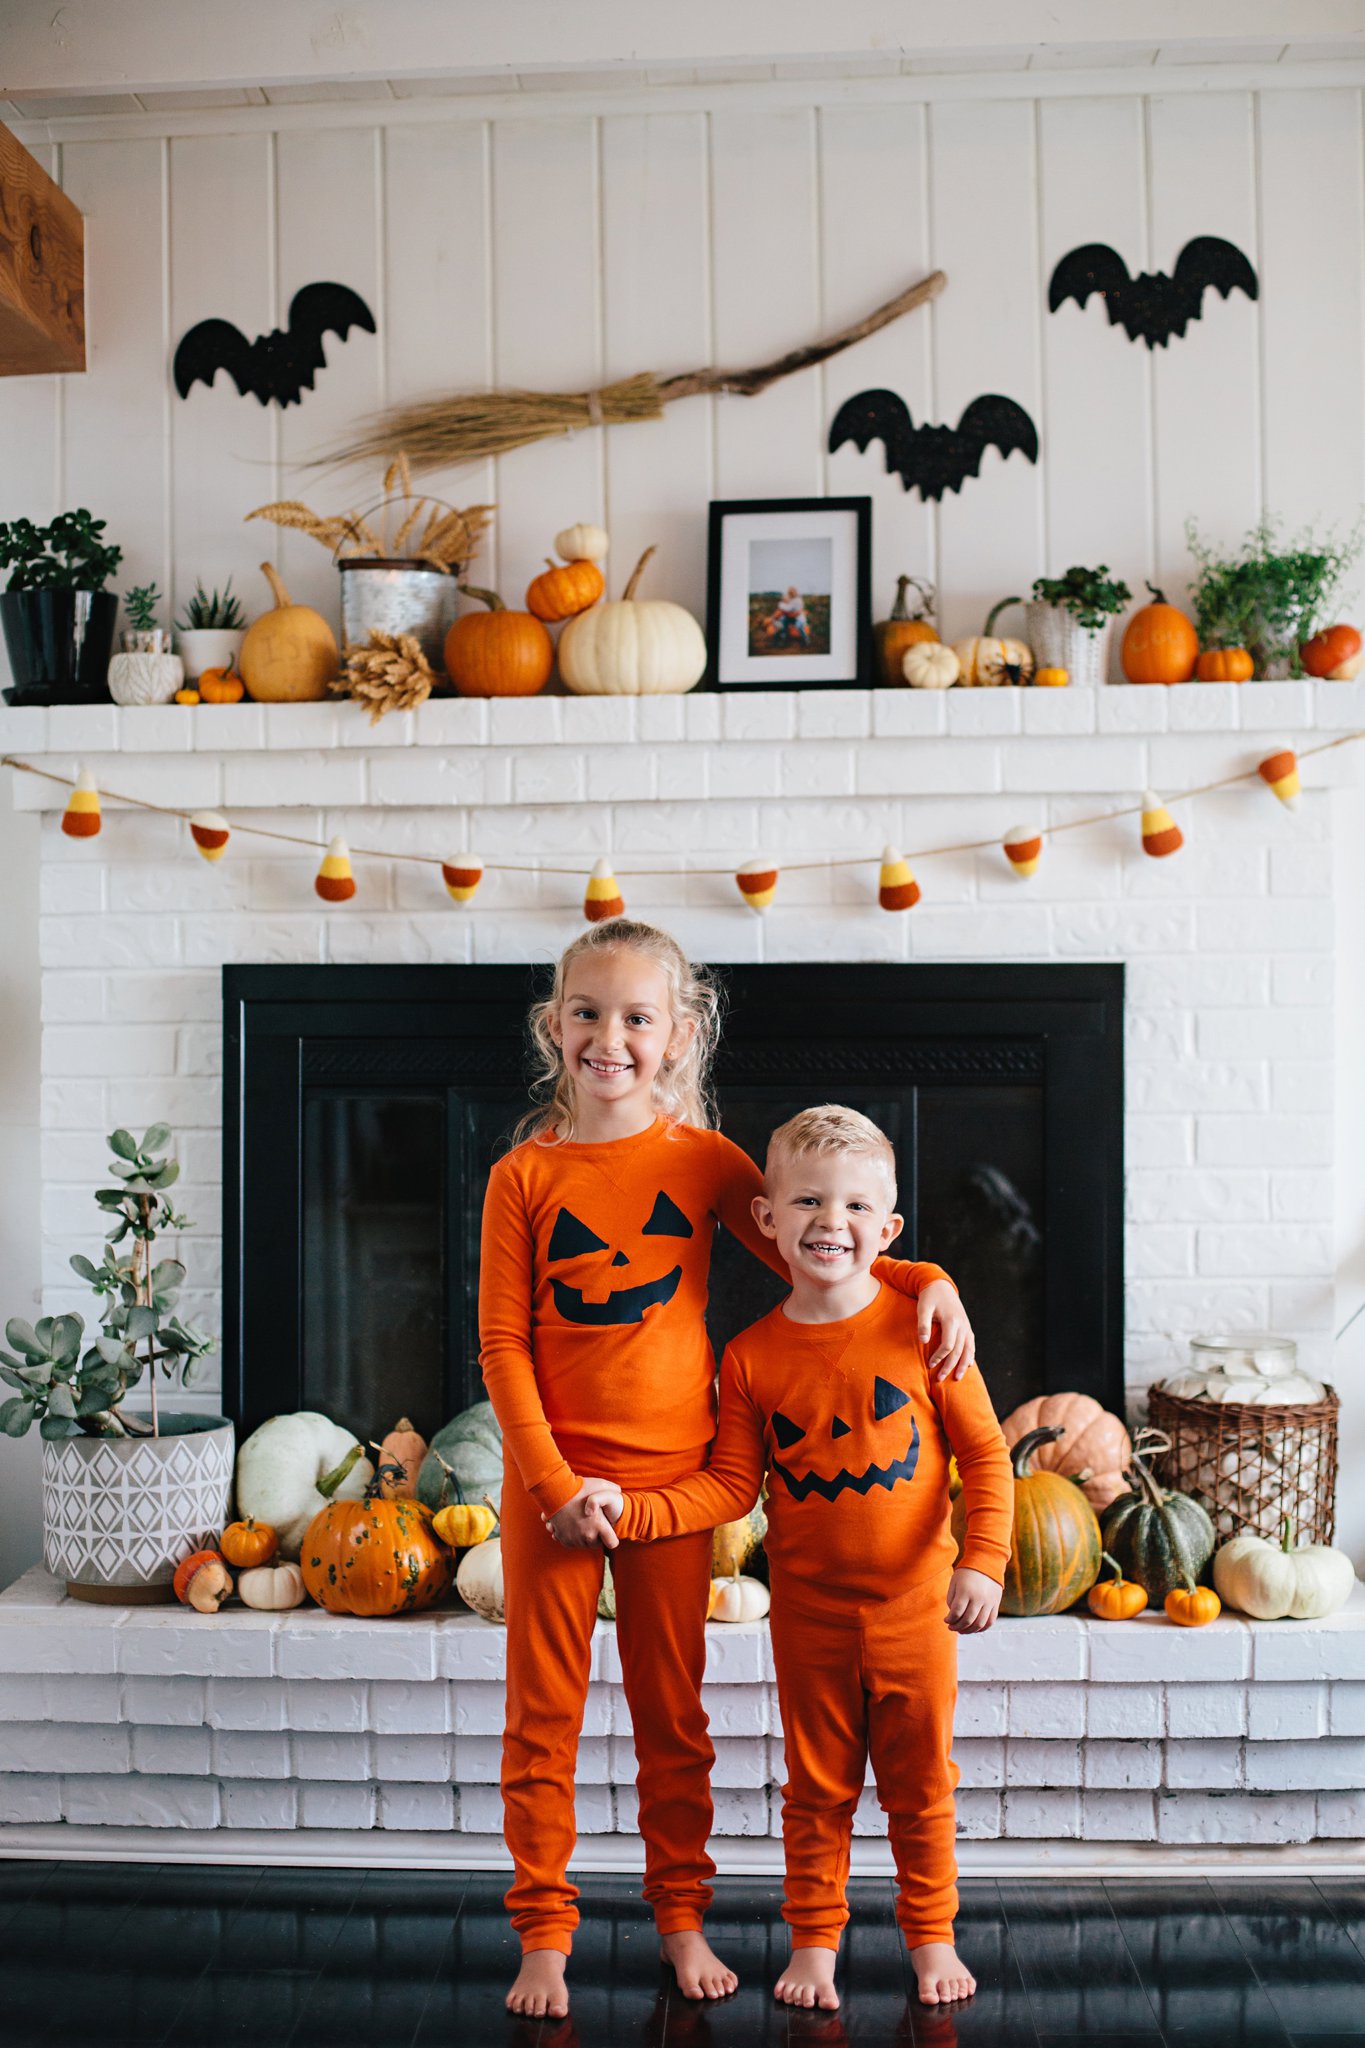
Lastly, I ironed the faces onto the pajama tops, following the vinyl manufacturer’s instructions, and taking extra care around the corners to ensure the edges would not roll up.
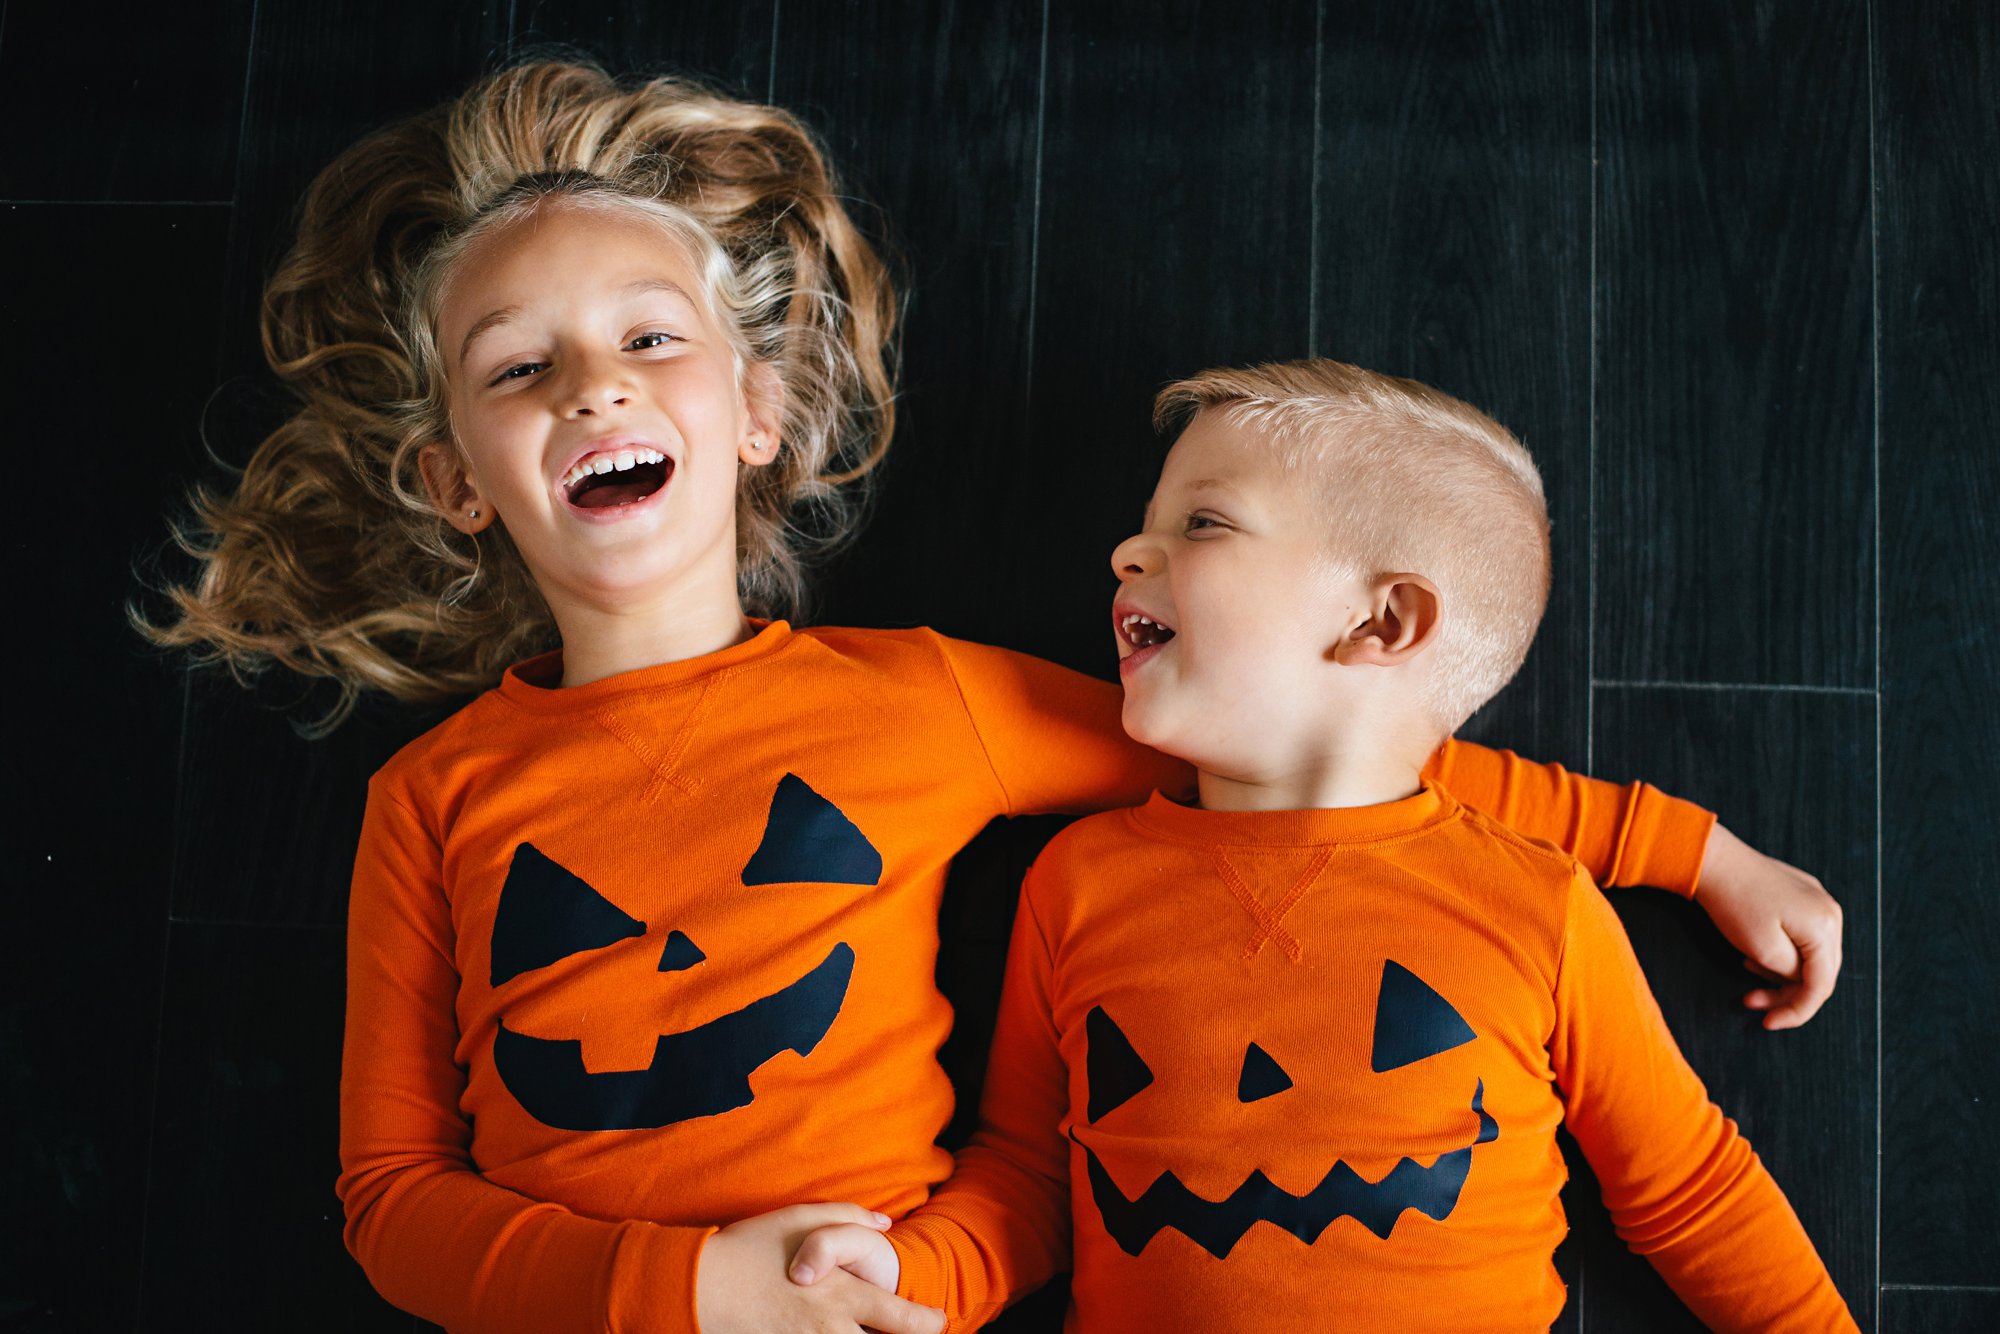
Voila! Custom kid art jammies that you are sure to cherish for years. The hardest part of the whole project was keeping them a secret until Isla and Cole opened their fall boxes!
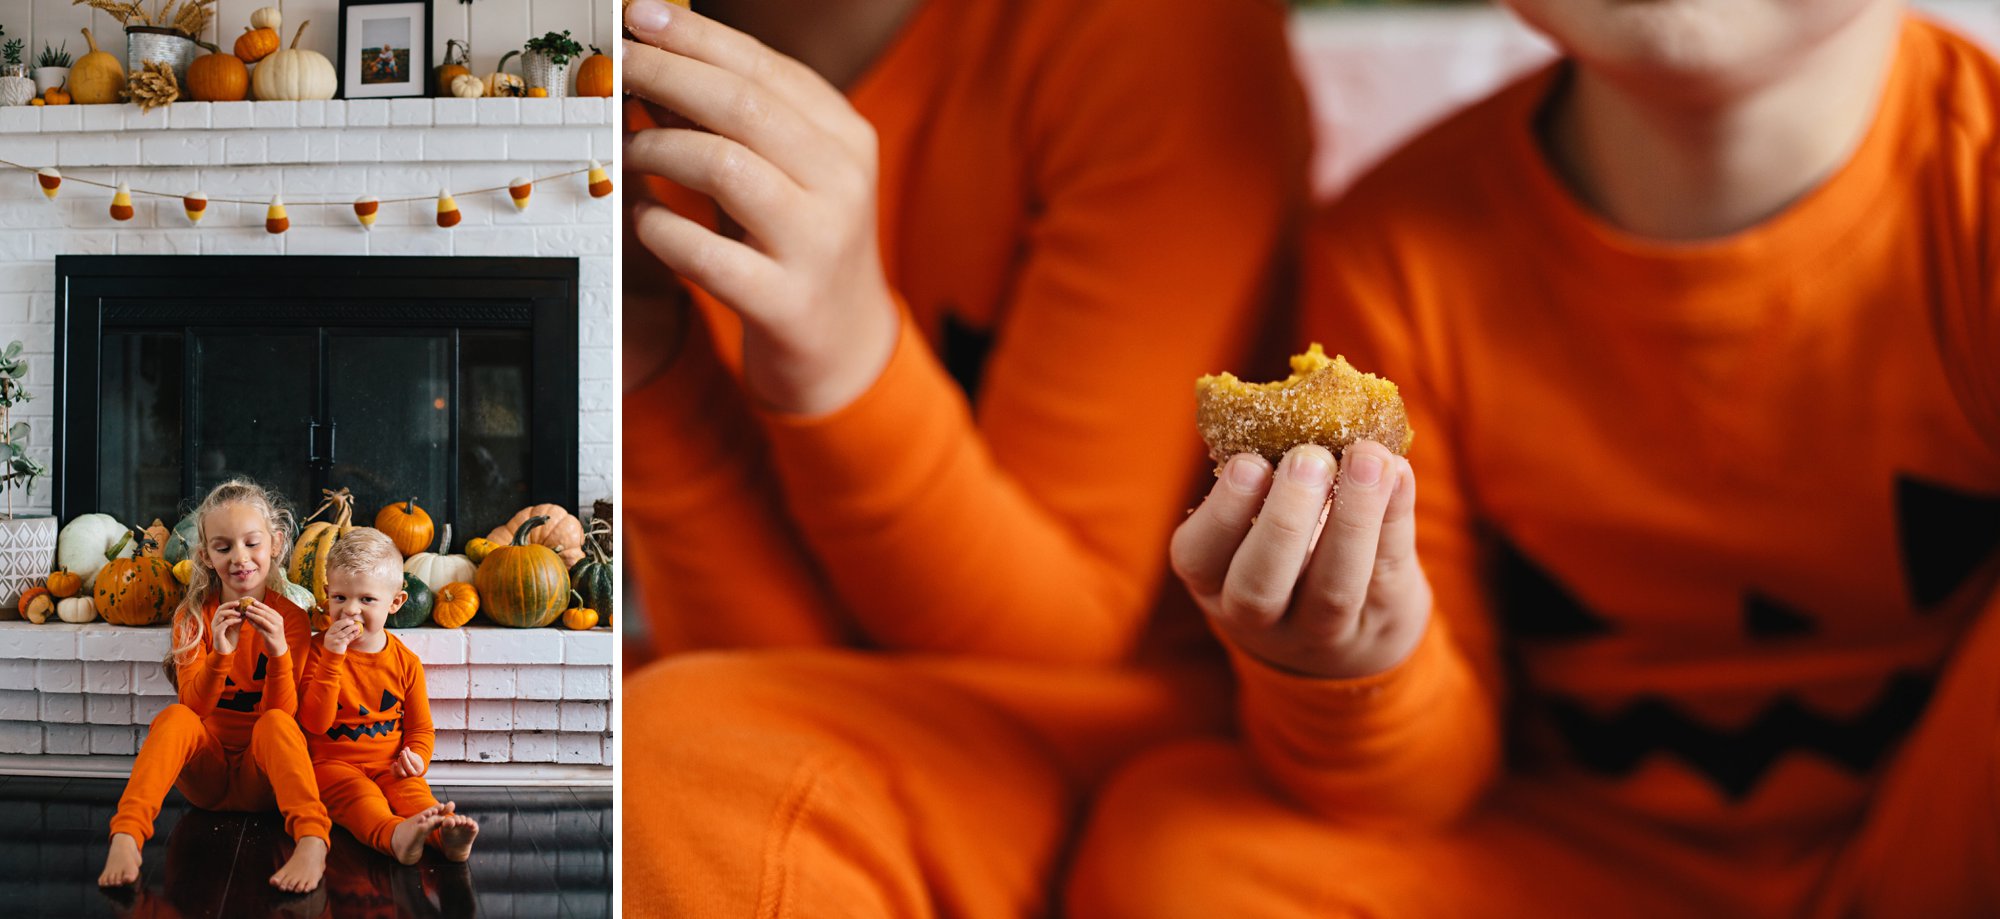
Bonus tip: Pumpkin spice doughnut holes are great incentive for kiddo cooperation with photos. Portrait sessions are the ONLY time I use bribery, and let me tell you, Isla and Cole make out like bandits! We will also be sharing the recipe for these amazingly tasty and dangerously simple doughnut holes later this week, so be sure to check back!