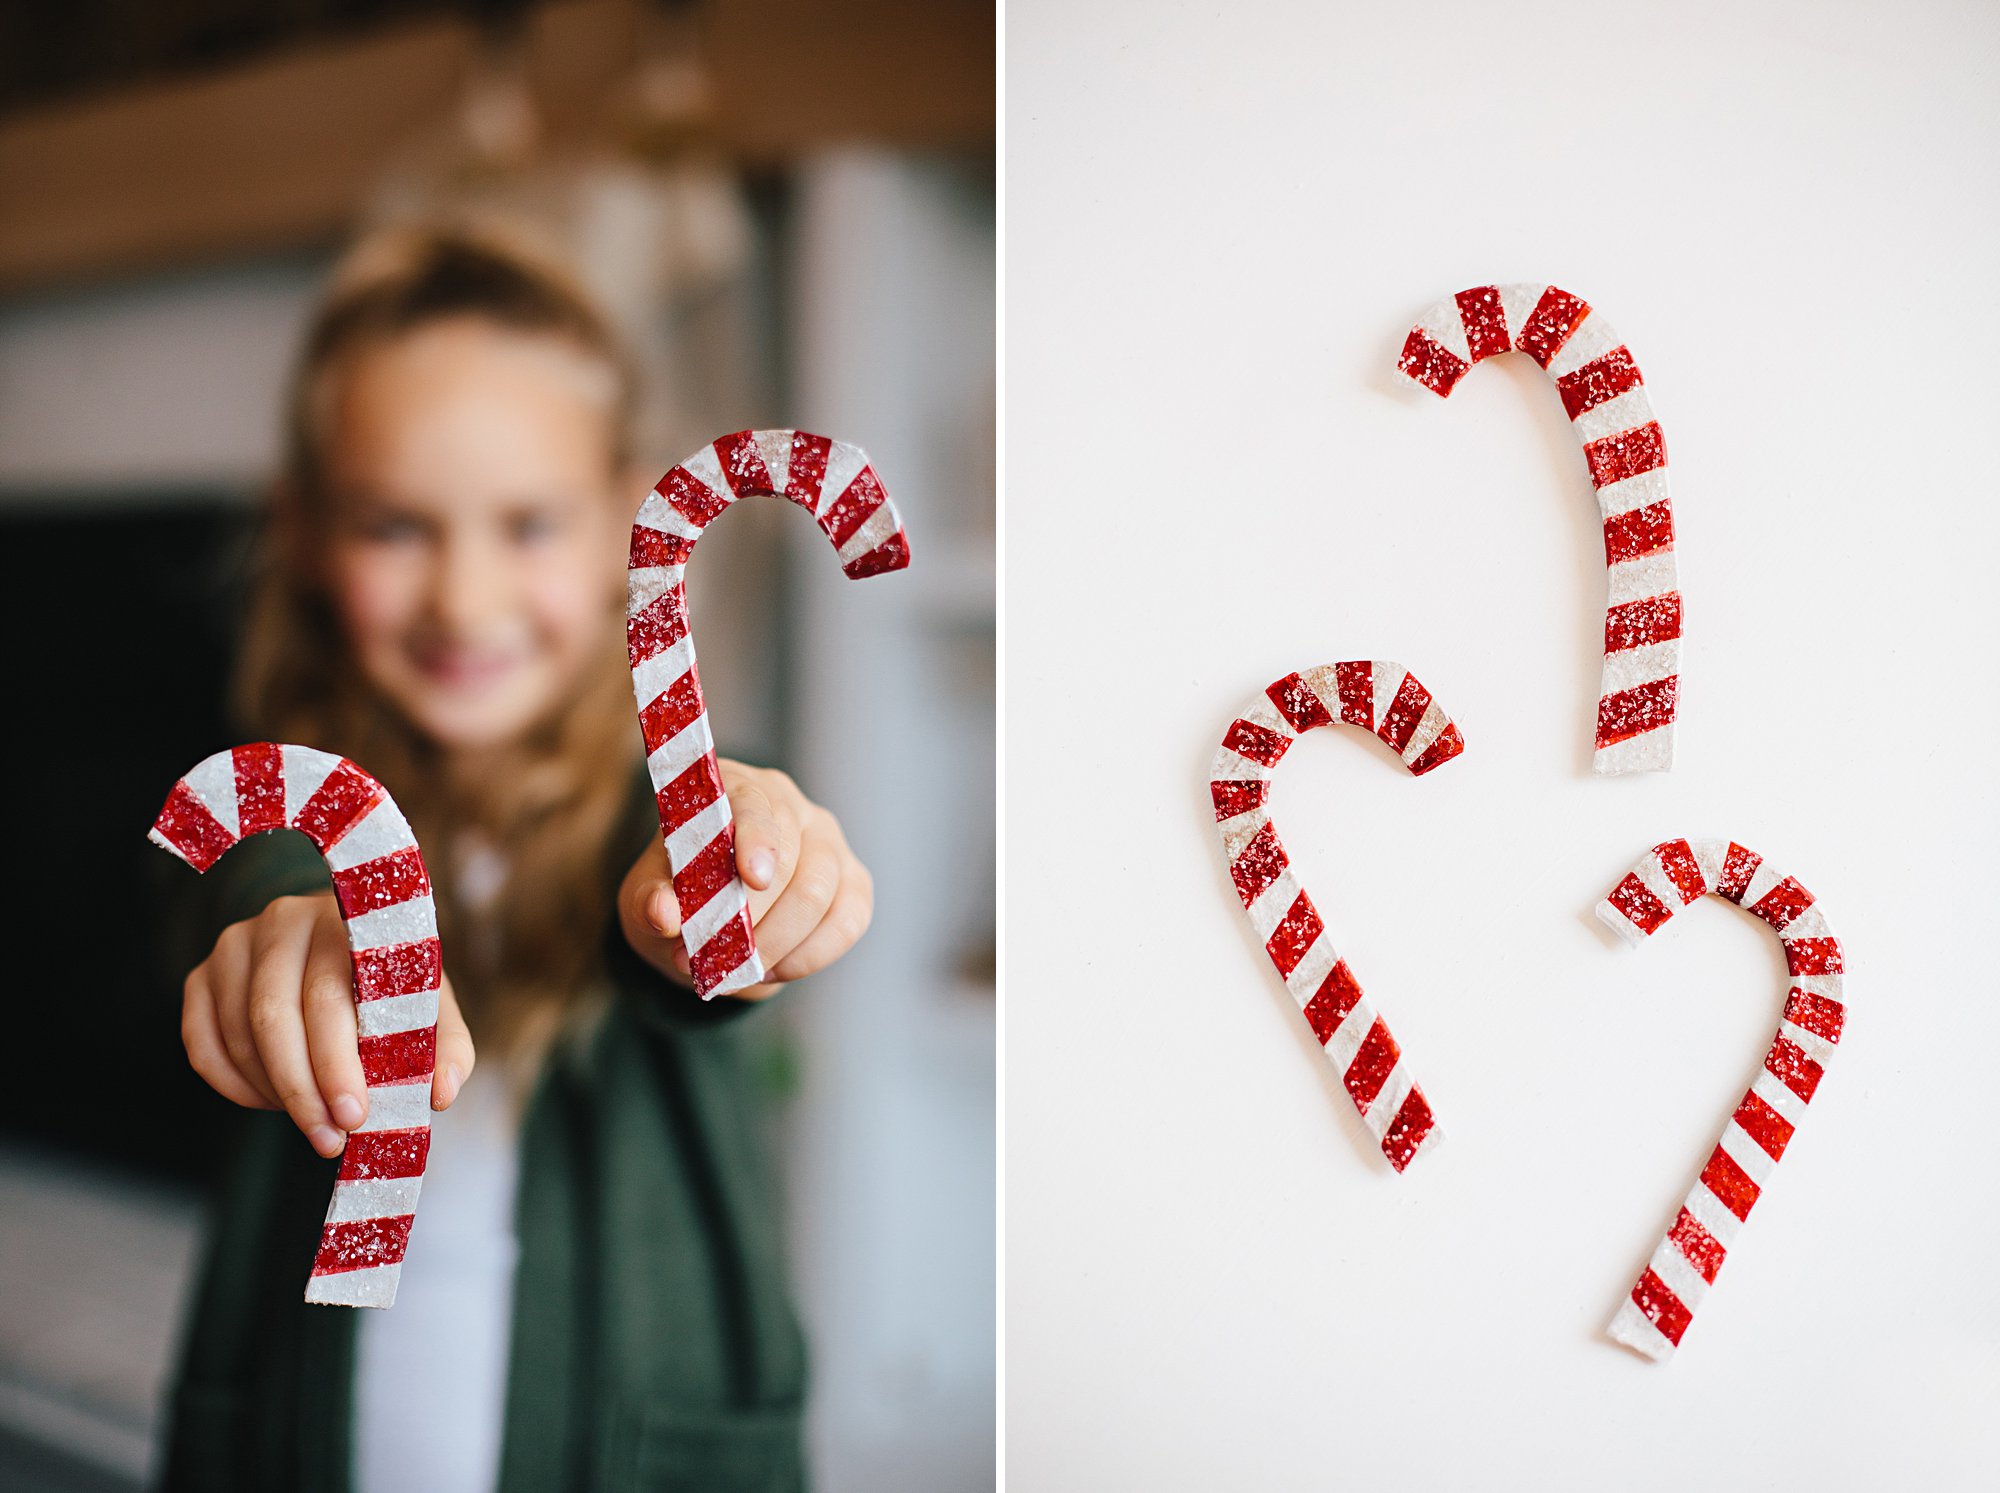

Shortly after we surprised Isla with Auggie, she began walking around with him swaddled in the front of her shirt, and I knew she needed a little wrap carrier!
I took inspiration from the Moby wrap I used with Cole, and whipped up this relatively simple DIY carrier. Now I say “relatively simple” because sewing stretchy fabric neatly can be a bit of a challenge. I worked around that problem by choosing black fabric– all the imperfections disappeared! Yes, I am a very basic seamstress! I put together a tutorial (also very basic) for making a kid-sized wrap carrier– perfect for kittens, dolls, and stuffed animals!
To make a kid-sized wrap carrier, all you need is a yard of stretchy jersey knit fabric, thread, sharp scissors, and a sewing machine.
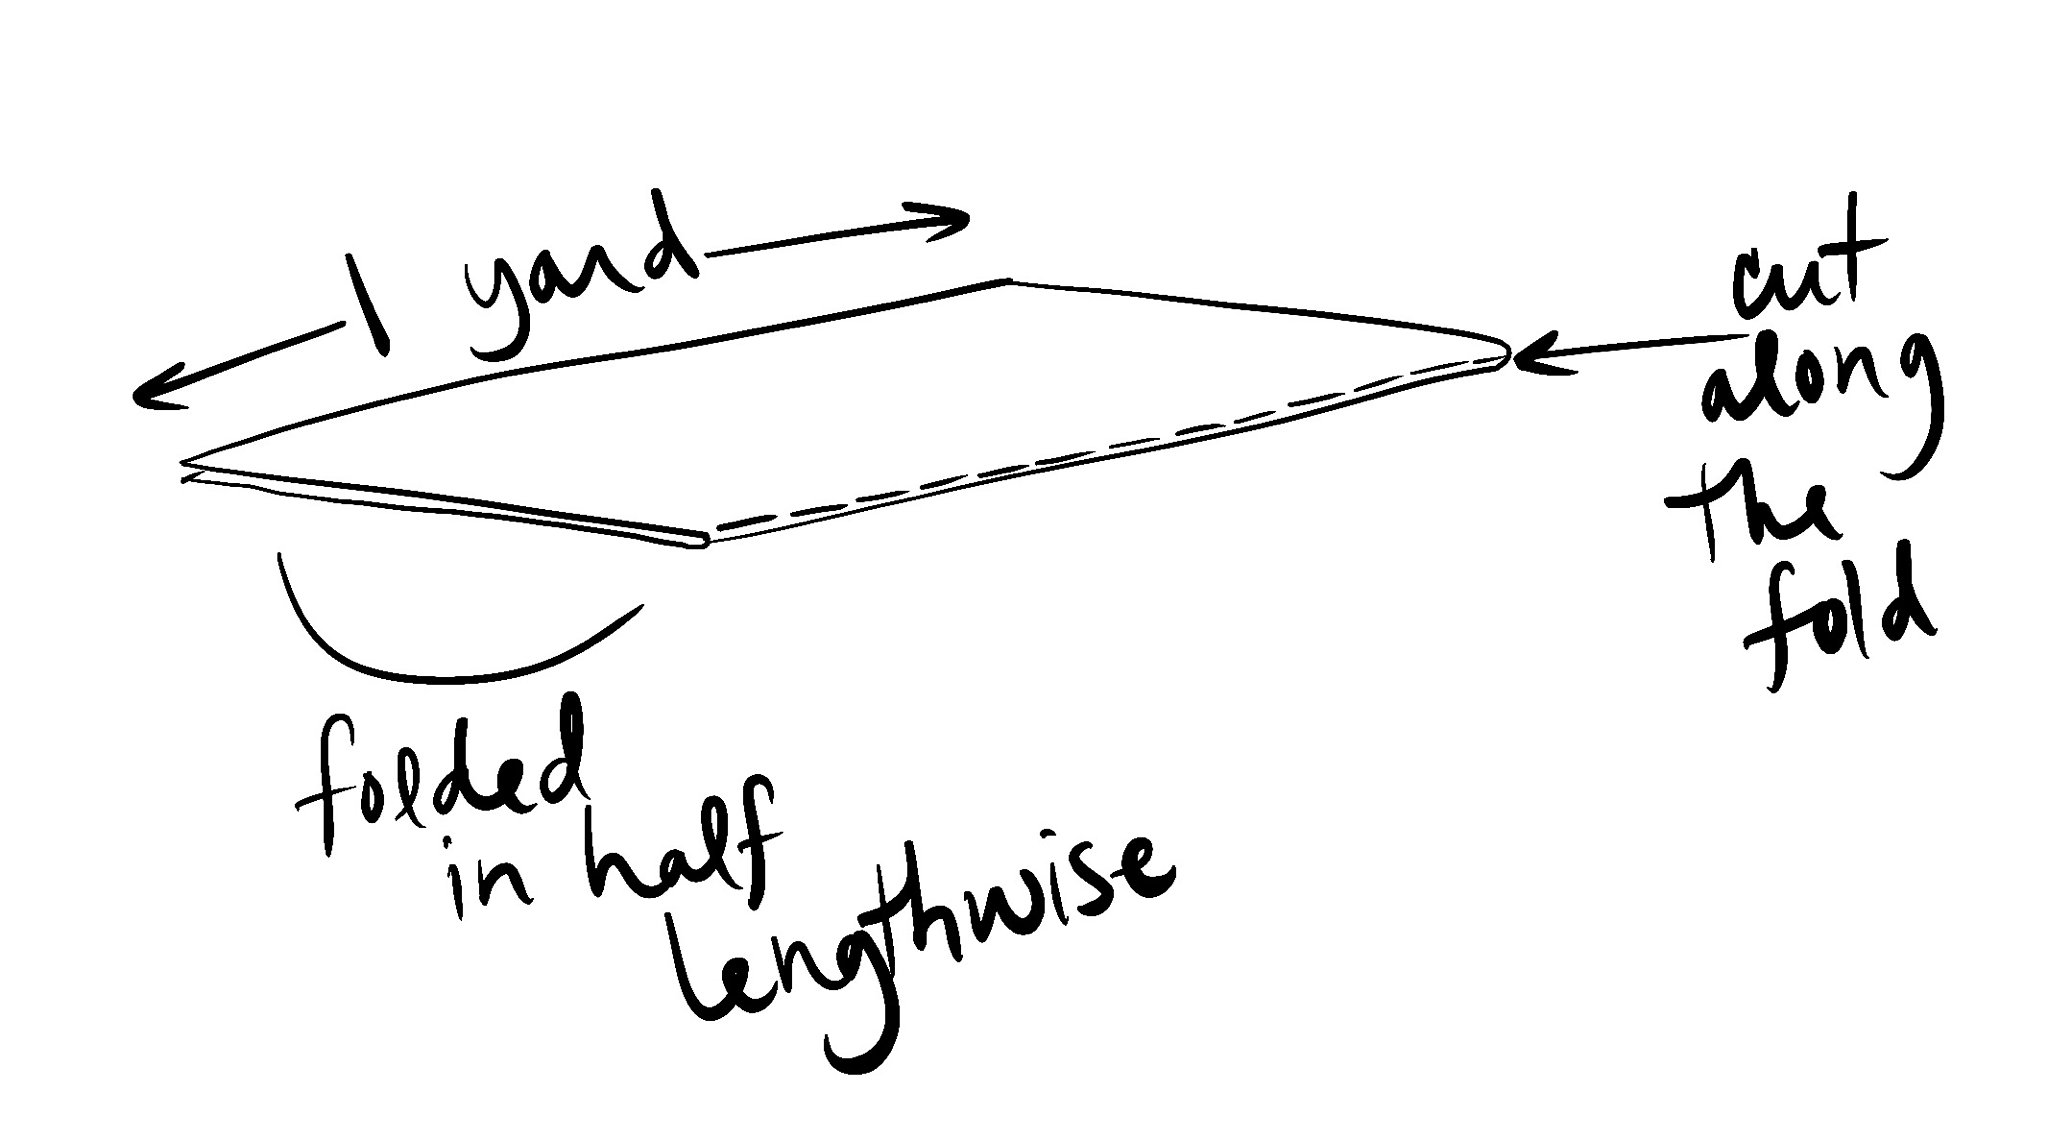
I folded the yard of fabric in half lengthwise (hot dog style) and cut along the fold to create two equal pieces of fabric.

Next, I laid one piece of fabric directly on top of the other piece, and stitched them together across one end. When folded open, this made one long piece of fabric with a seam directly in the center.

I opened the fabric up so it was one long piece of fabric, then folded it lengthwise (hot dog style), with the right sides facing inward.
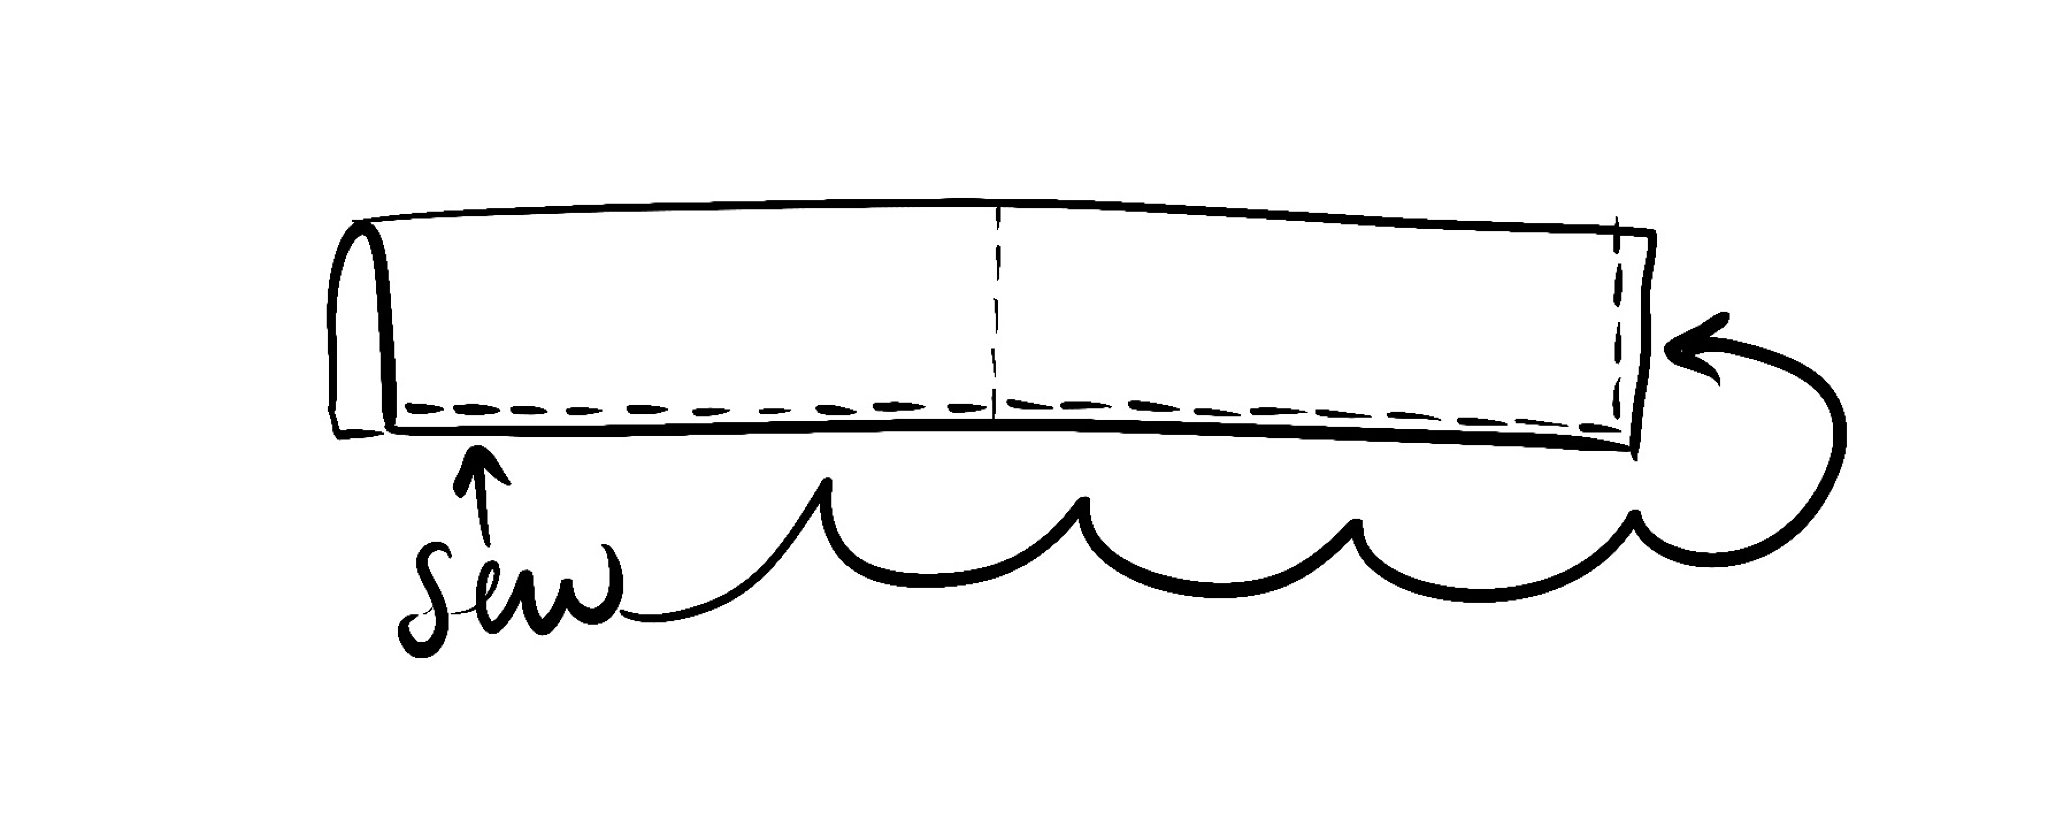
I sewed along one end and the open side. This essentially created a fabric tube. I pulled the fabric back through the open end so that it was right side out and then sewed the open end closed.

Here’s a great video tutorial for how to wear a wrap carrier.
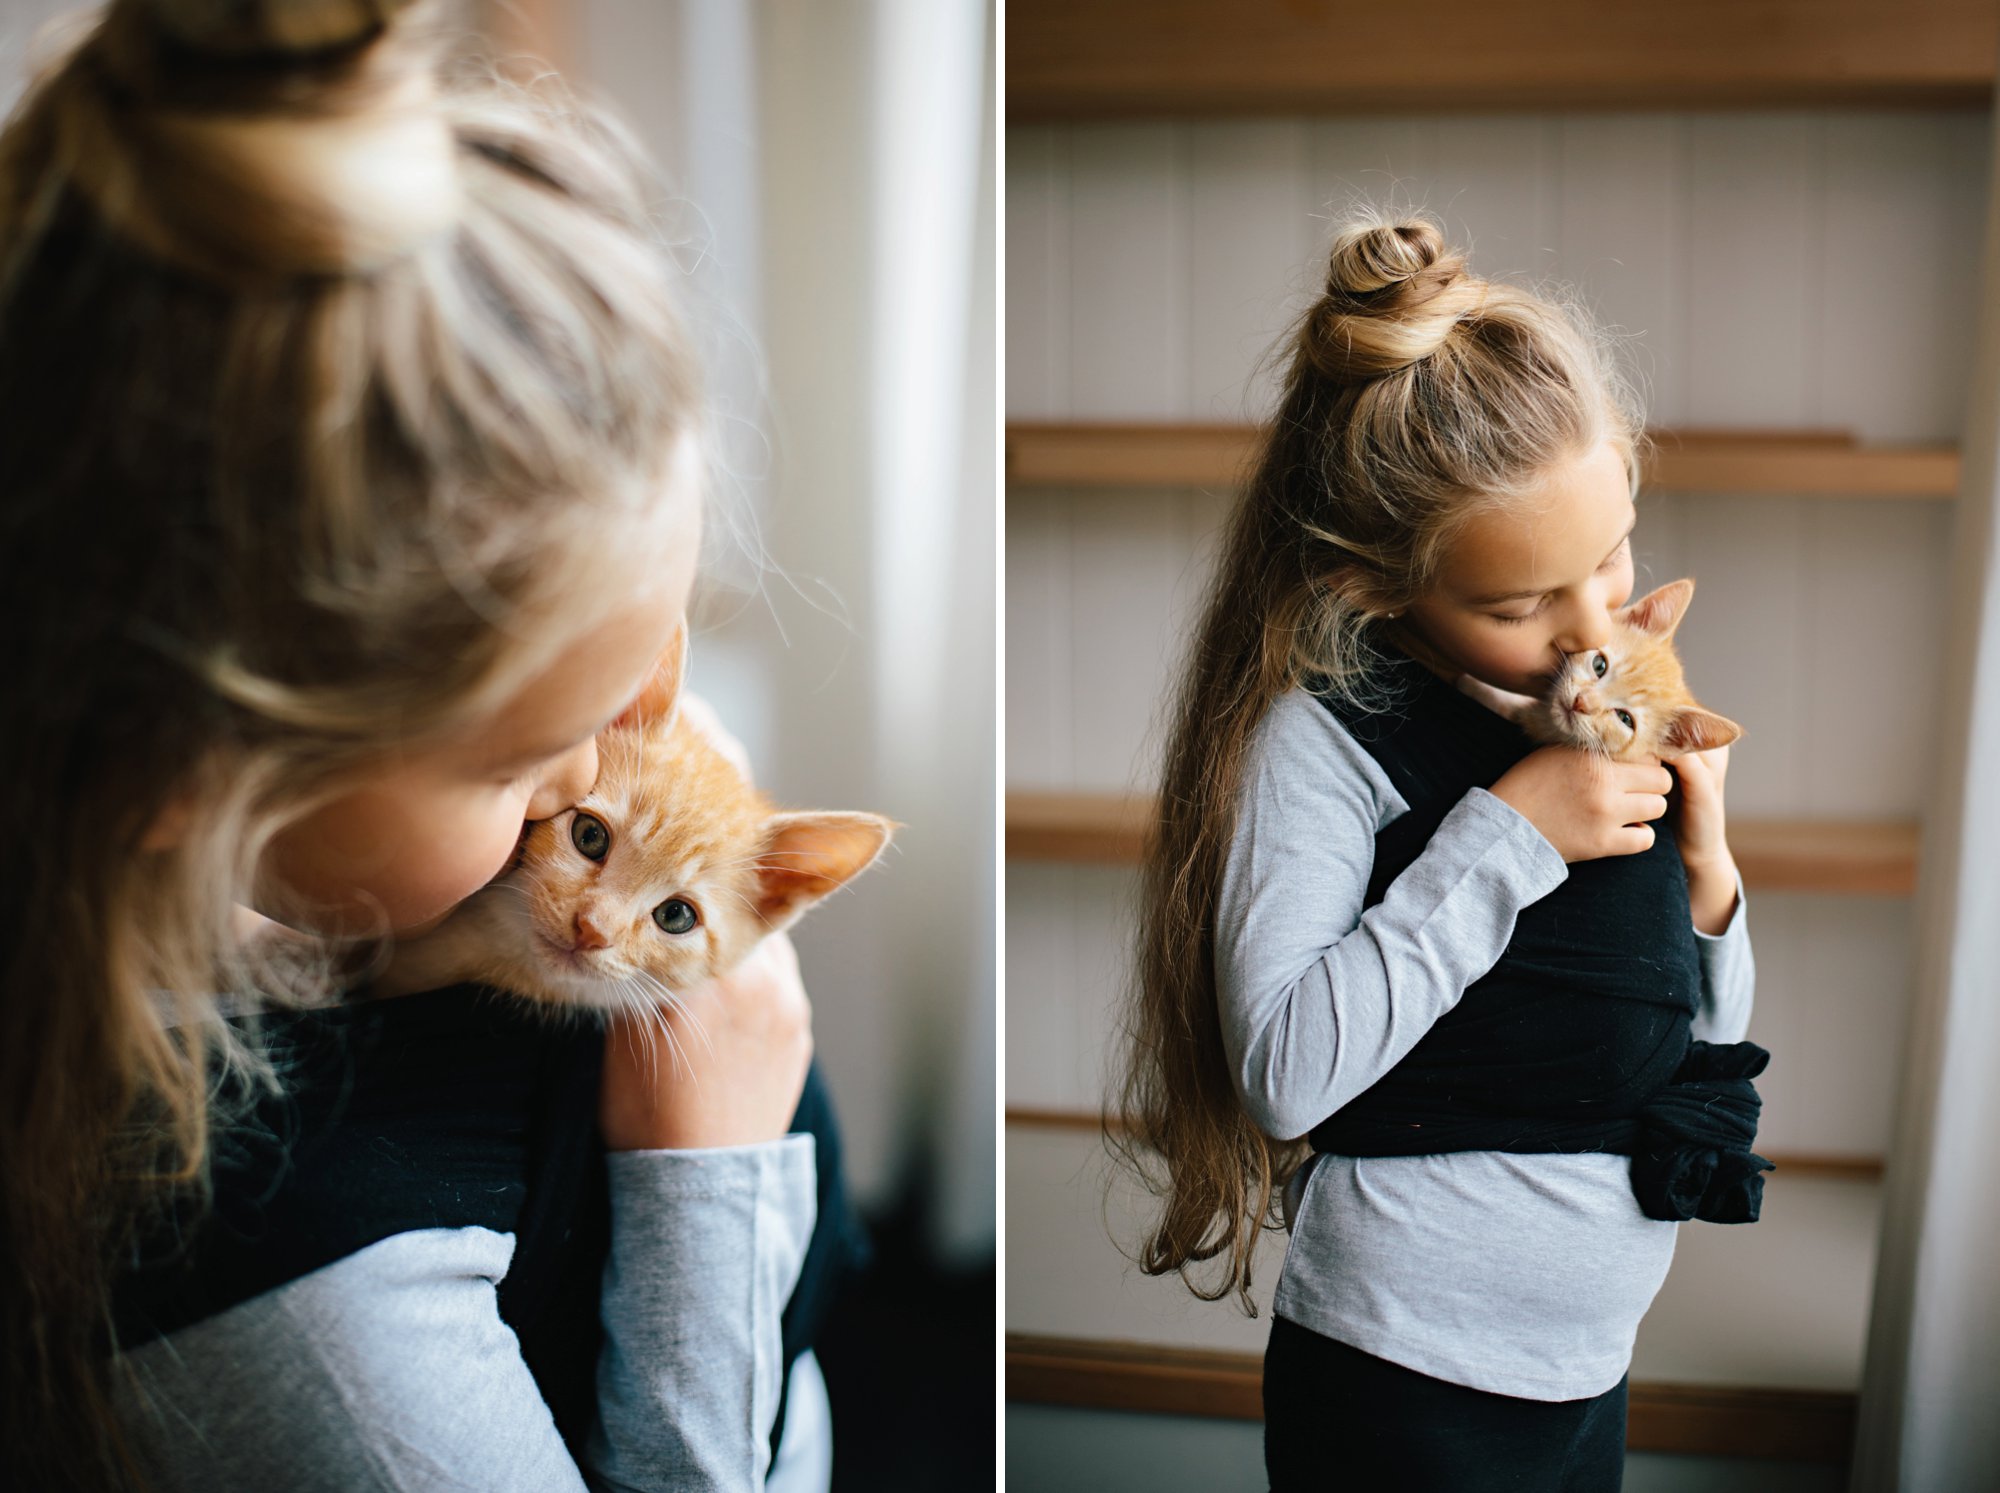
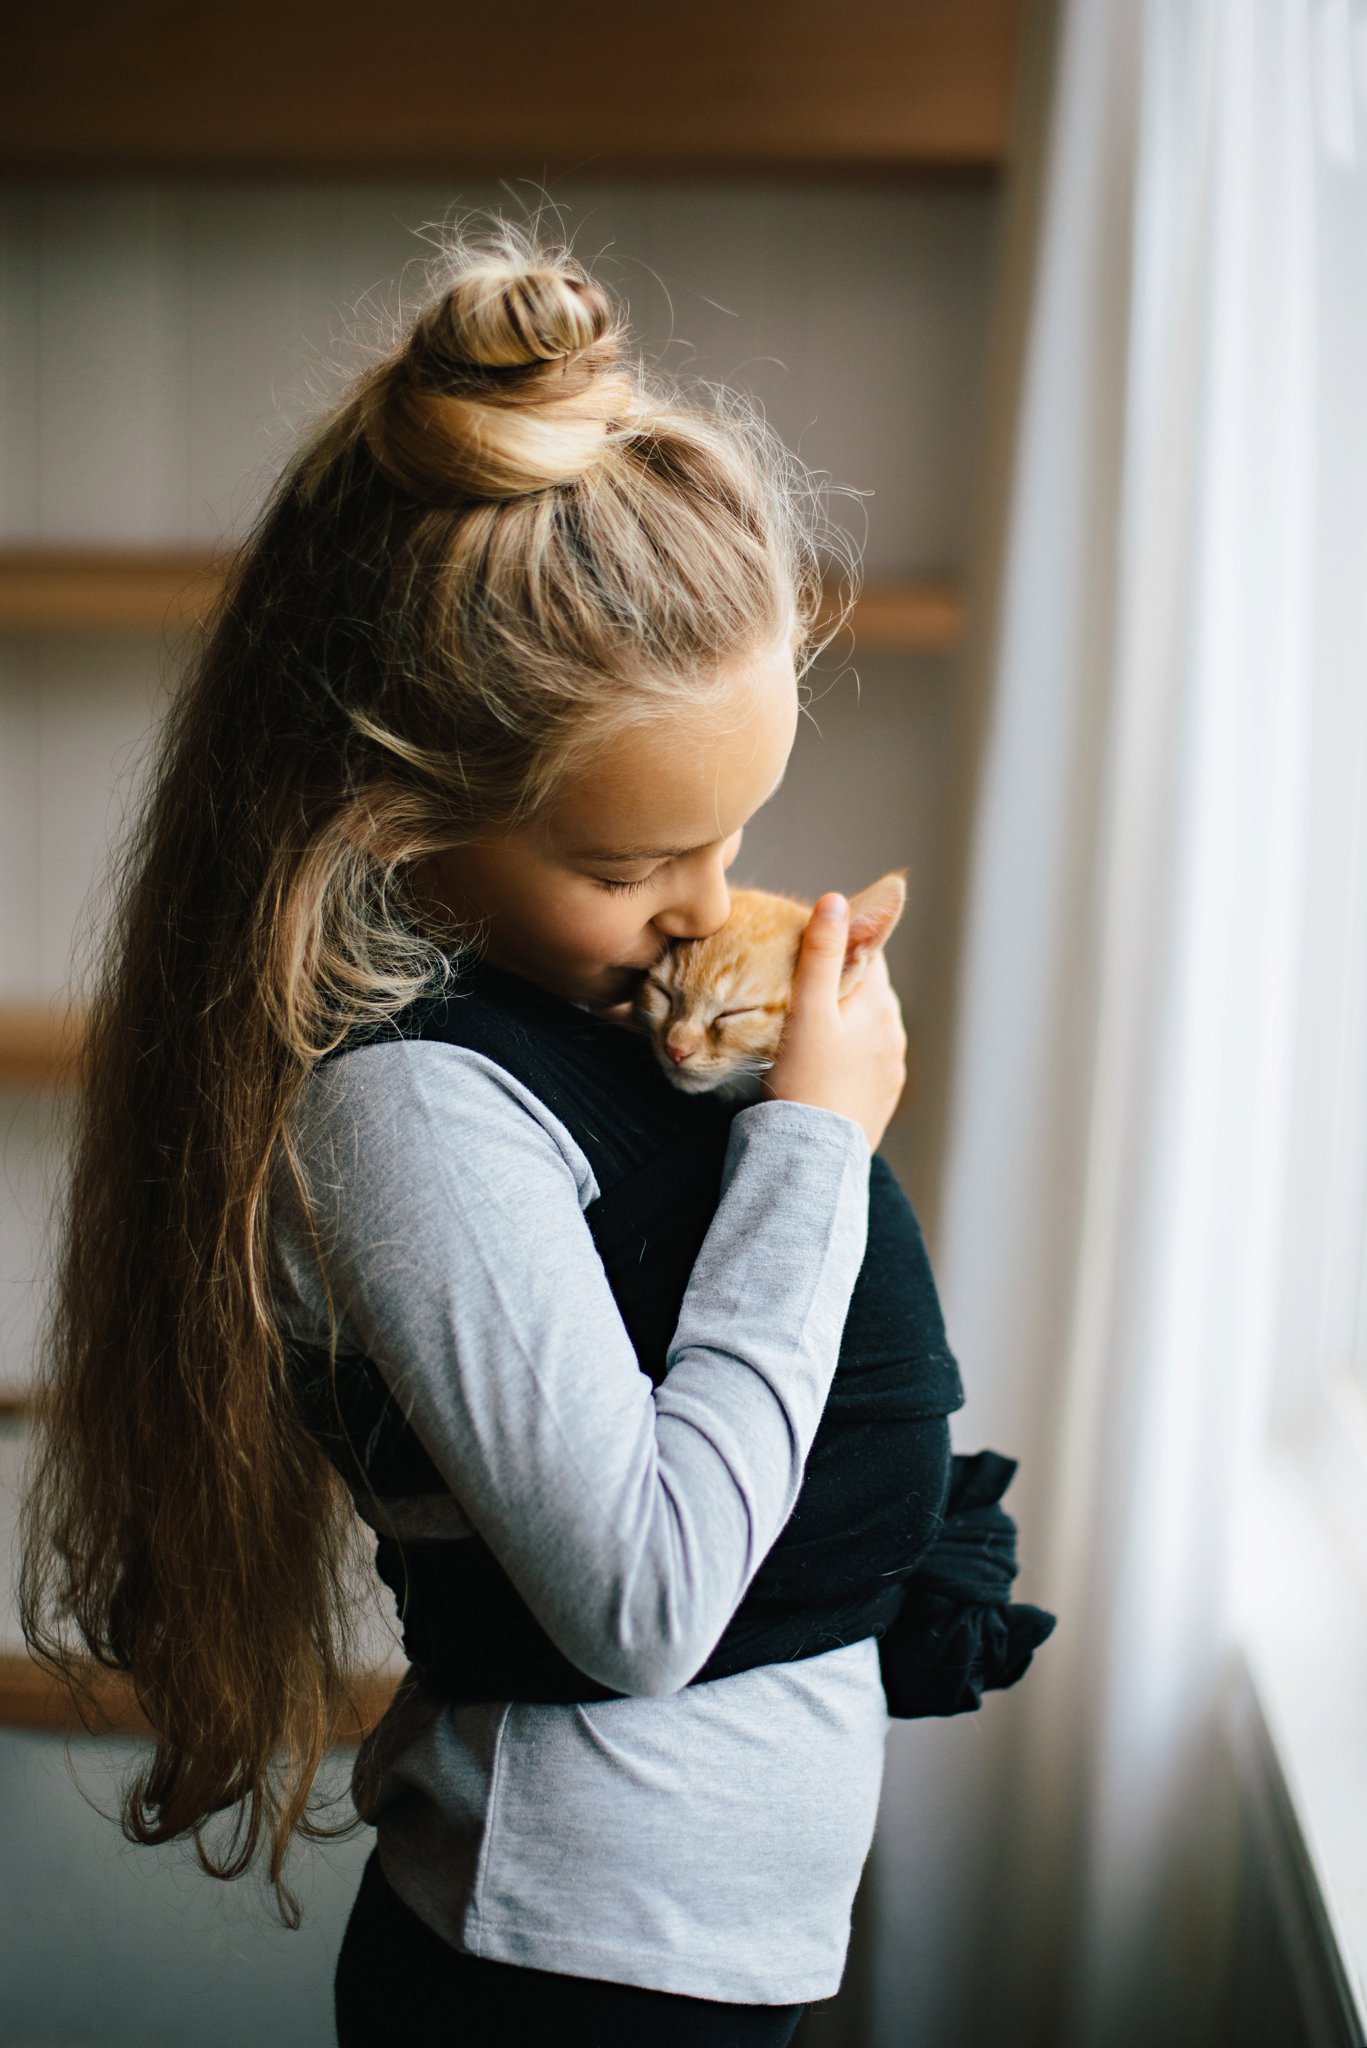
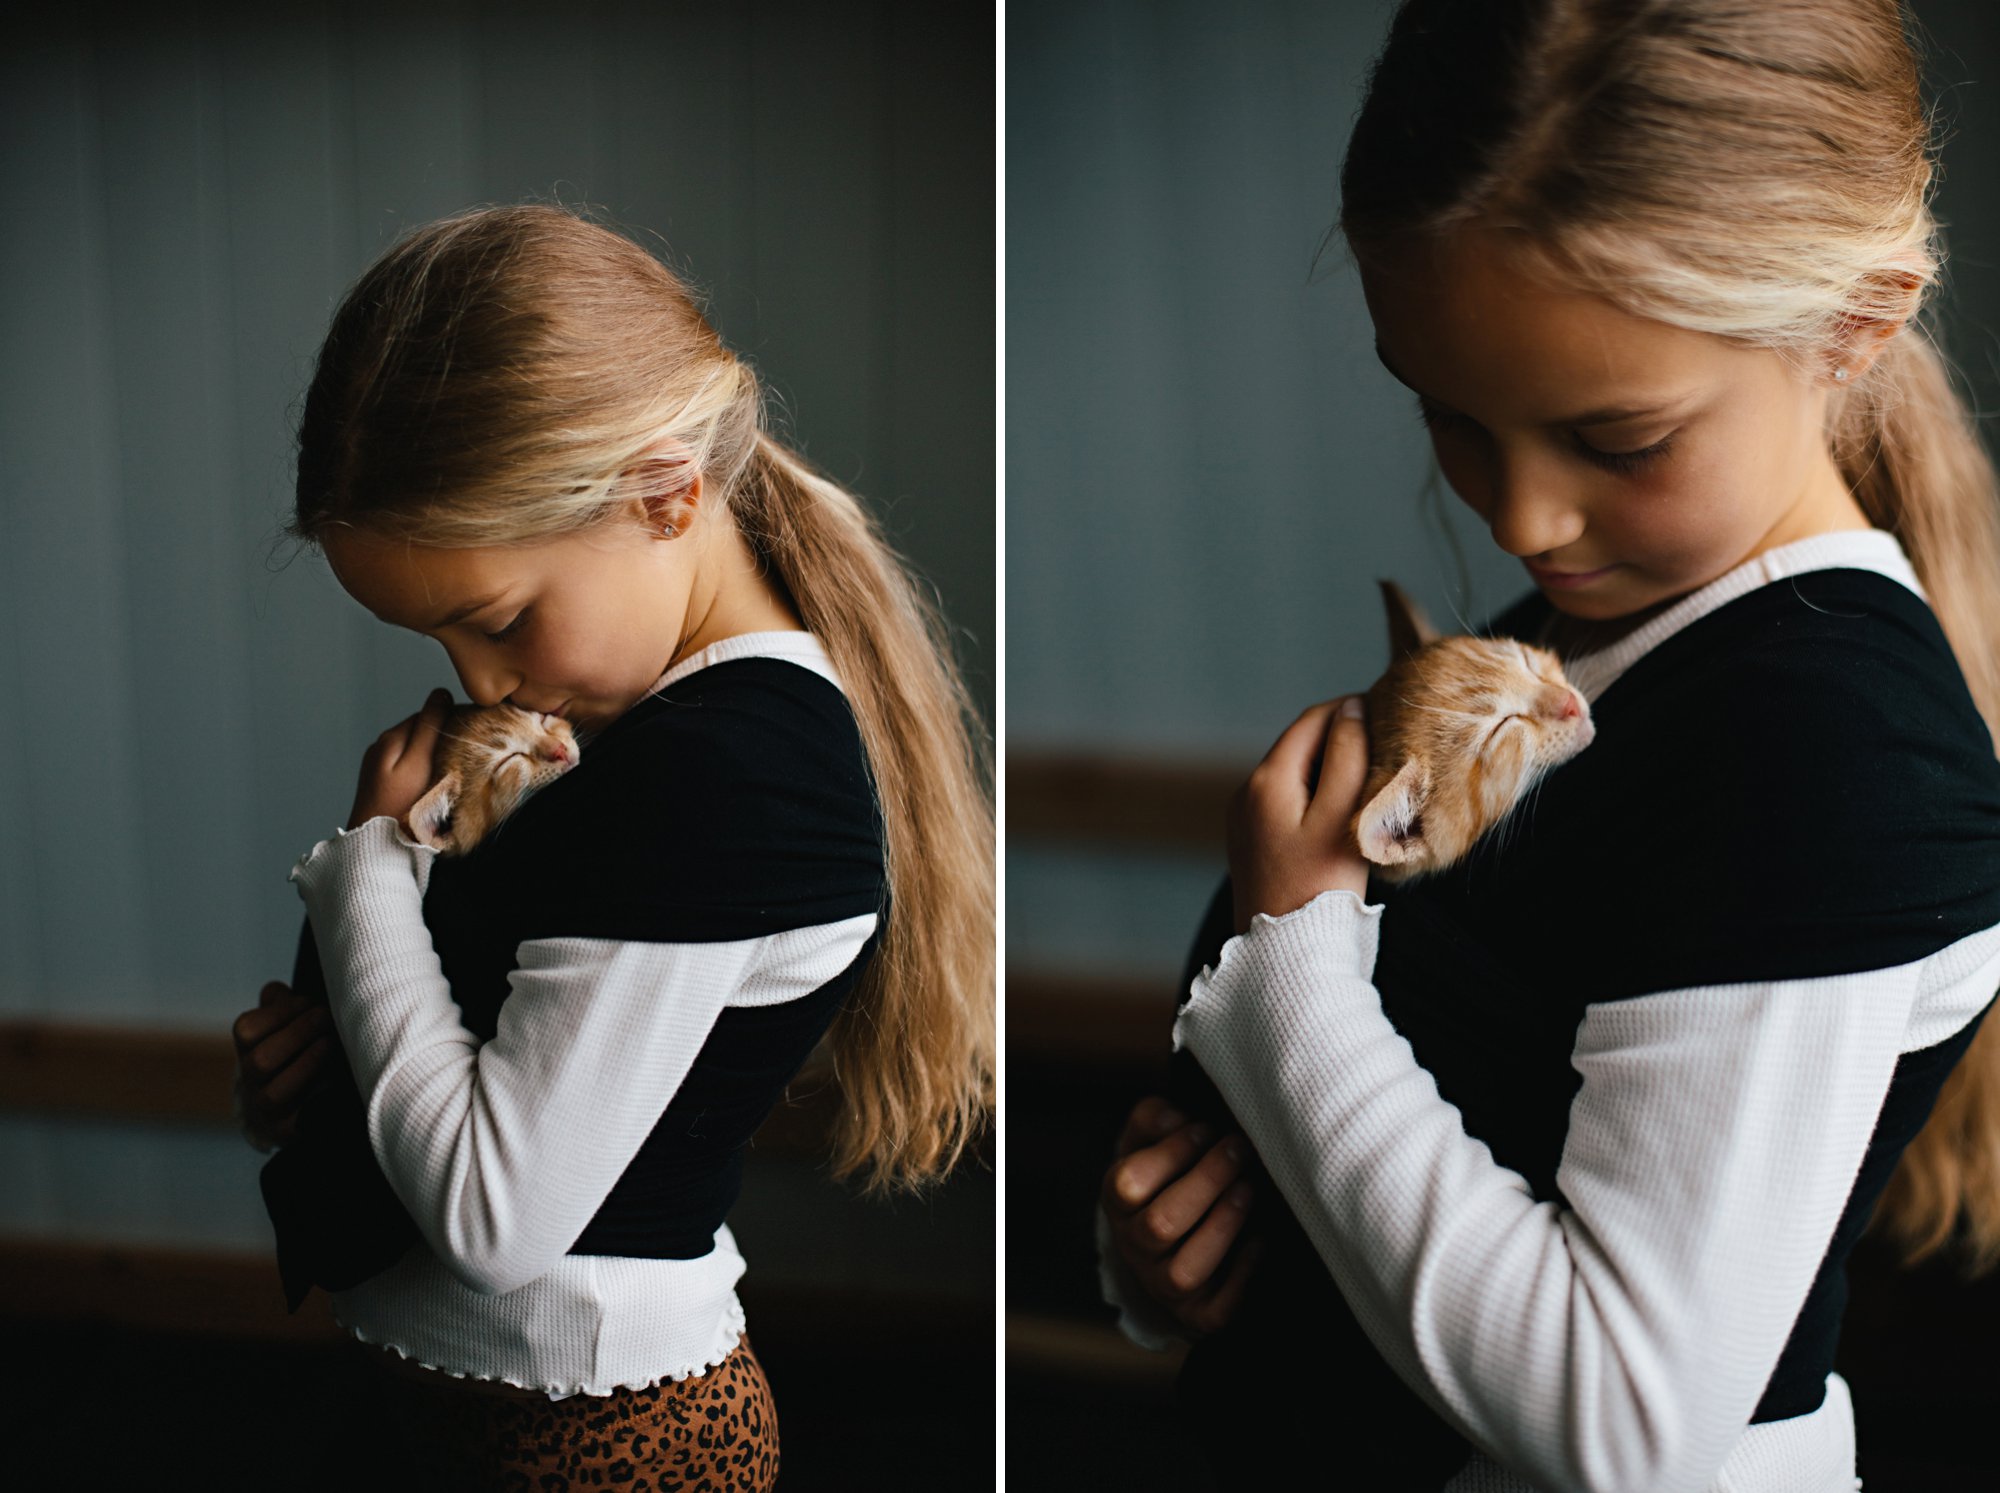
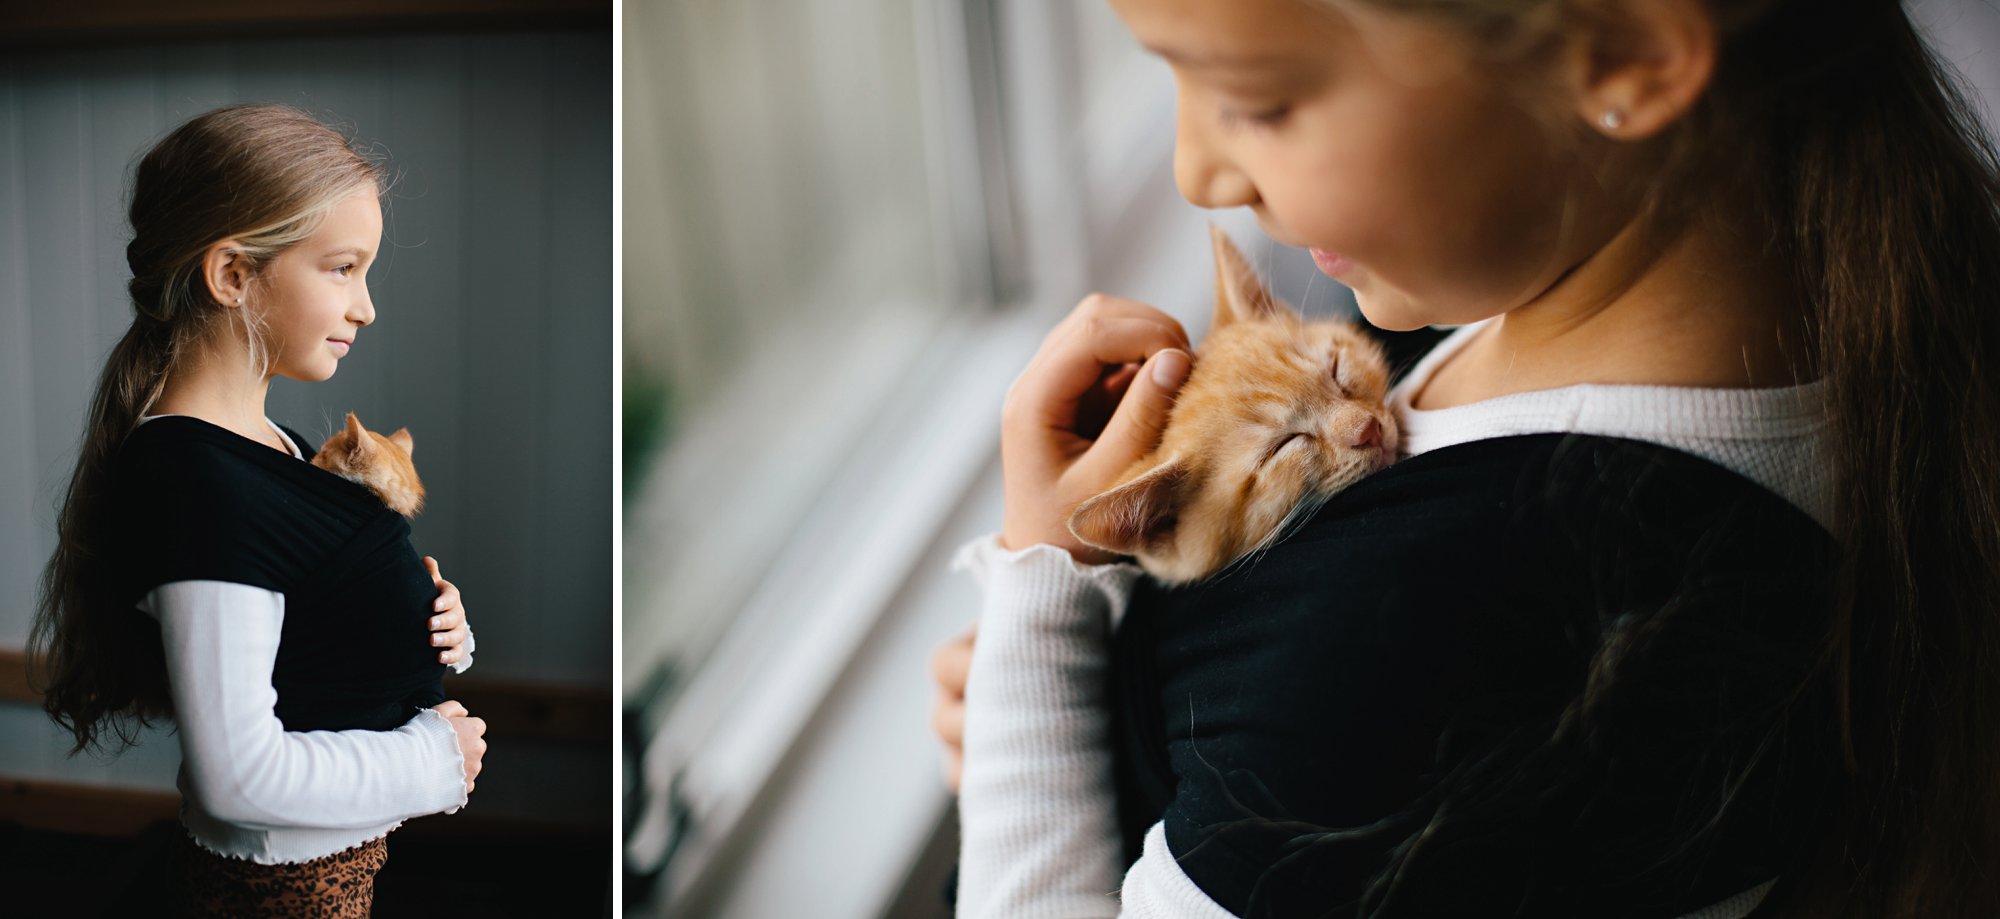
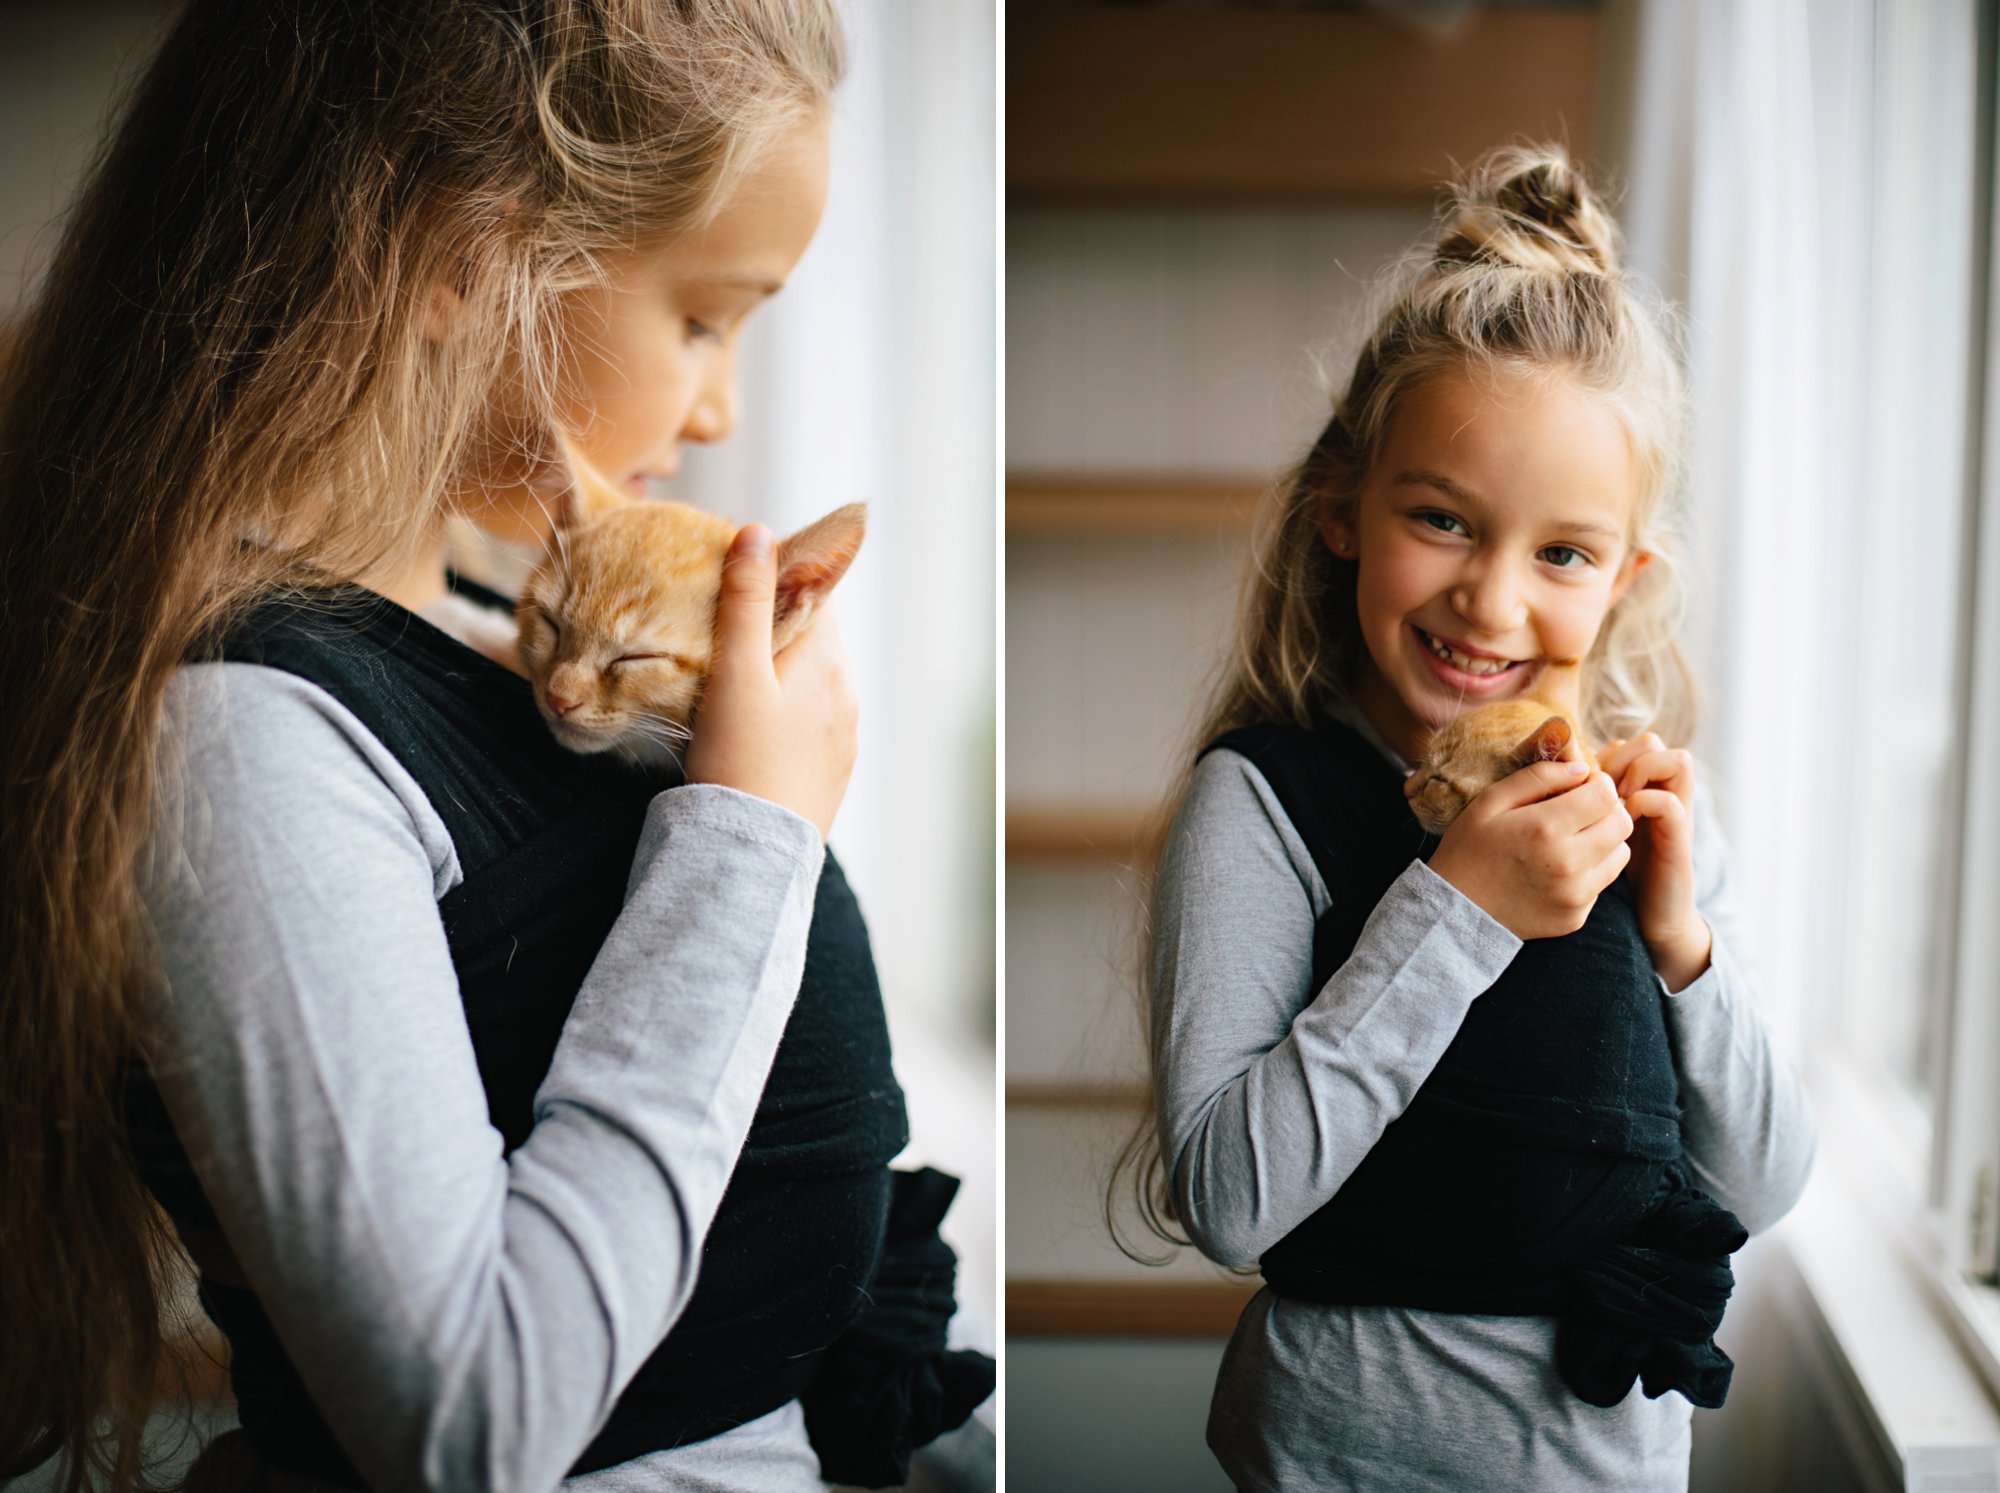
Auggie loooves snuggling up in the carrier with Isla! He starts purring and falls asleep within moments.
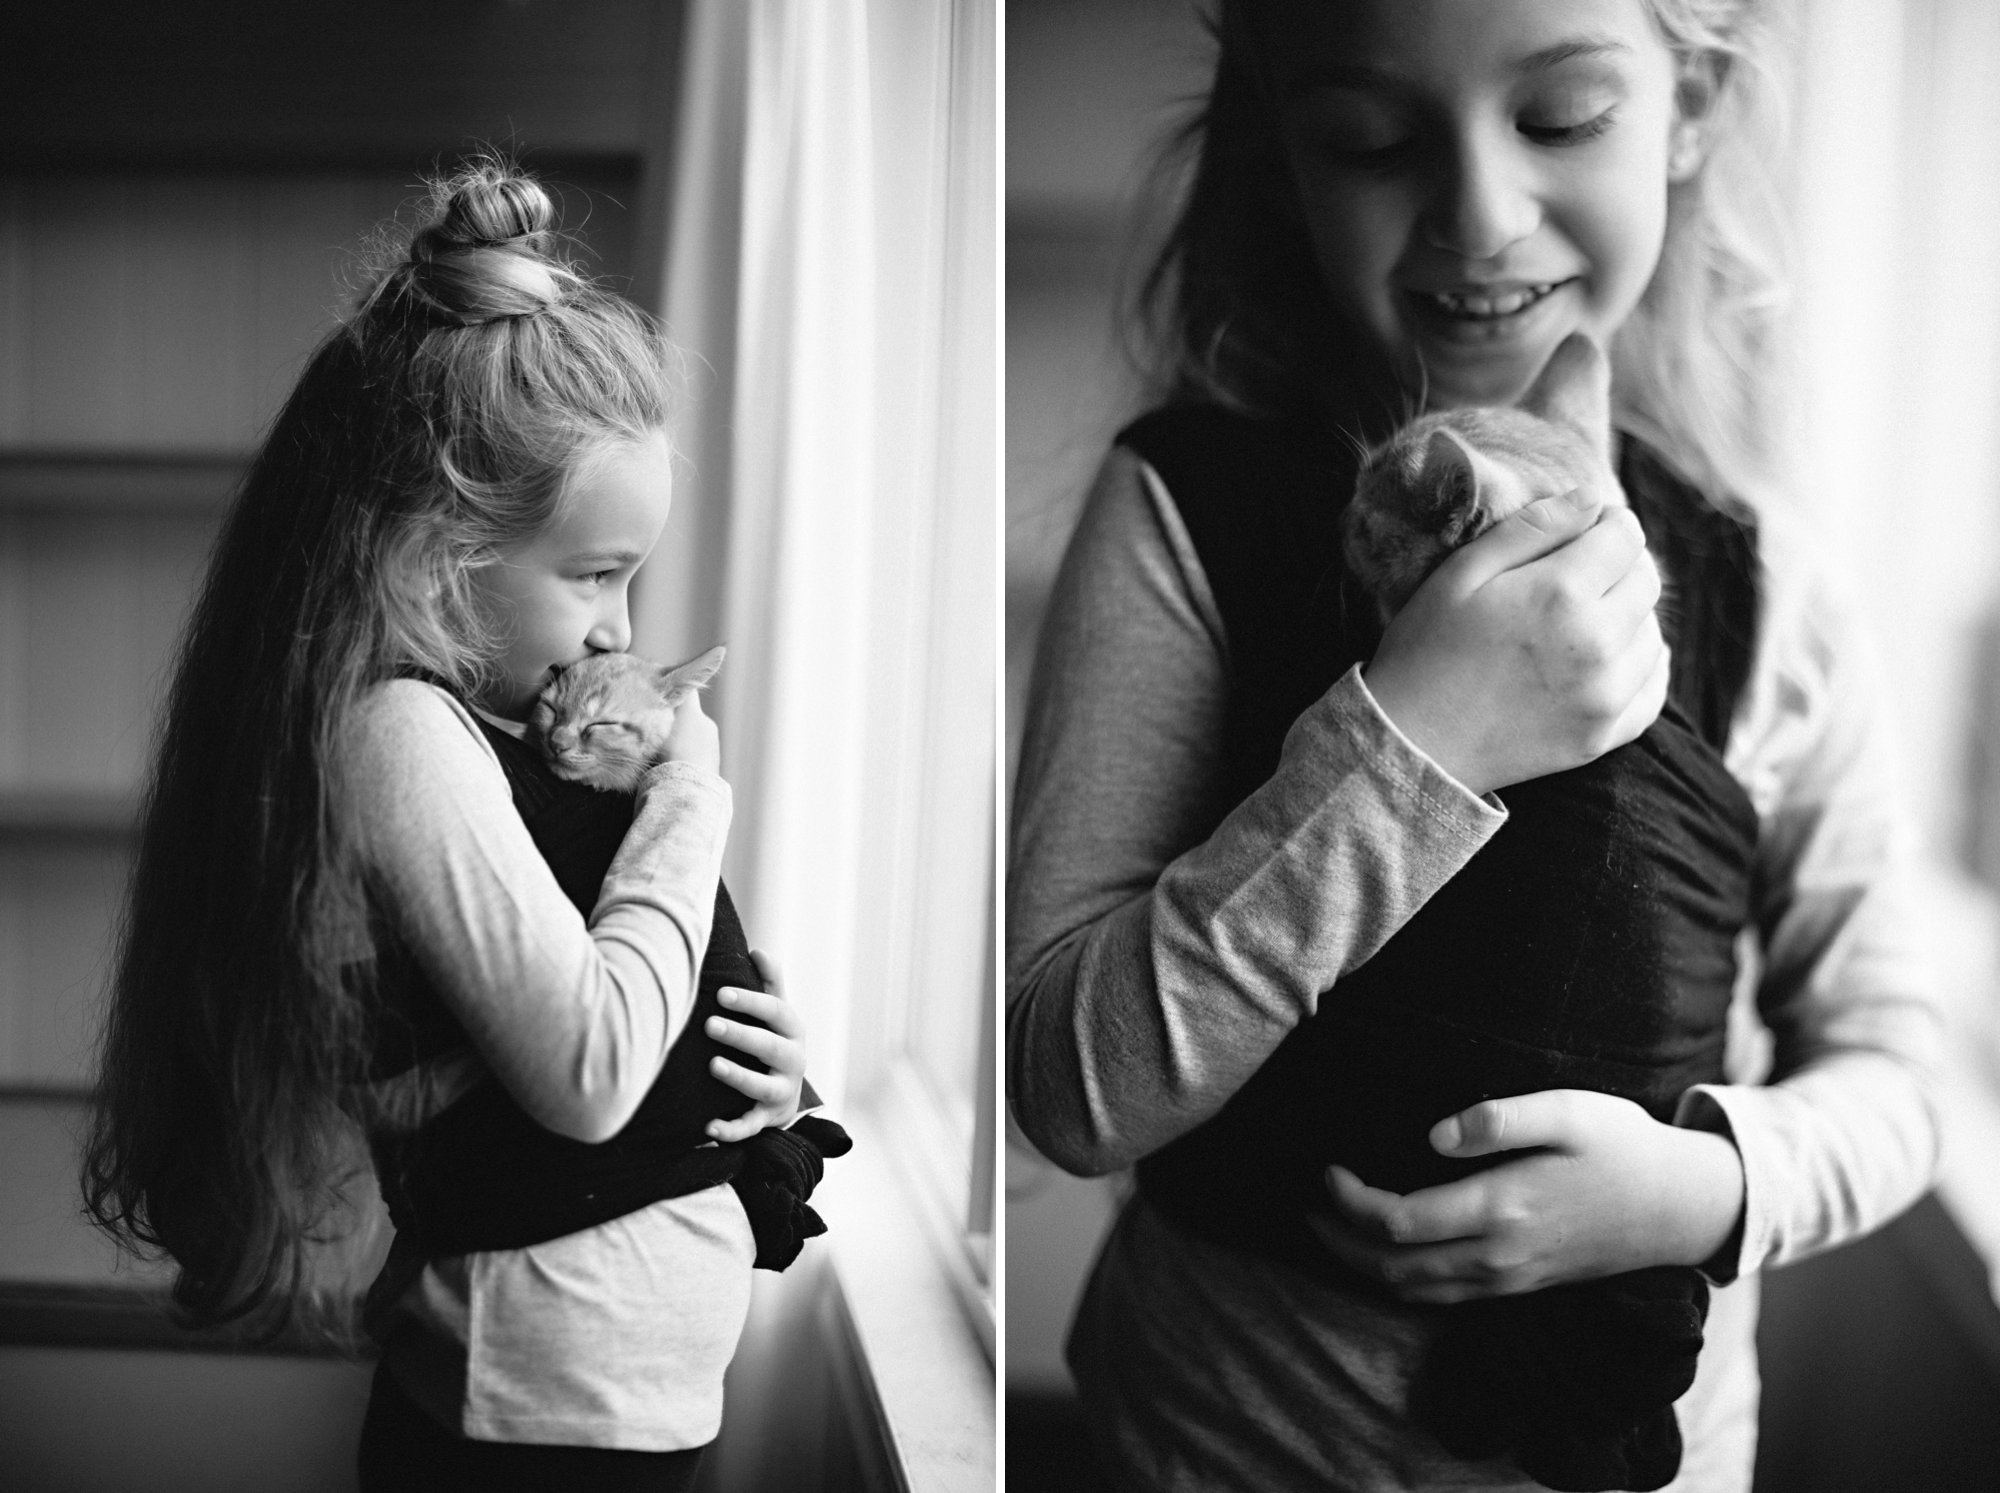
To ensure their safety, I monitor Isla and Auggie whenever she has him in the wrap carrier. I also took some time to talk with Isla about the importance of keeping Auggie’s face out so that he can breathe easily.
I just keep thinking back to how much I would have LOVED this carrier as a child. It absolutely tickles me to see Isla so, so happy! She is such a sweet little kitten-wearnin’ momma!