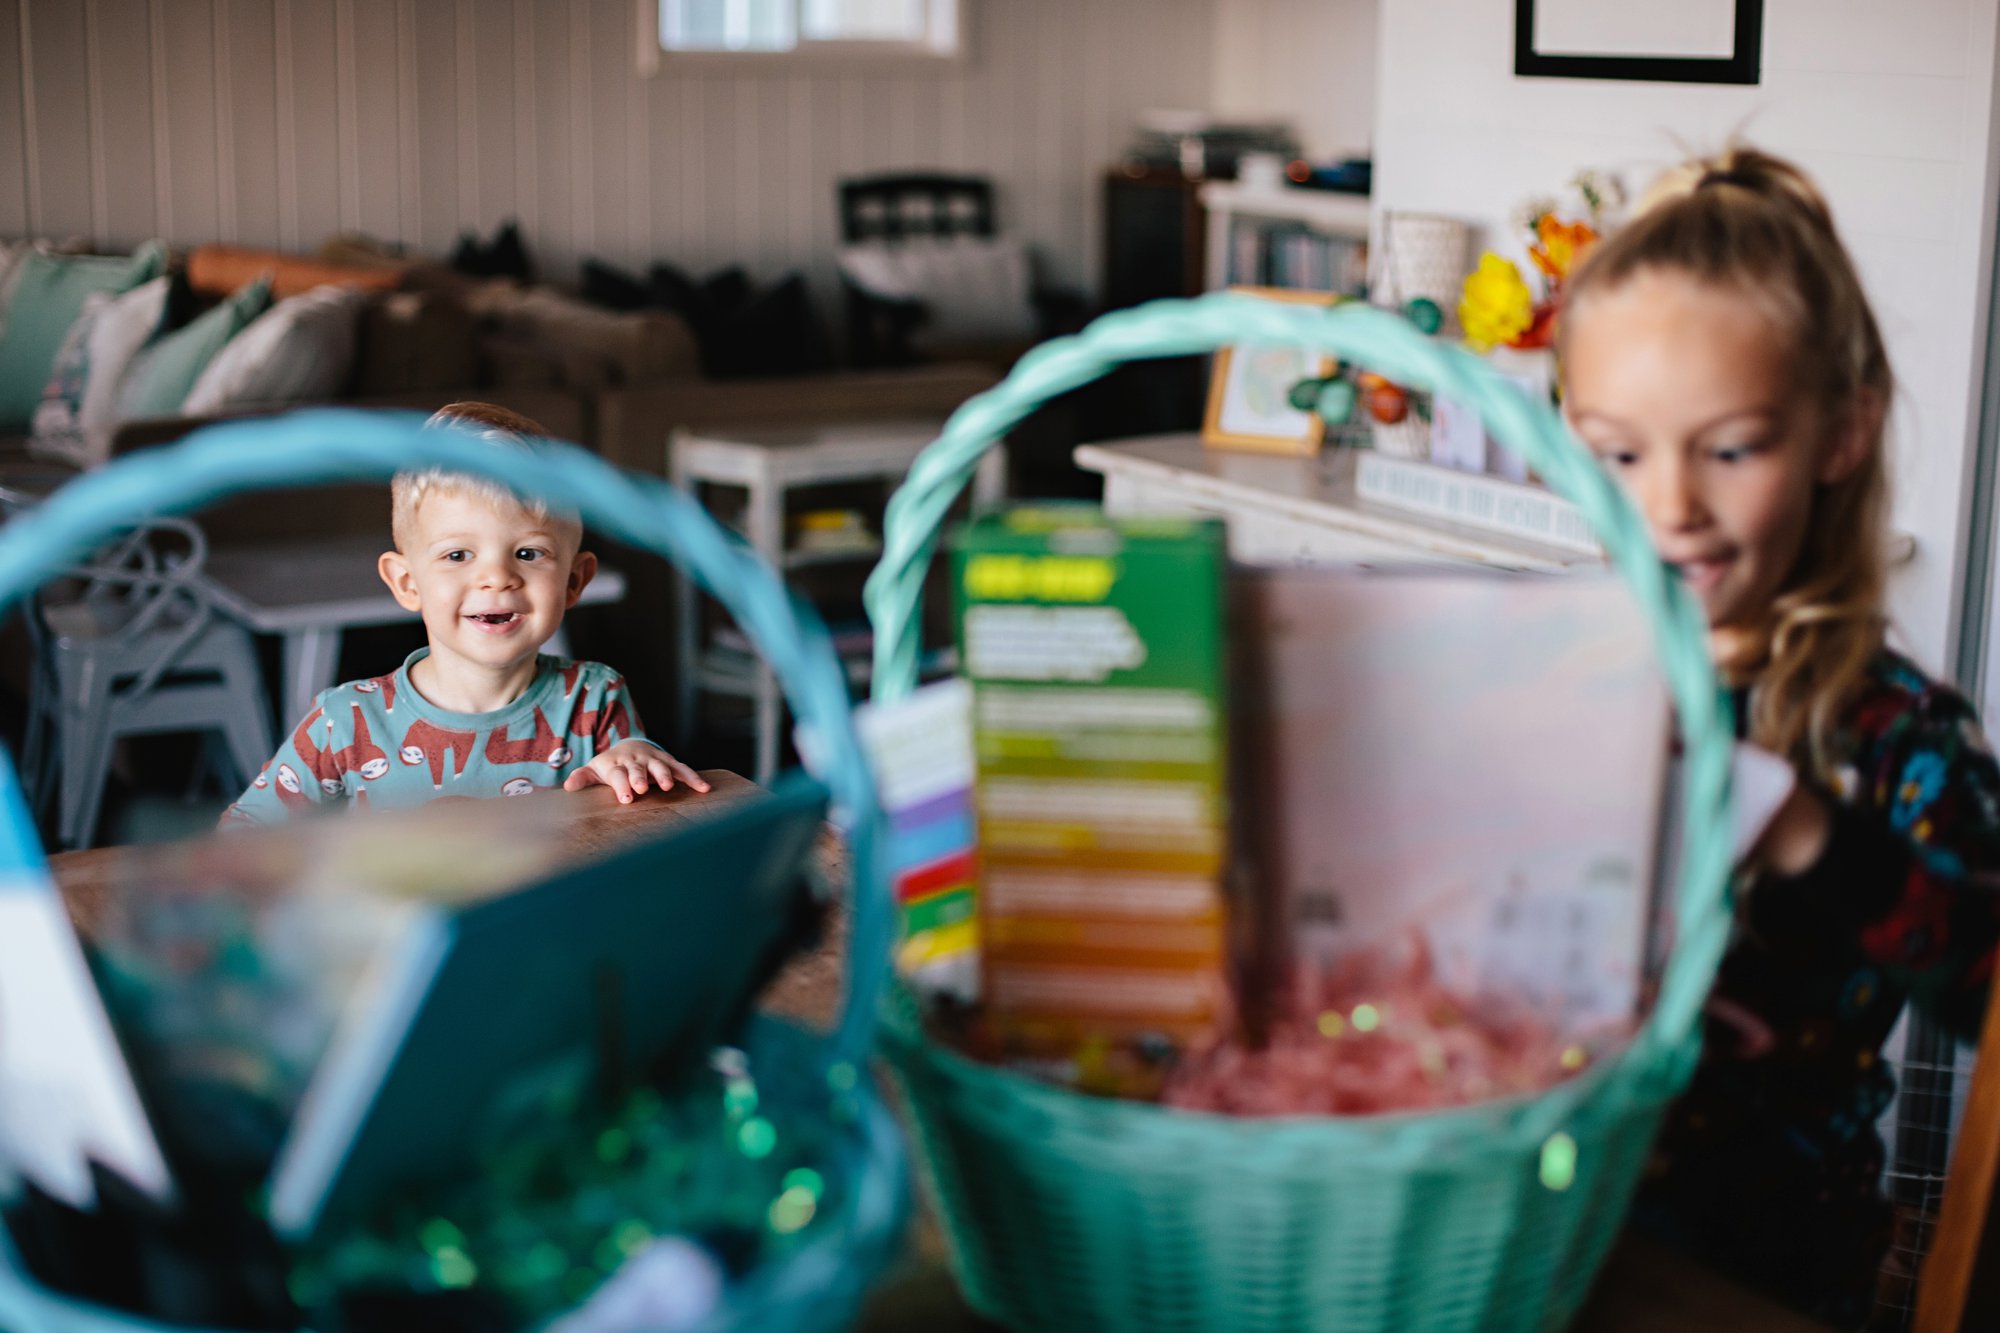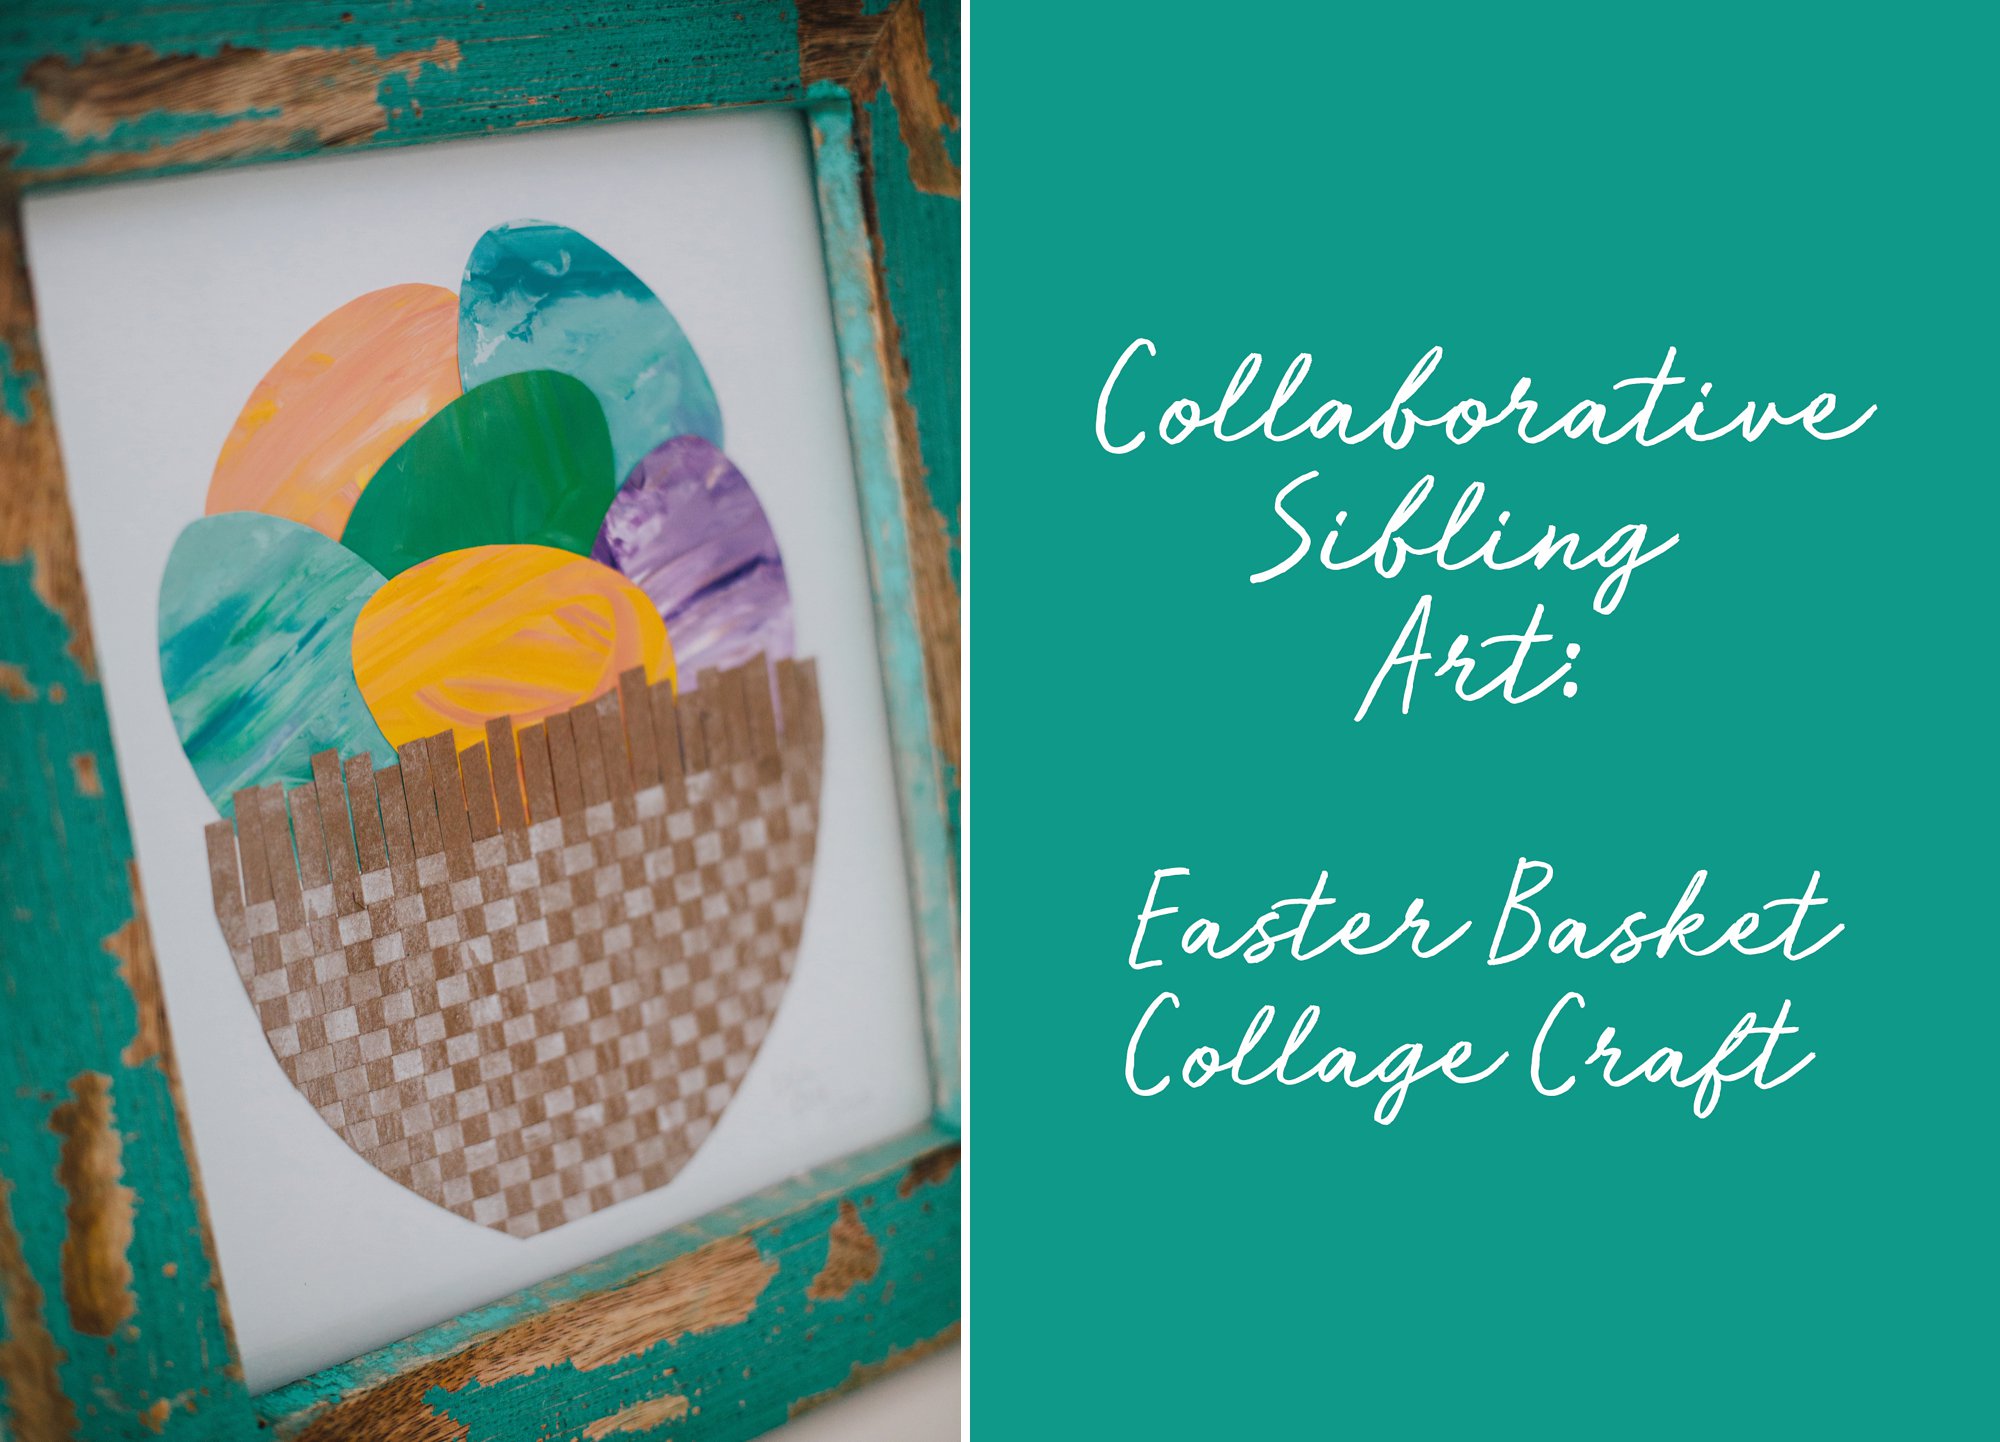
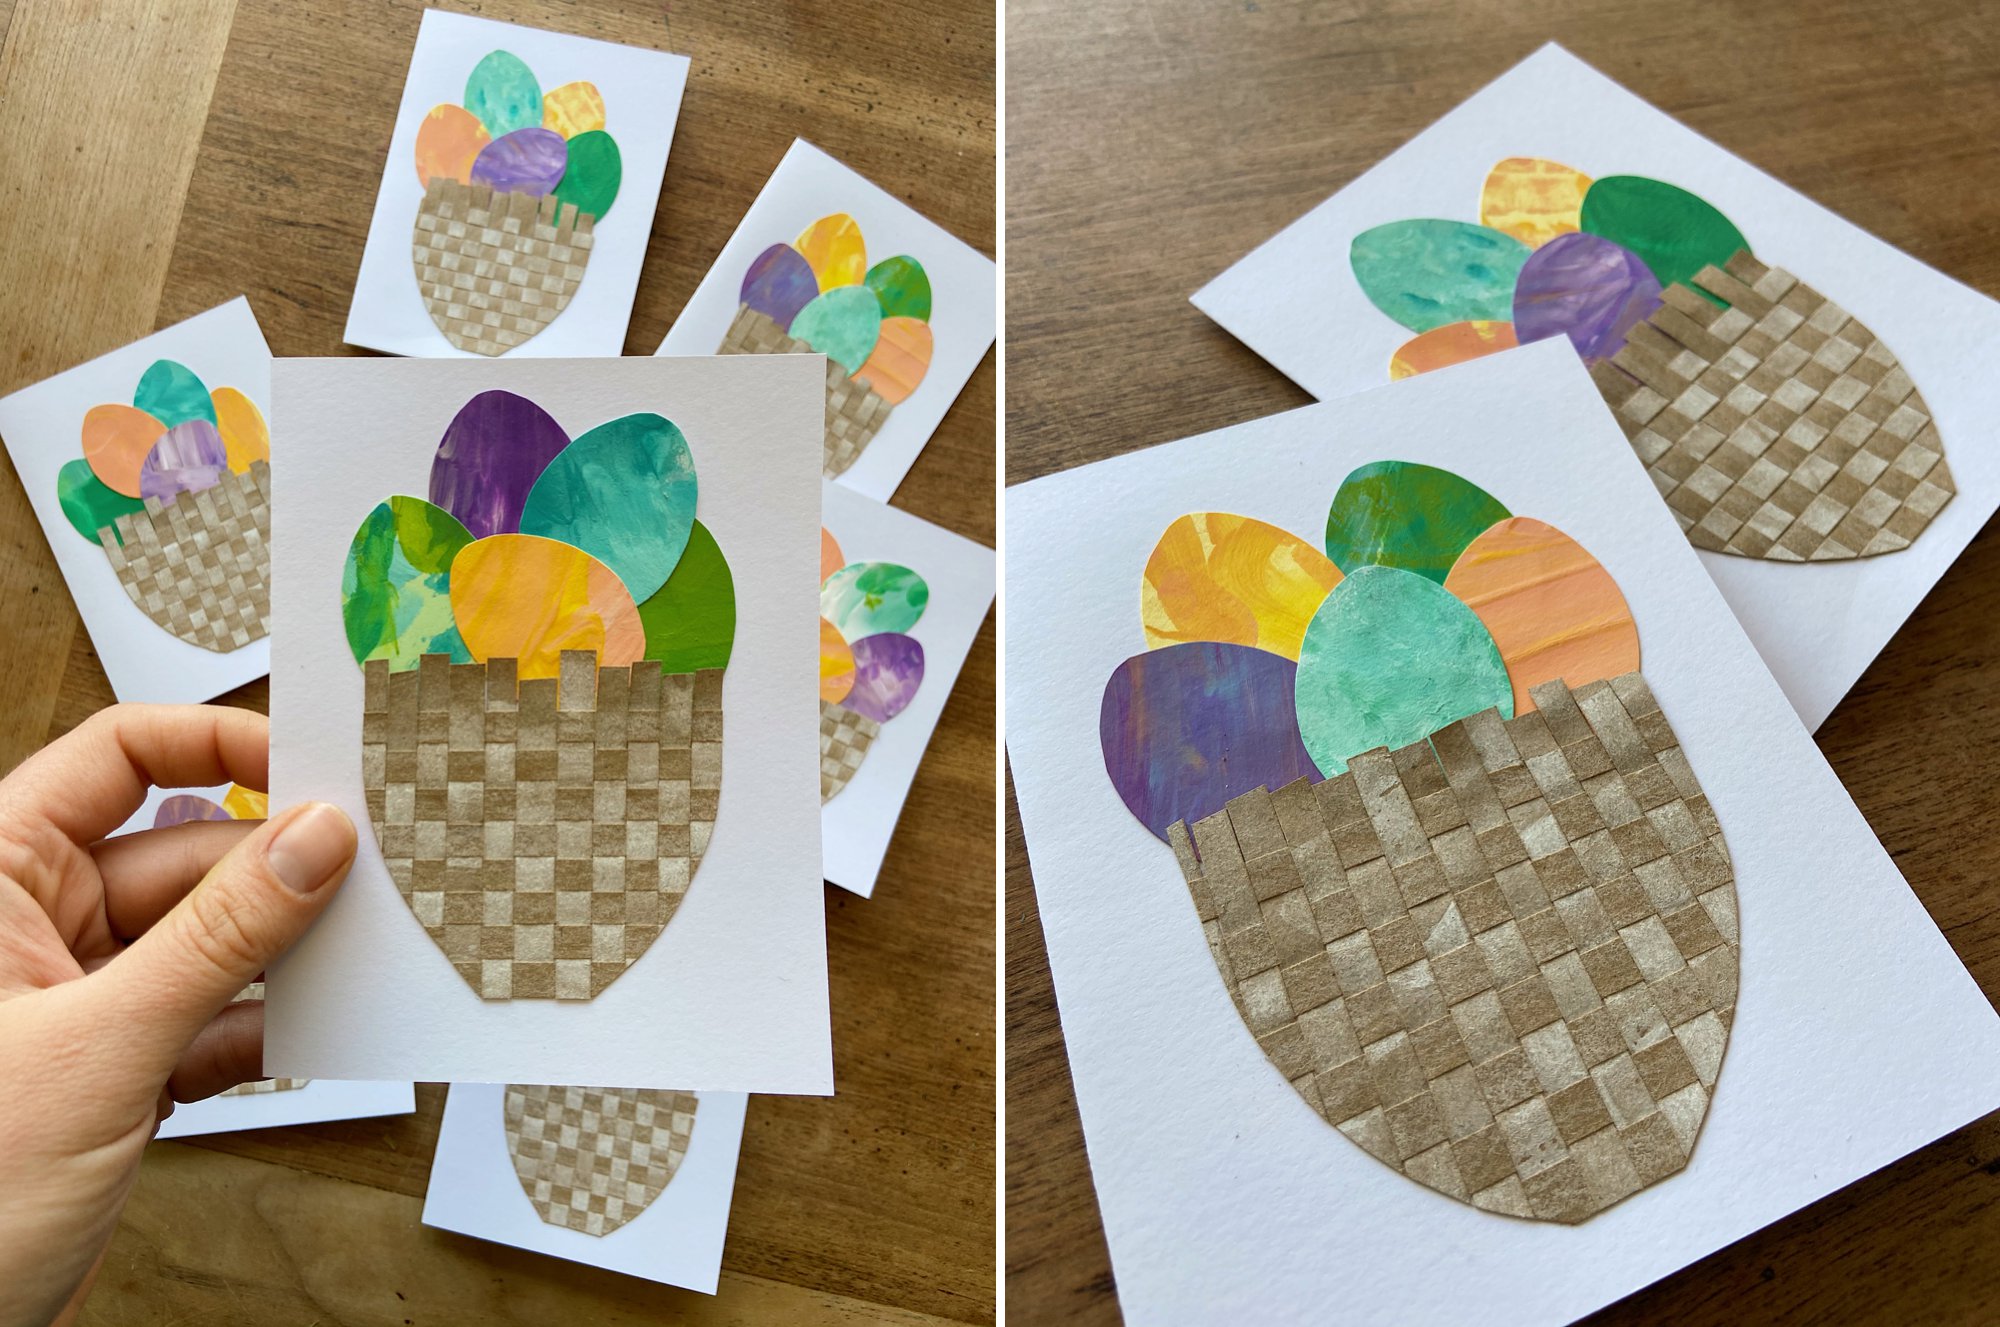
We love having Isla and Cole collaborate on artwork that we can display and enjoy, especially during different holidays. I was trying to find a way to combine the kids’ recent painting and paper weaving projects into some Easter artwork and suddenly it hit me– Easter baskets filled with colorful eggs!

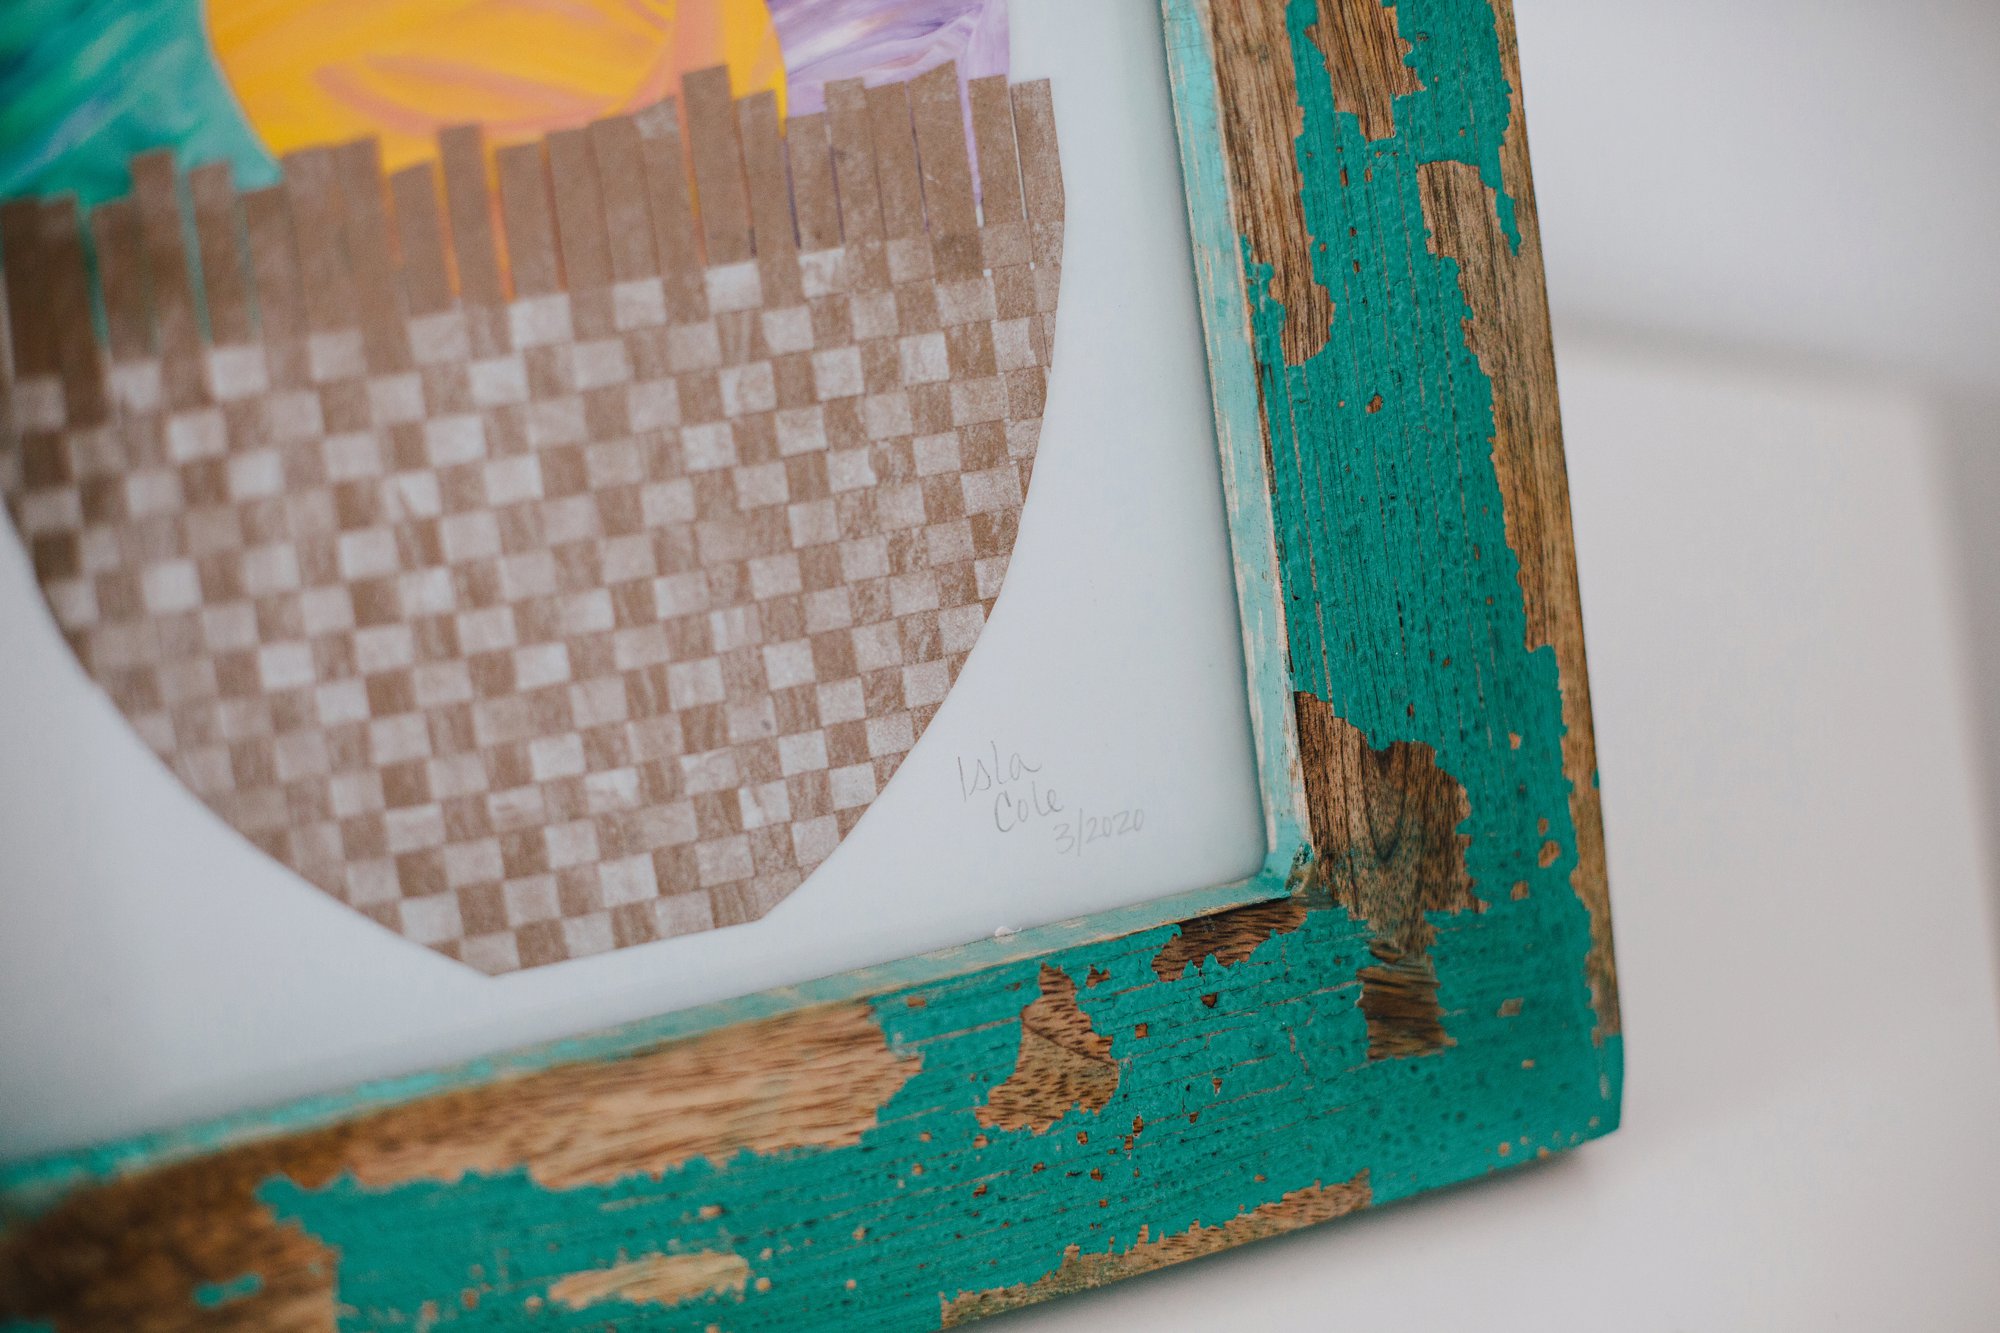
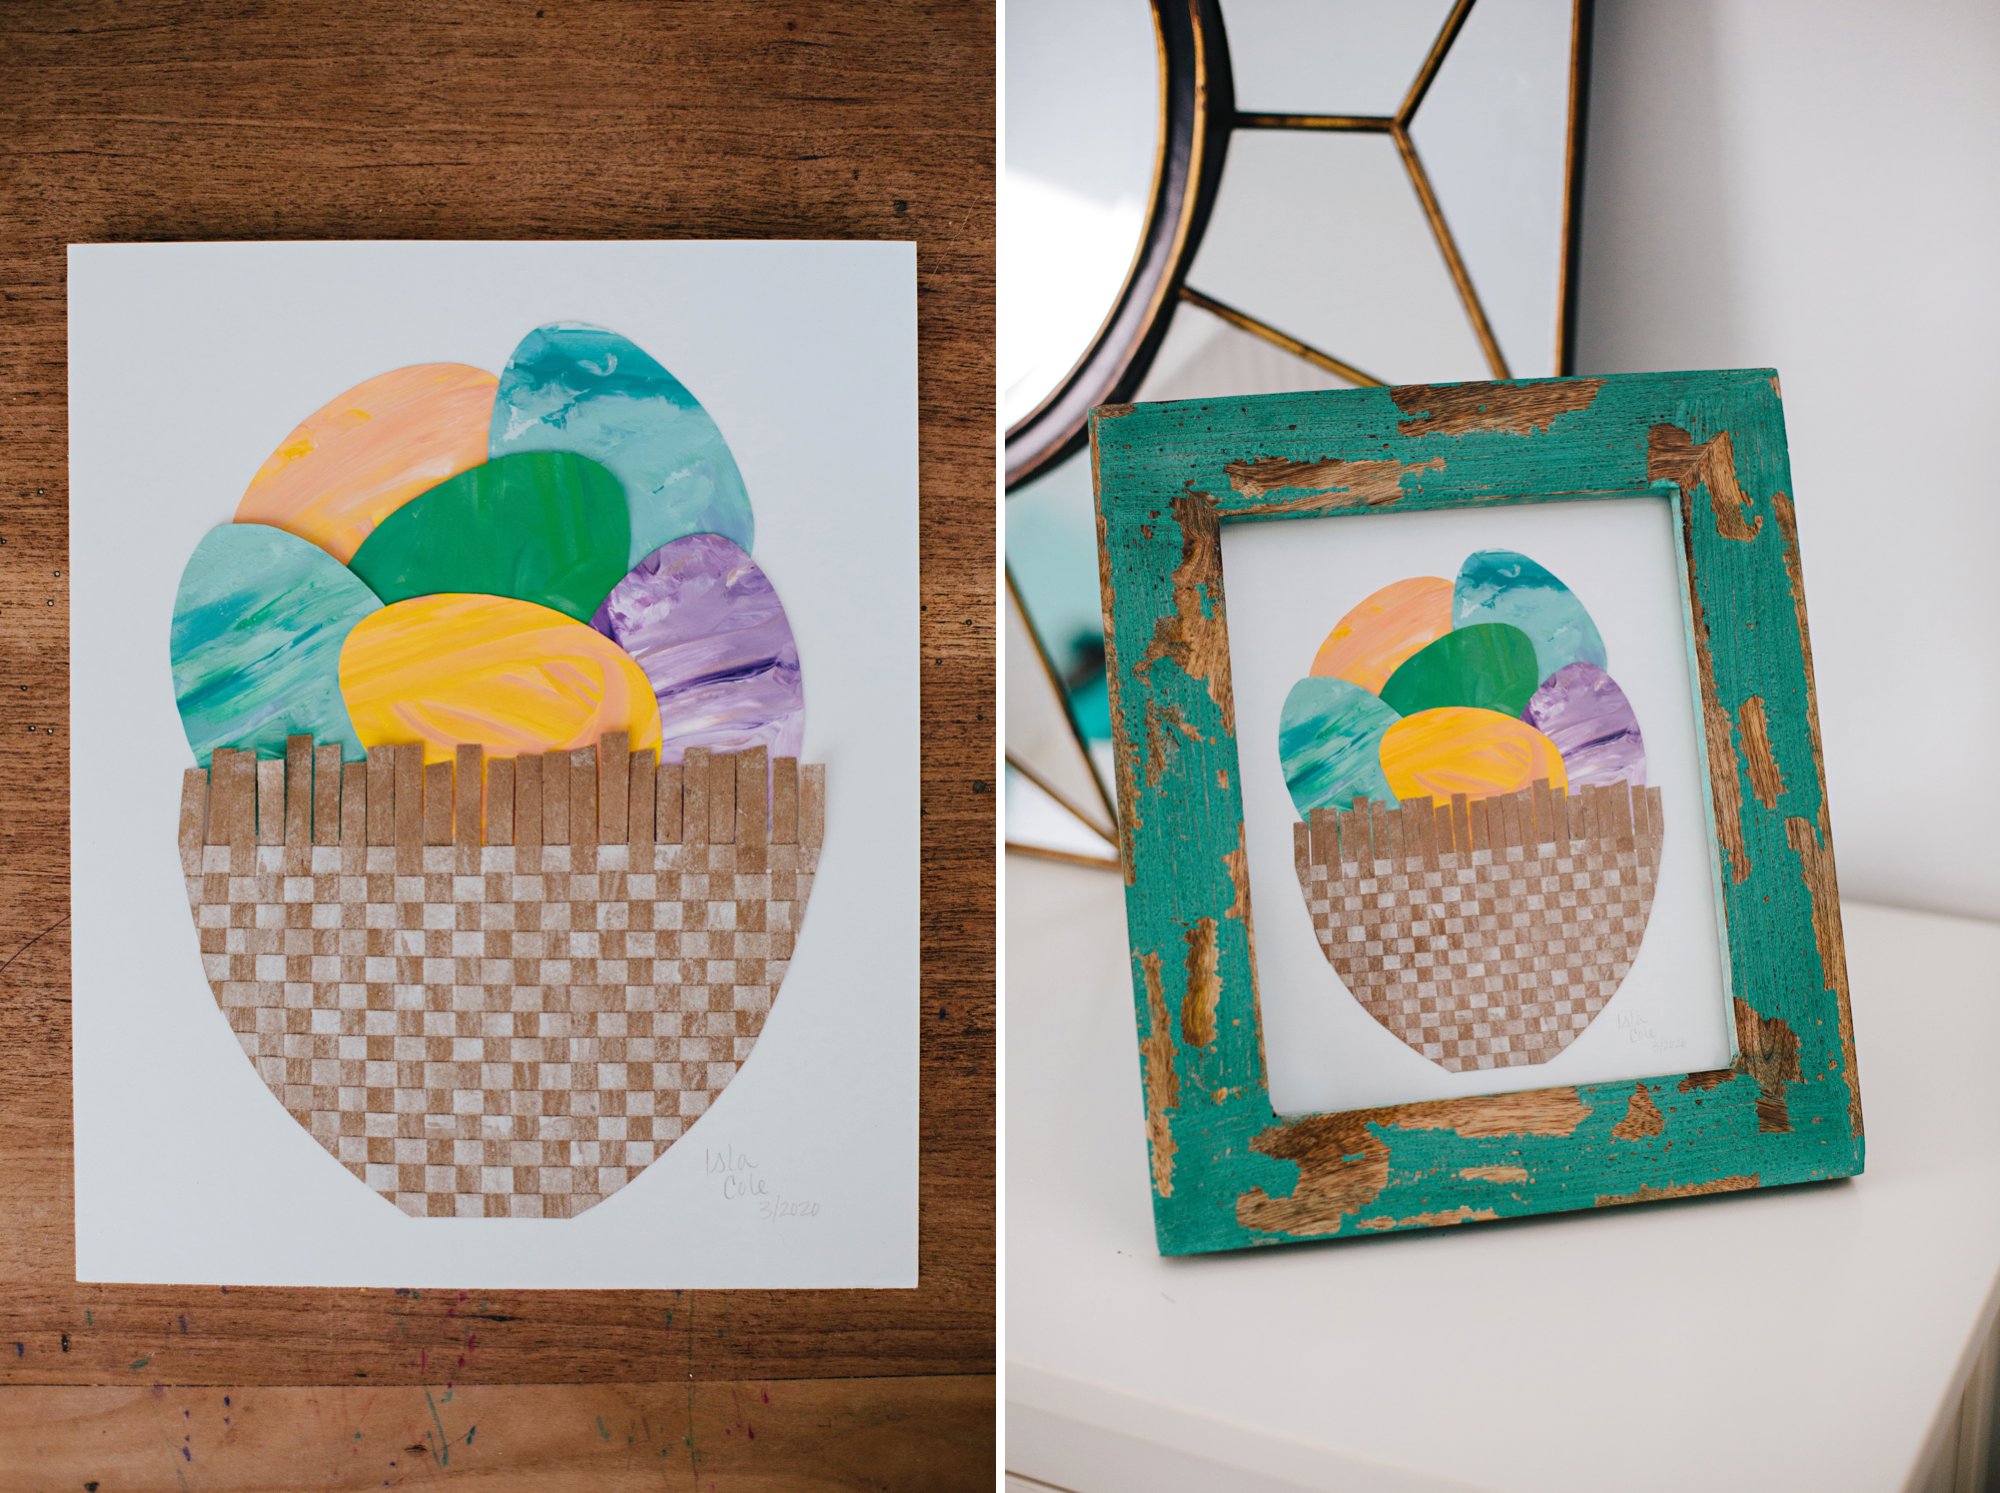
We transformed one of Isla’s paper weaving projects into the sweetest white-washed baskets and cut out Cole’s paintings into festive eggs. We made one large 8×10 piece to frame for our house and 7 greeting cards to send to family!
How we made Isla’s paper weaving baskets:
Materials:
- Kraft paper (you can use a paper bag too)
- White watercolor paint
- Paintbrush
- White colored pencil
- Masking tape
- Glue stick
Steps:
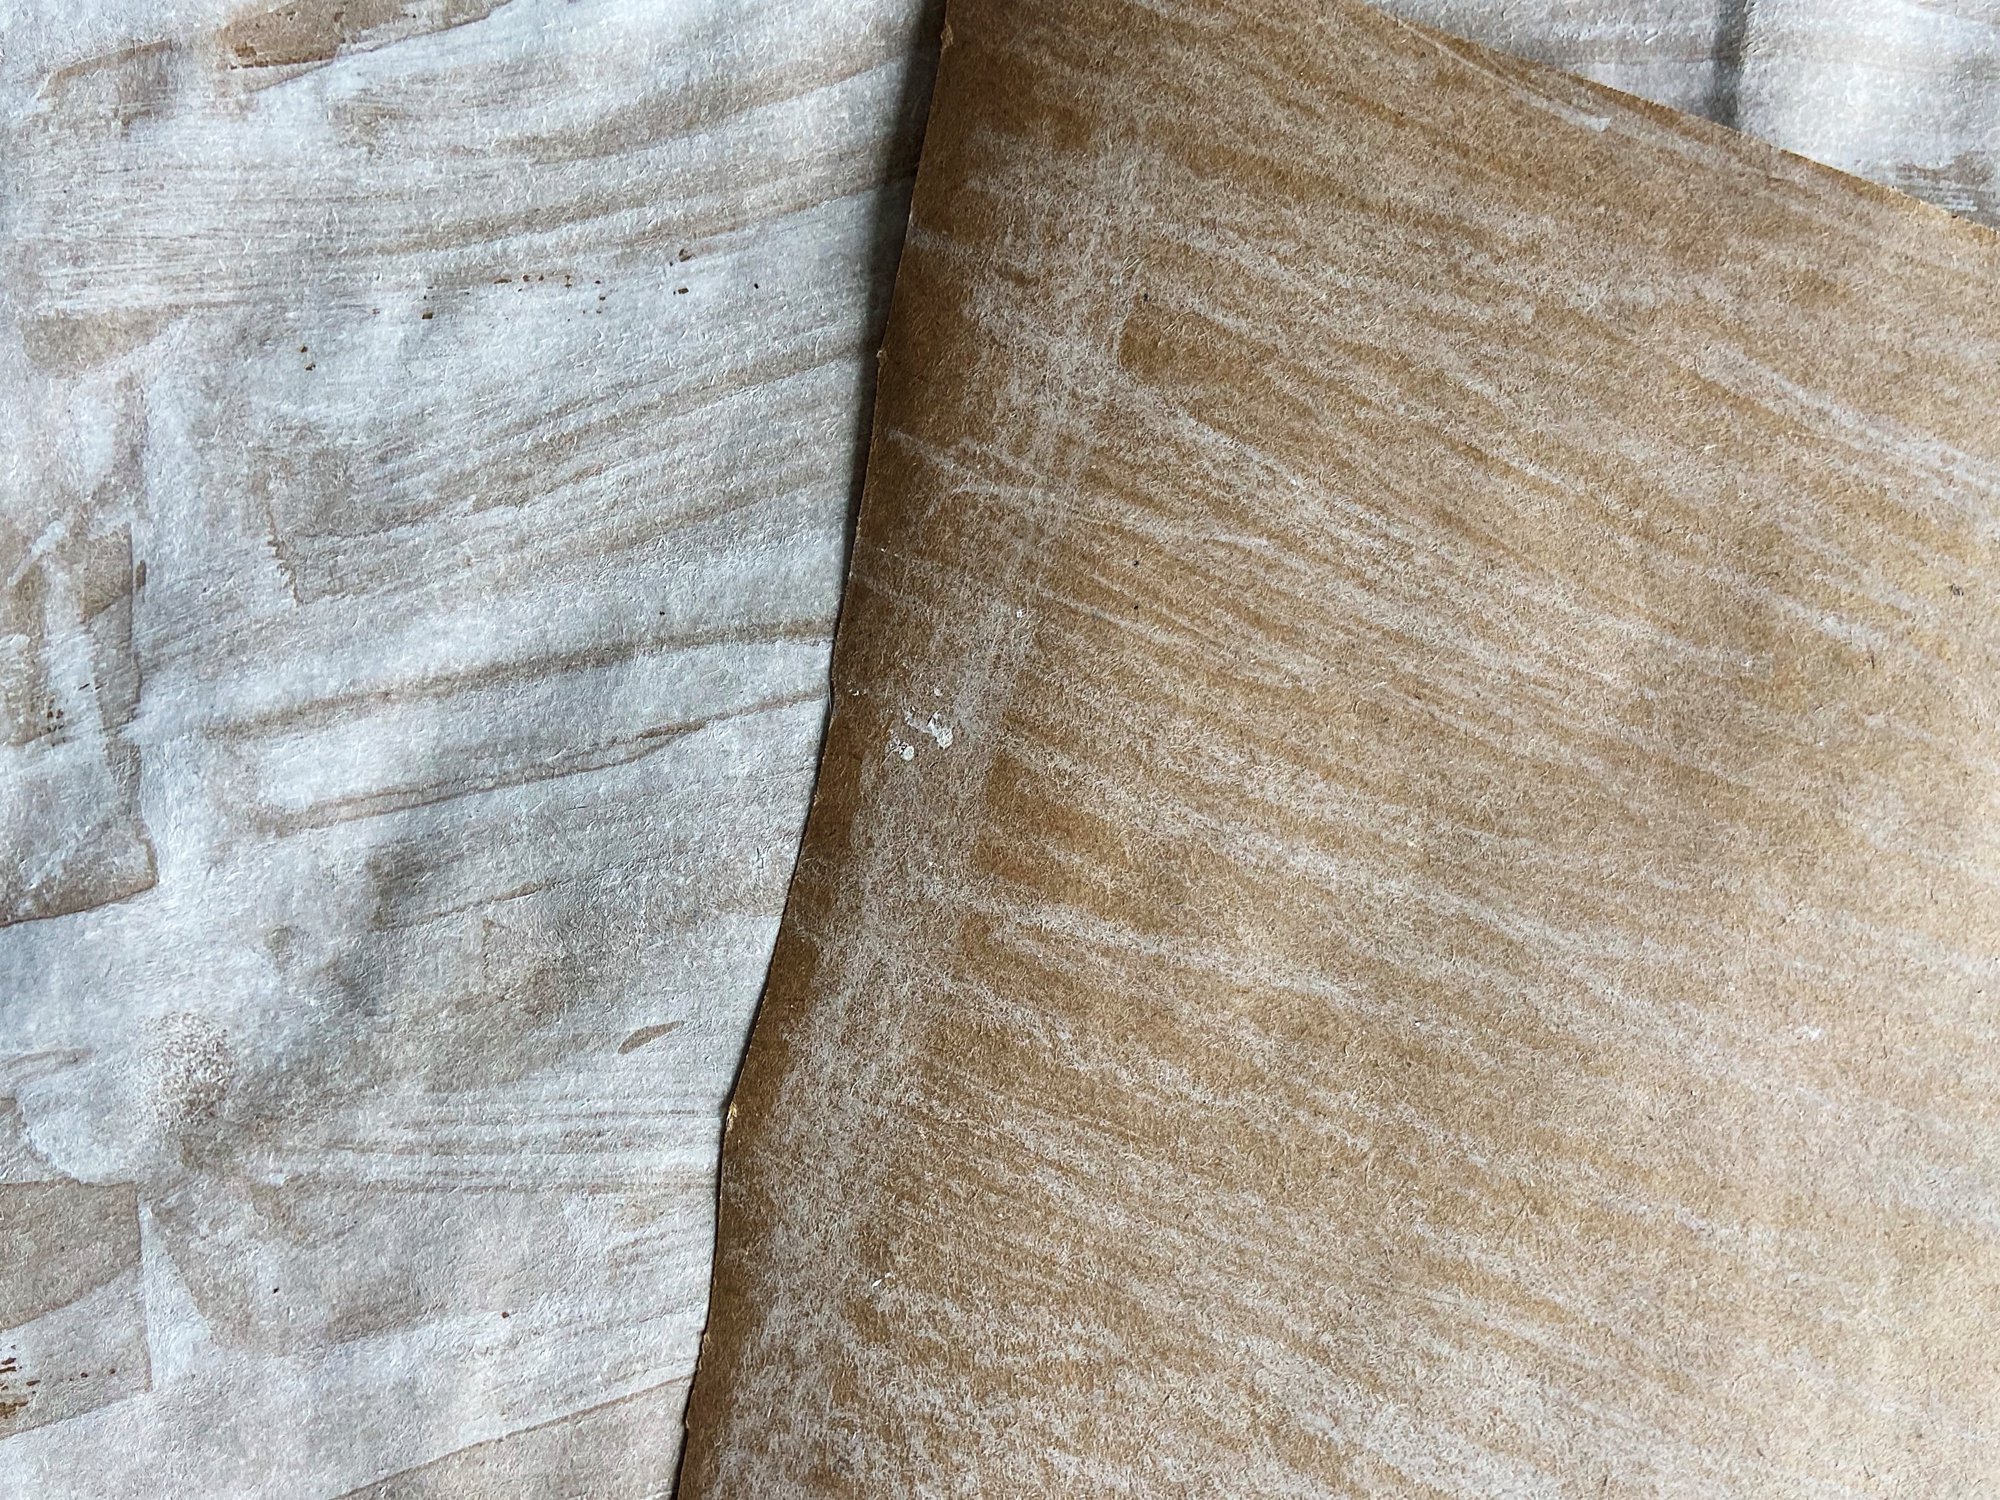
- Color one piece of kraft paper with the white colored pencil (white crayon would work great too!). Paint a second piece of kraft paper with a white water color wash. We used two different techniques because we wanted our baskets to have a contrasting, white-washed appearance. Isla let the first watercolor layer dry and then painted a second layer to make the white brighter. If your water color set doesn’t include white you could use a white acrylic craft paint, or even just use white paper.
- Cut both kraft papers into long thin strips of the same size. Ours were approximately 0.25″. We kept all the colored pencil strips grouped together and all the water colored strips grouped together.
- Line up the colored pencil strips next to each other vertically on a tabletop or flat surface. Make sure the strips are right up against each other, but don’t overlap.
- Using one long piece of masking tape, secure the vertical strips in place at the bottom edge. Really press down on the tape to ensure the strips don’t fall out.
- Weave the water colored strips through the colored pencil strips. Be sure to alternate starting each row with over and under, and regularly push the paper strips close together to ensure a tight weave. PLEASE NOTE: the weaving can take a long time, so feel free to break it up. Isla worked on hers for 5-10 minute sessions throughout the day (notice how the light changes throughout the video below.) If you are totally lost when it comes to weaving, you can google “paper weaving instructions” and find many great tutorials.
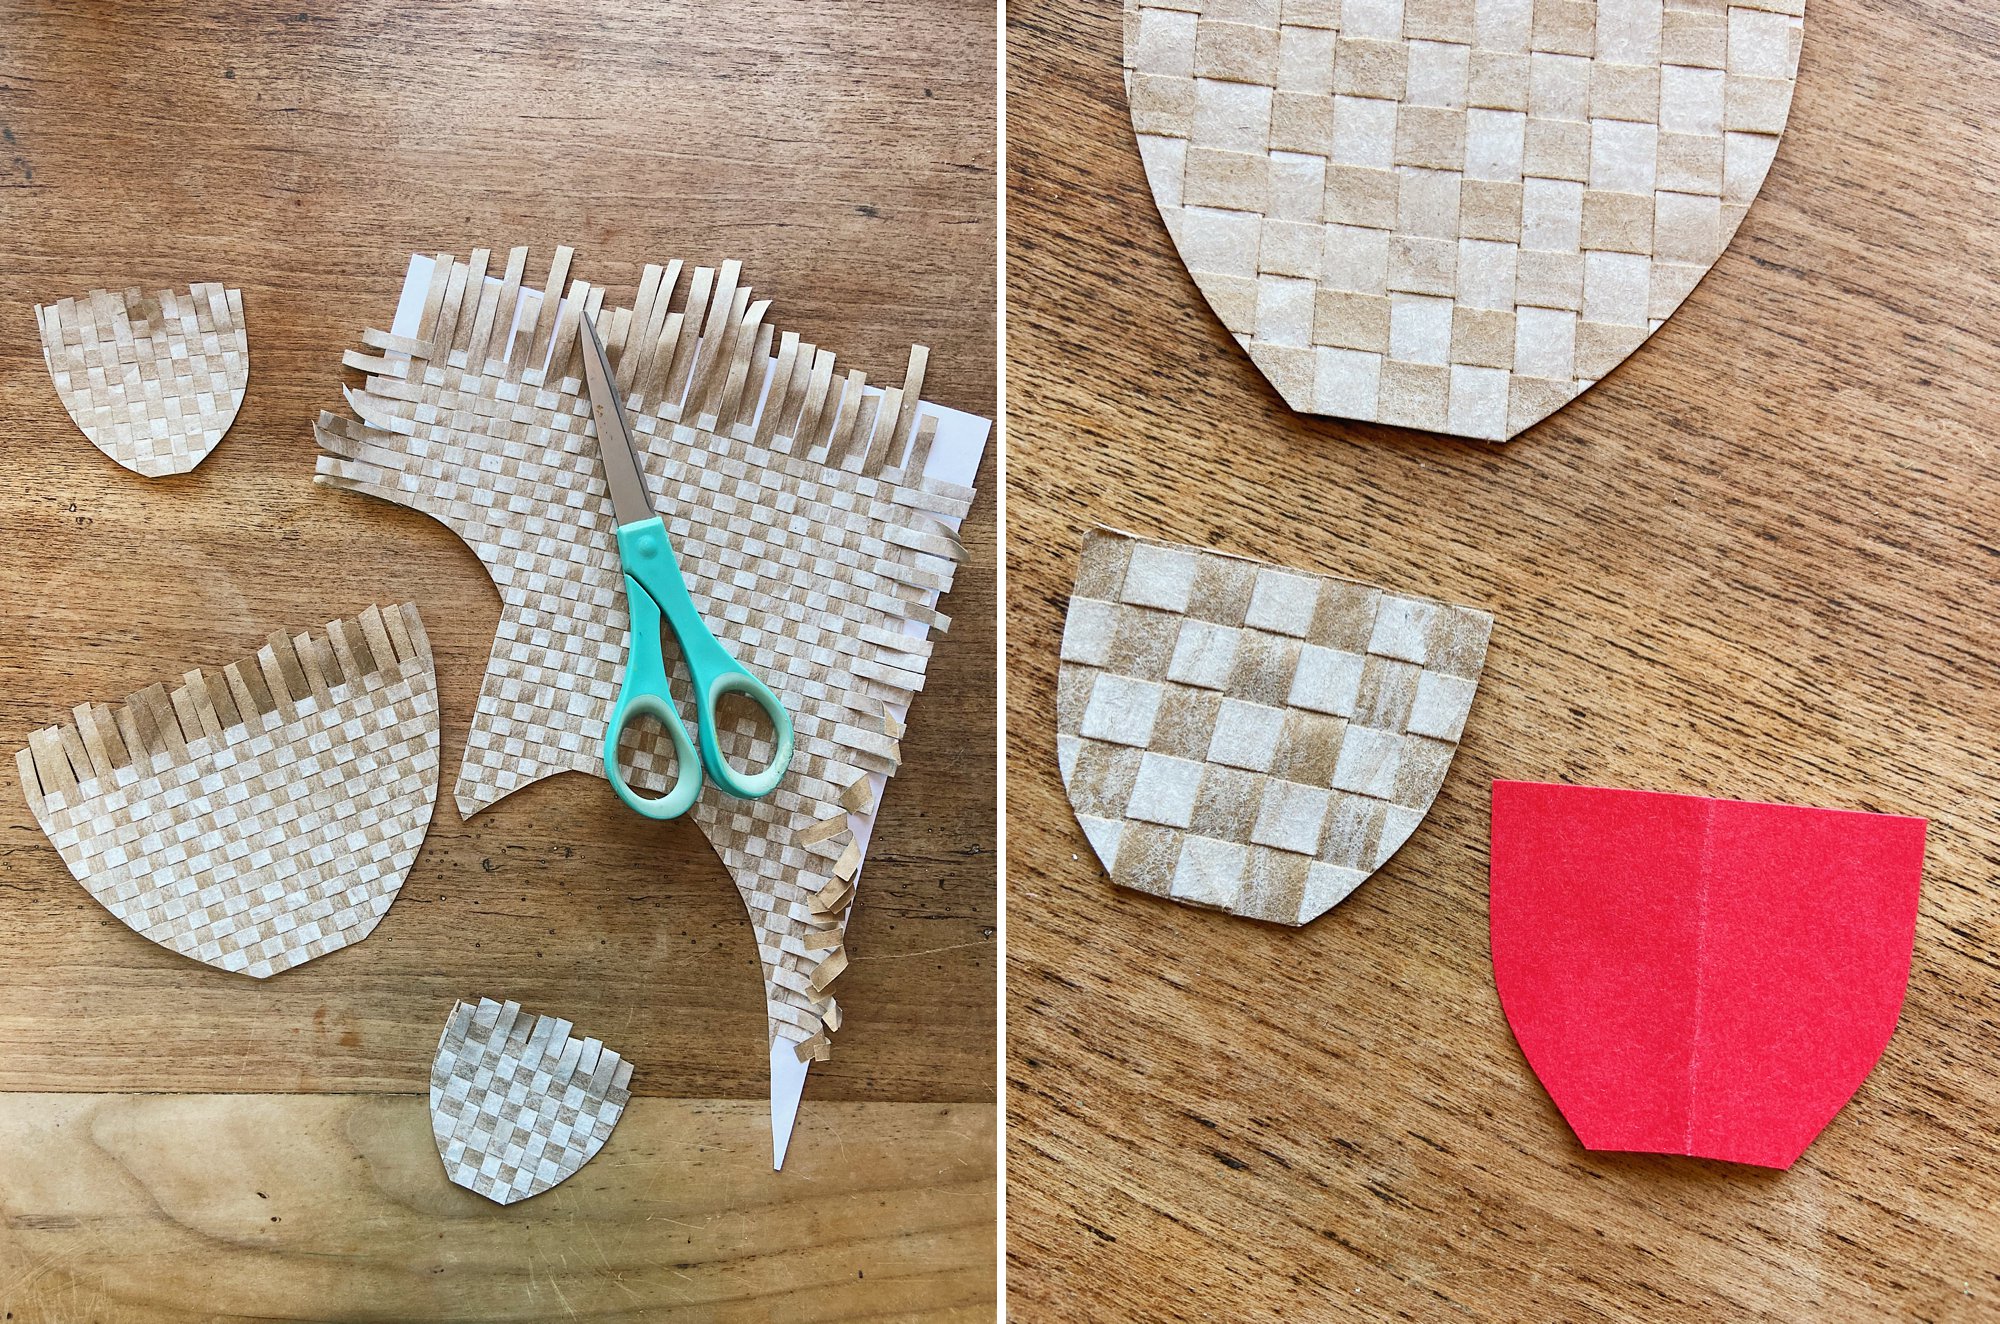
- When the paper weaving is complete, you should have a rectangular-shaped piece (more or less). Tighten the weave one last time and then use a glue stick to attach a sheet of printer paper to the back of the woven papers (this allows all the weaving to stay together when you cut out the basket shapes).
- Cut out your desired basket shape from a piece of scrap paper to make a stencil. We went with a very simple design, but you could certainly create a handled basket.
- Use the stencil to cut basket shapes from the paper weaving. We worked around the edges of the paper first so that the tops of our basket cut outs had the raw paper edges.
How we made Cole’s colorful painted eggs:
Materials:
- Colored construction paper
- Acrylic paints
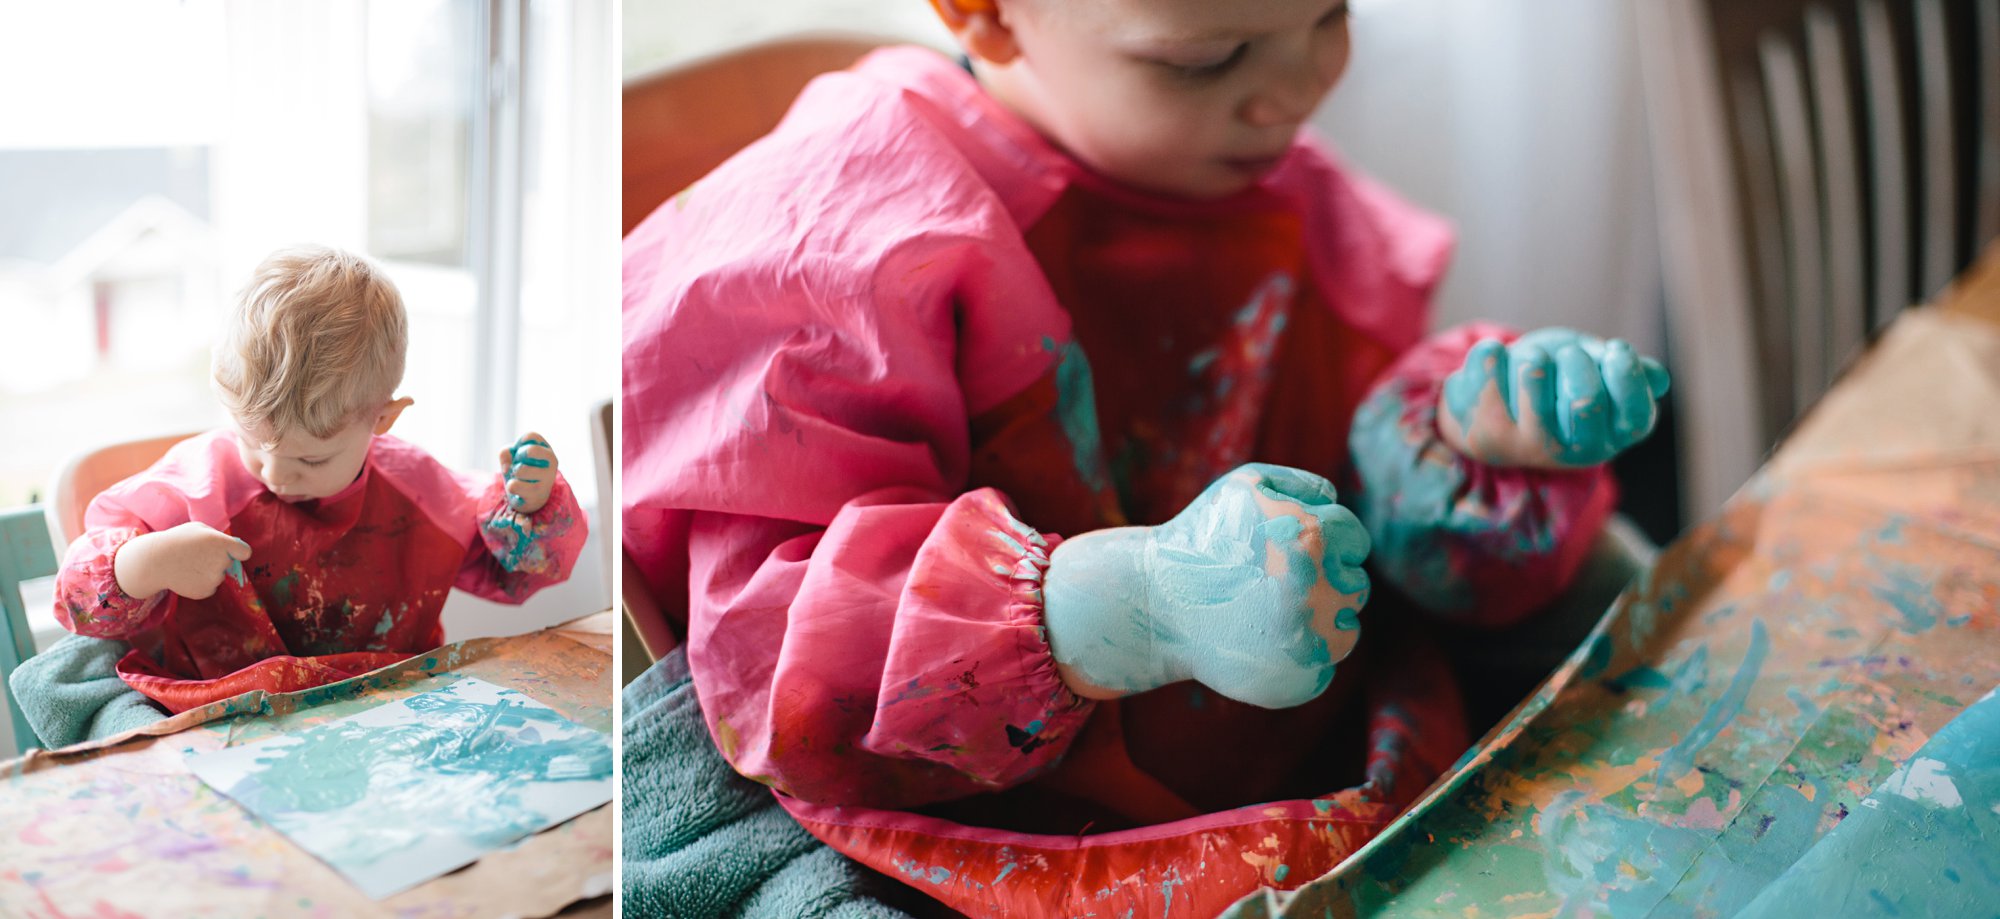
- Paintbrush (although he used his hands for 95% of the paintings)
- Smock and wet wipes to keep things clean.
Steps:
- Set up your painting station. Cover the table, put smock on, get tools ready
- Choose a colored paper. Squeeze dabs of paint (we chose colors similar to the paper) directly onto the paper and let your child paint with the brush or their hands.
- Let paintings dry completely, preferably overnight. Then flatten them for a few hours under some heavy books.
- Cut out an egg-shaped stencil from a piece of scrap paper and use it to cut out egg shapes from the finished paintings. Be intentional when you cut out the eggs and look for areas with interesting color mixtures and textures.


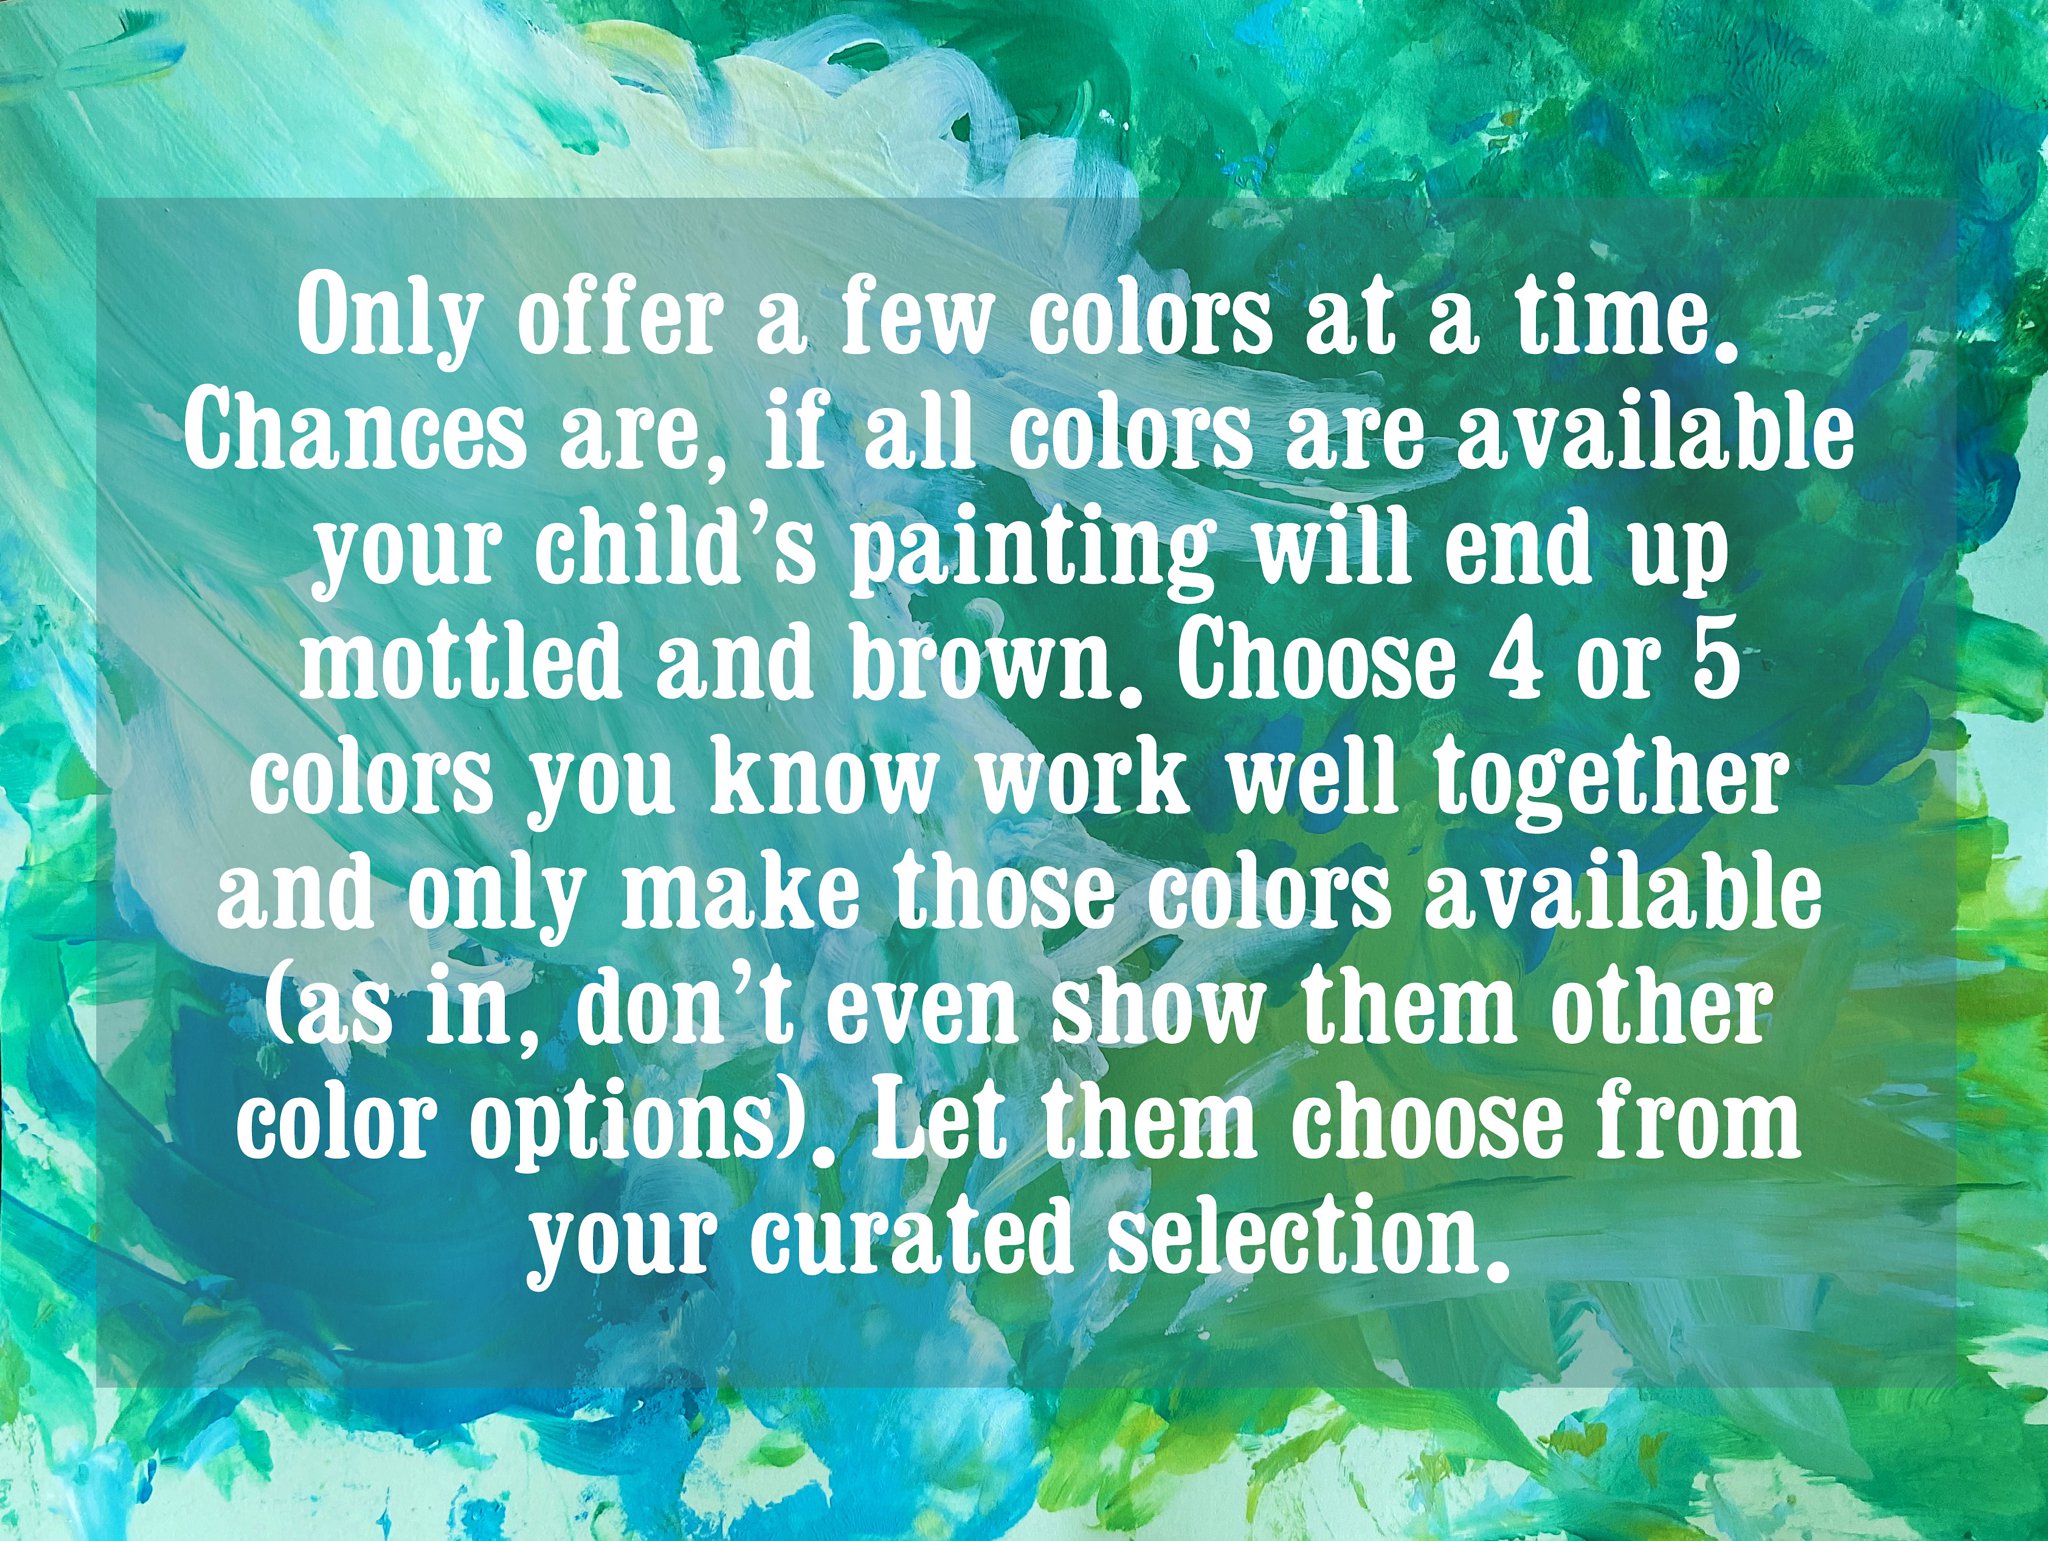
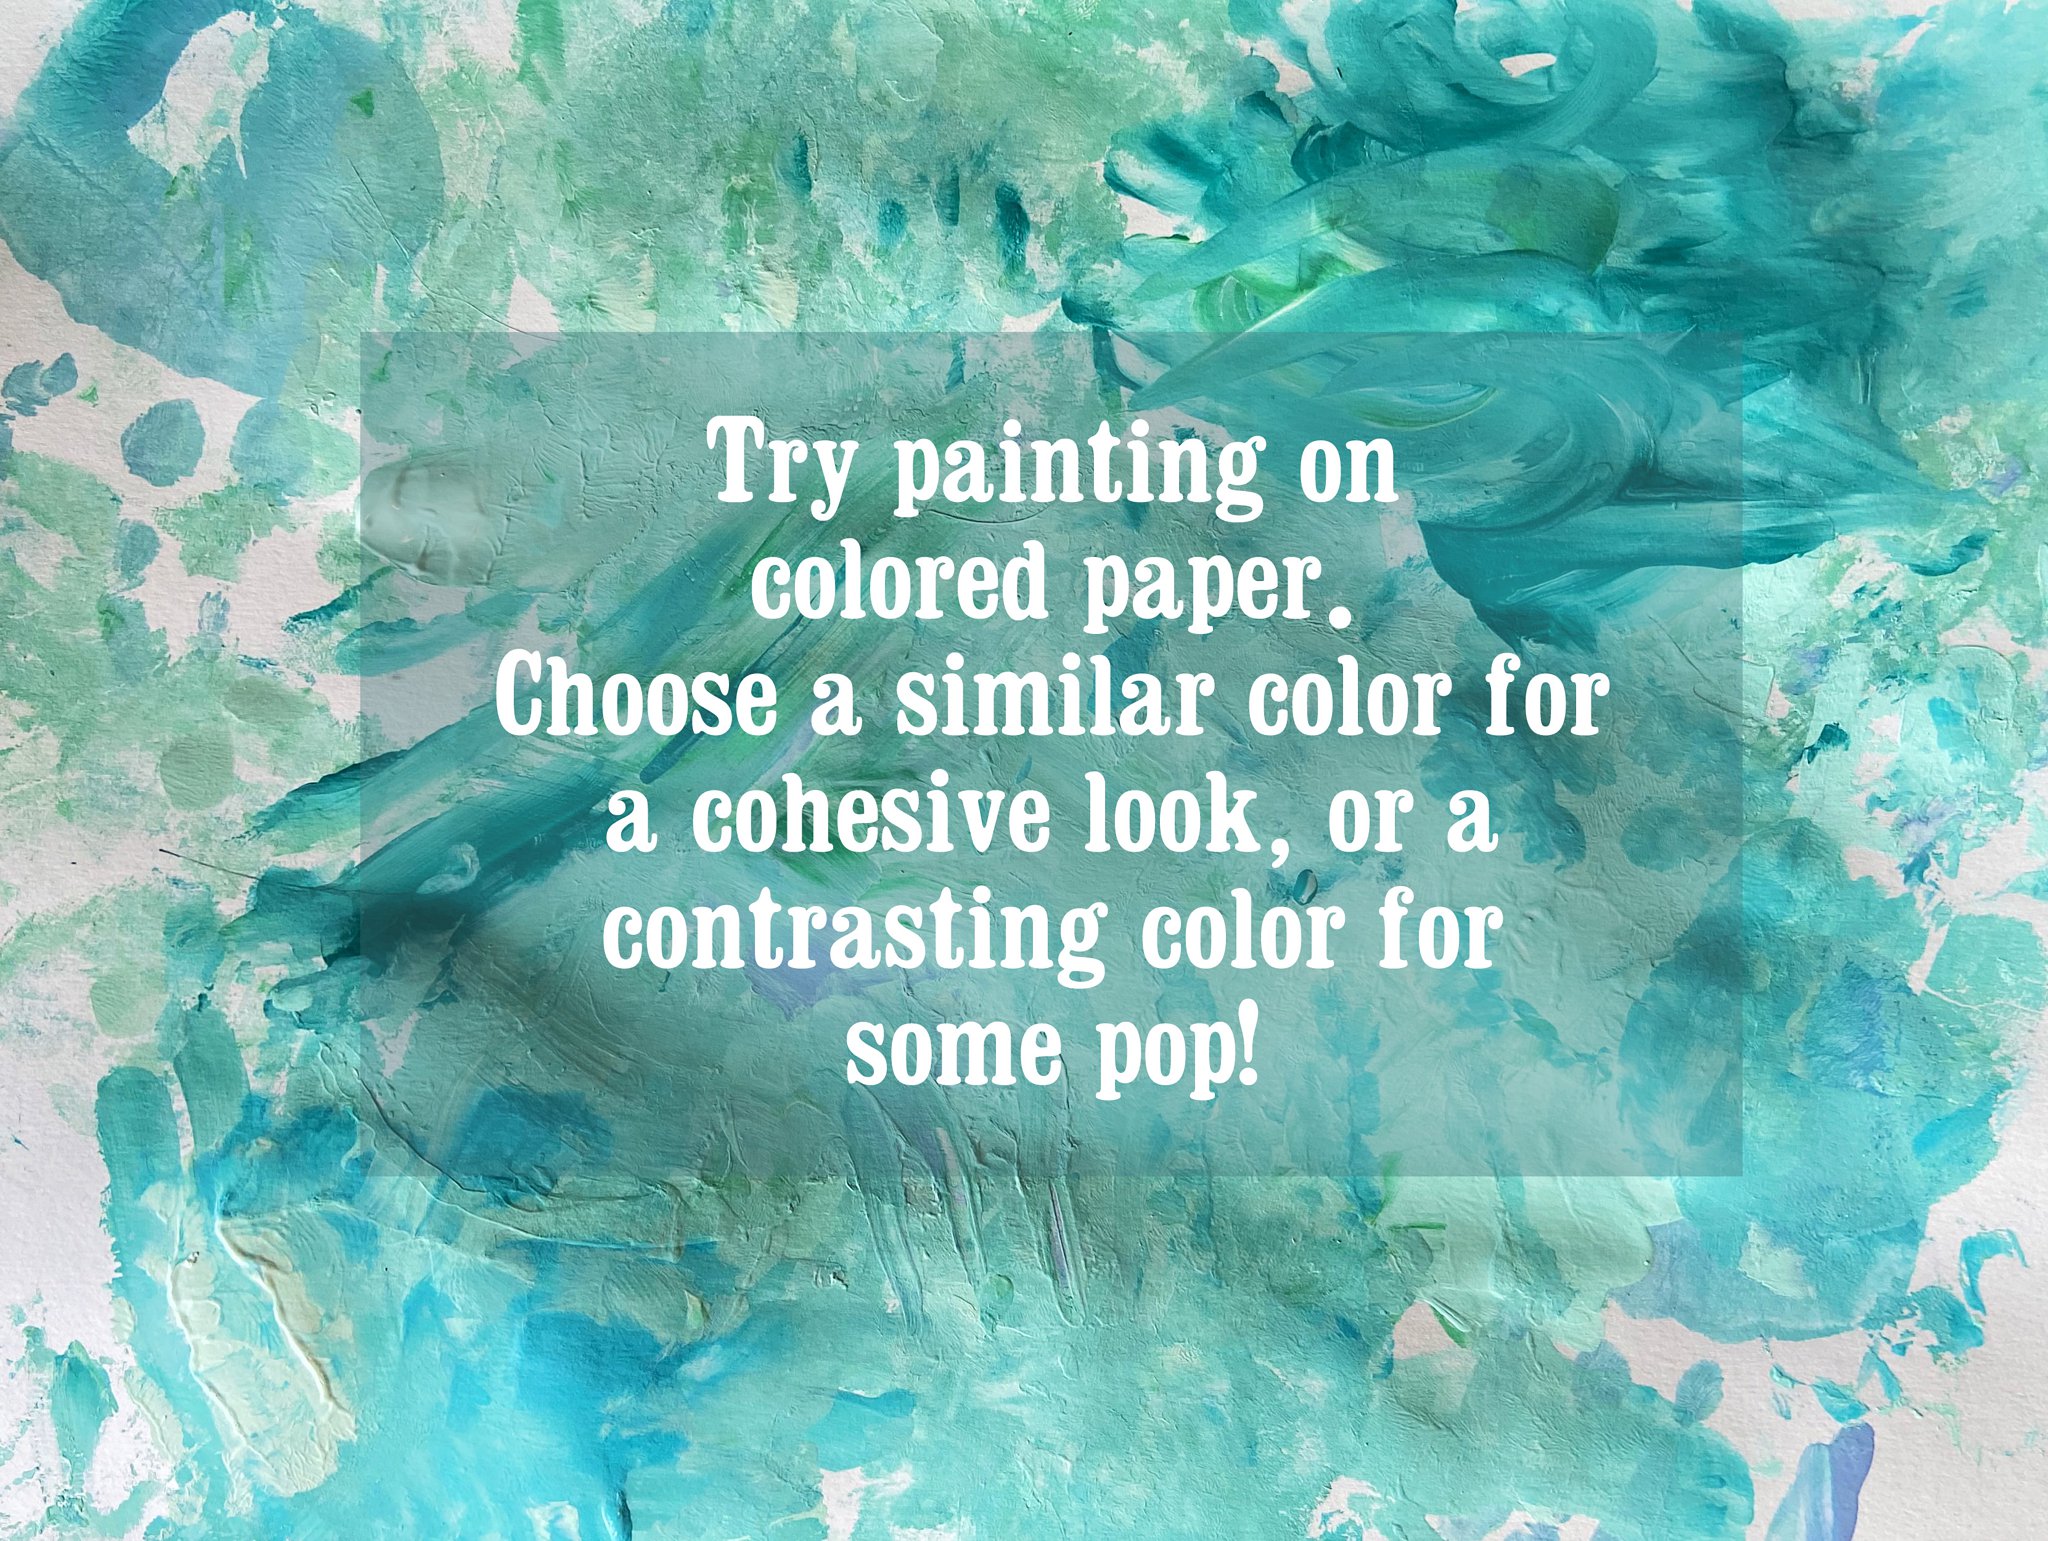
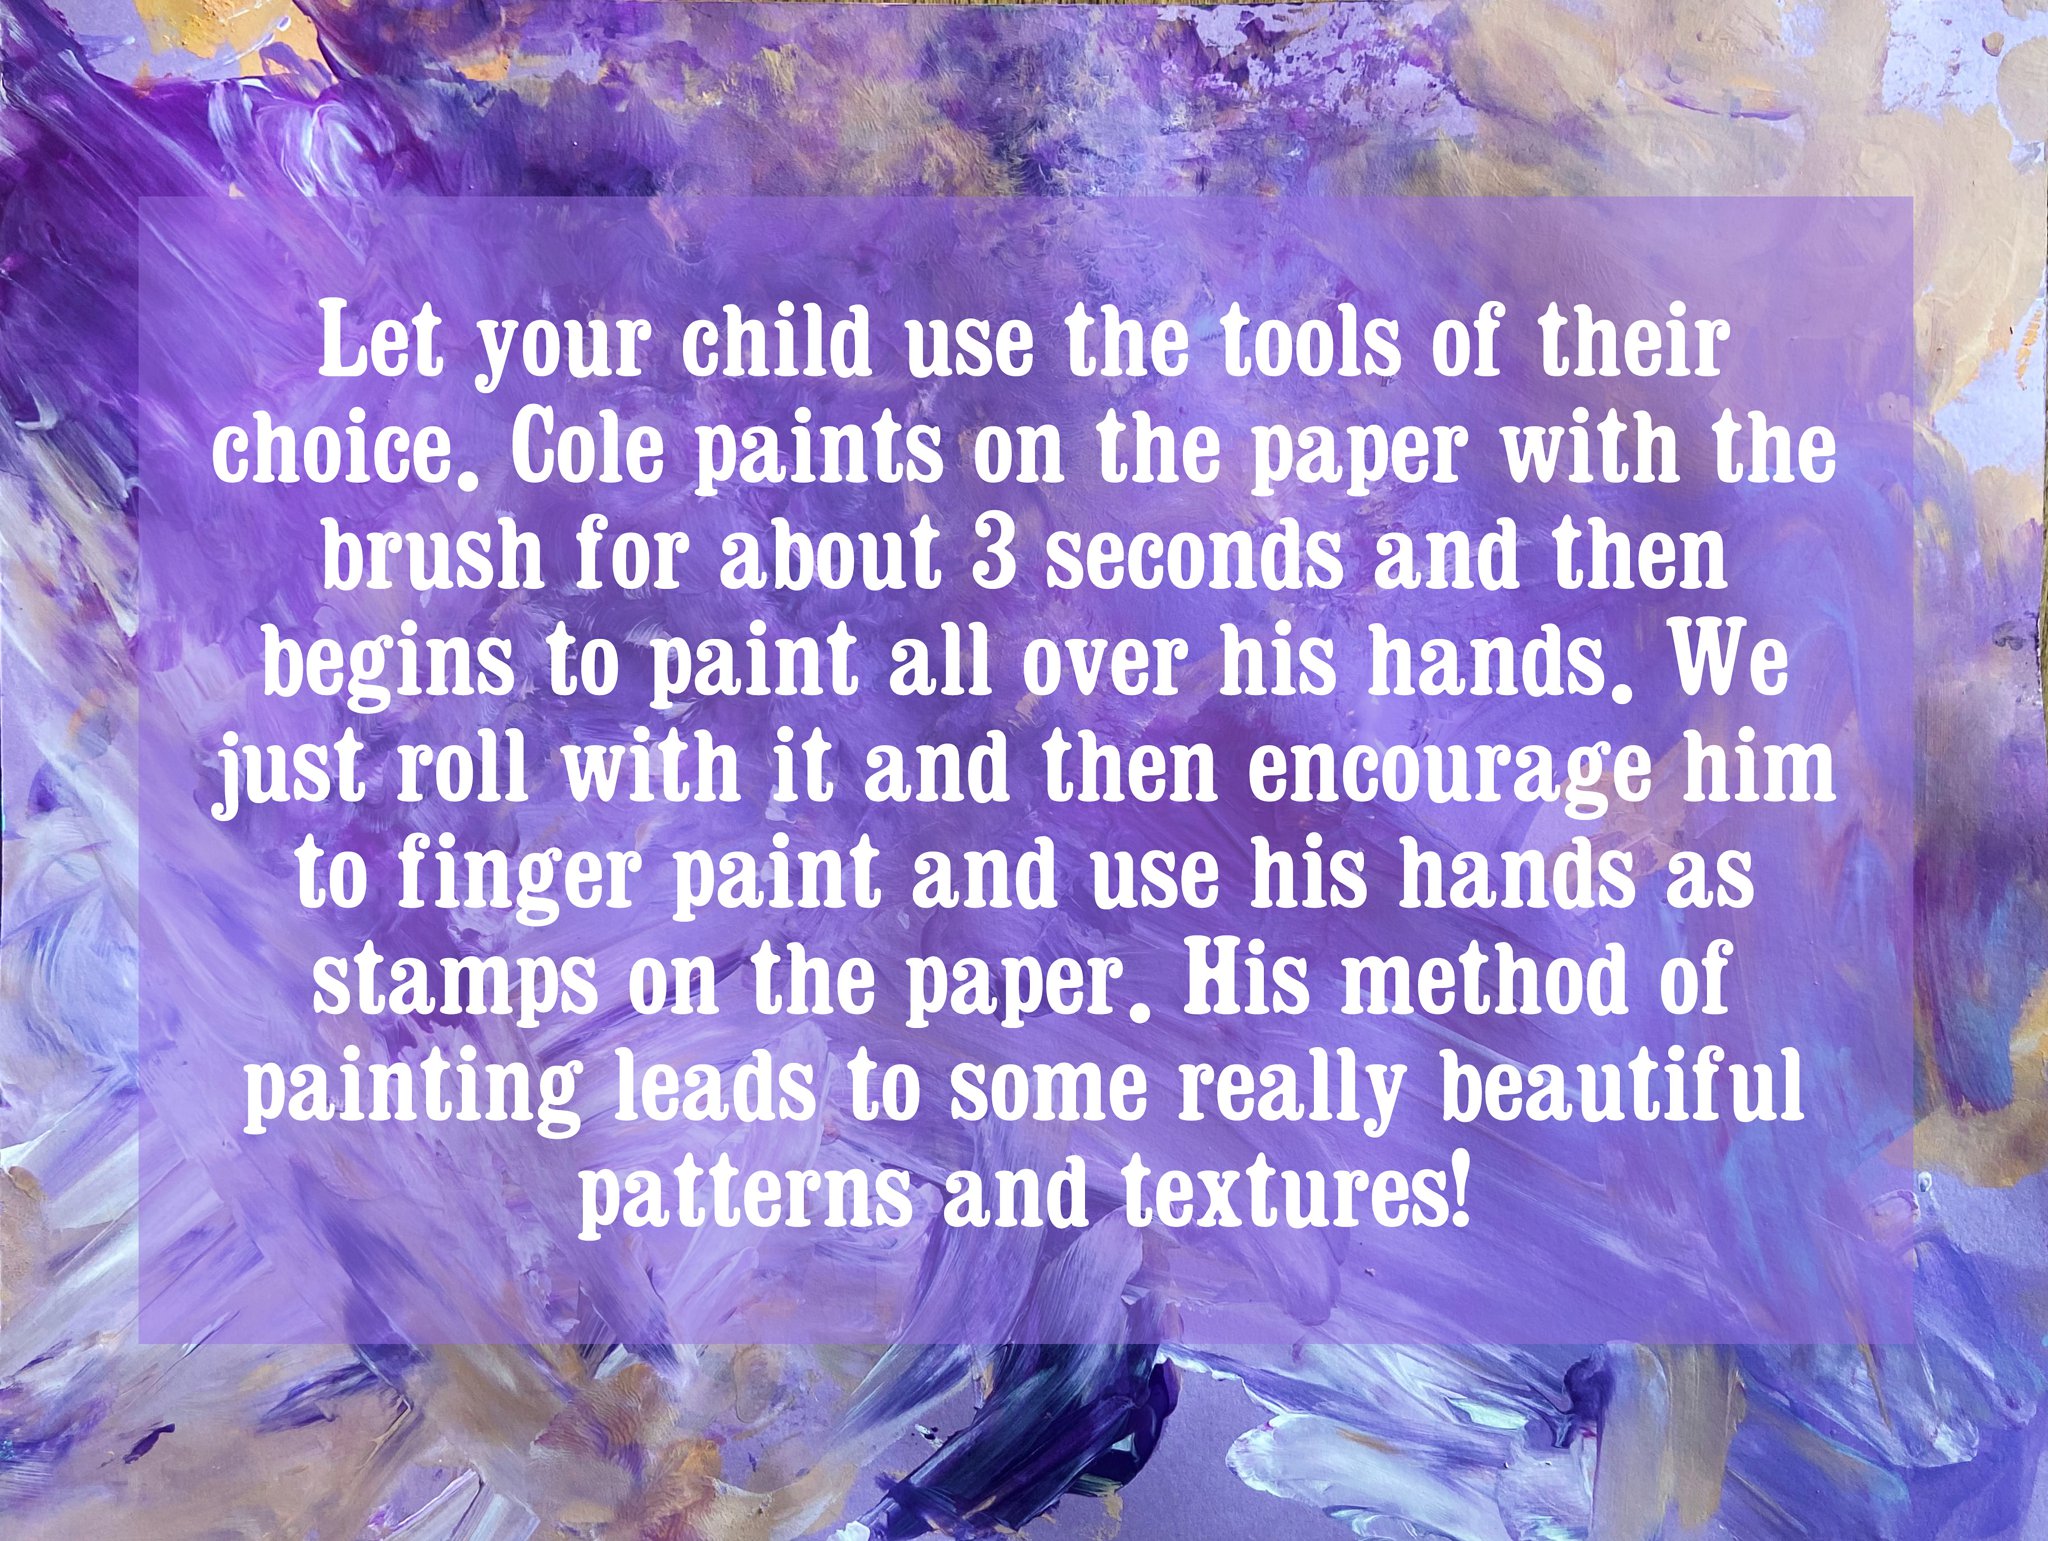
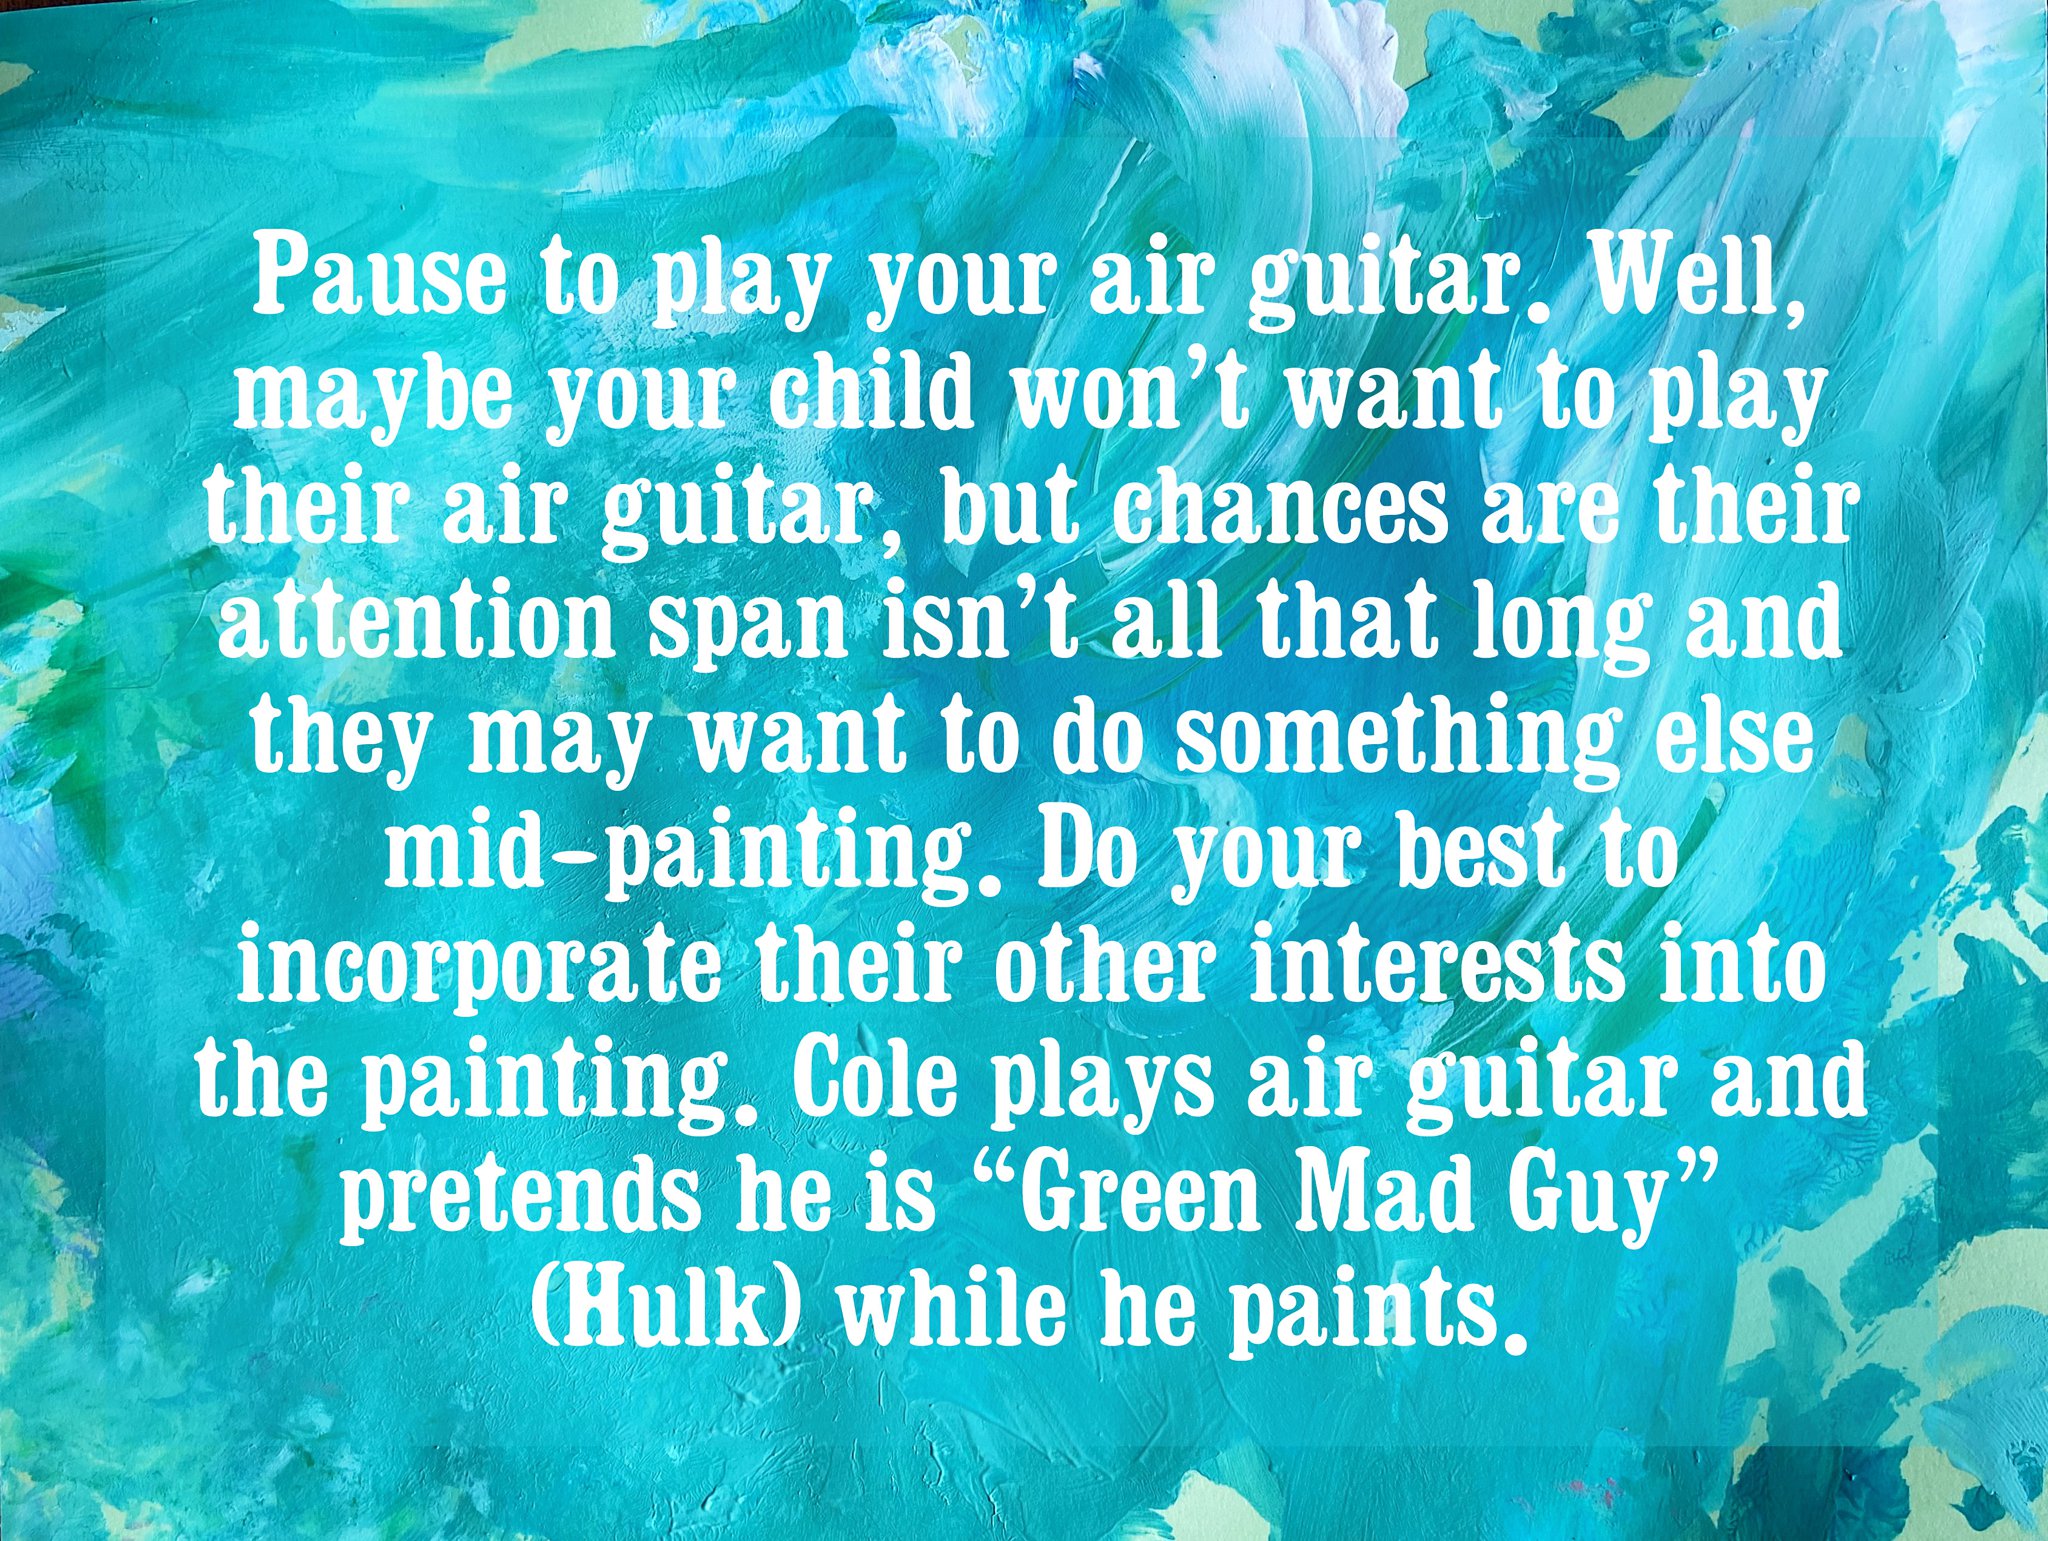
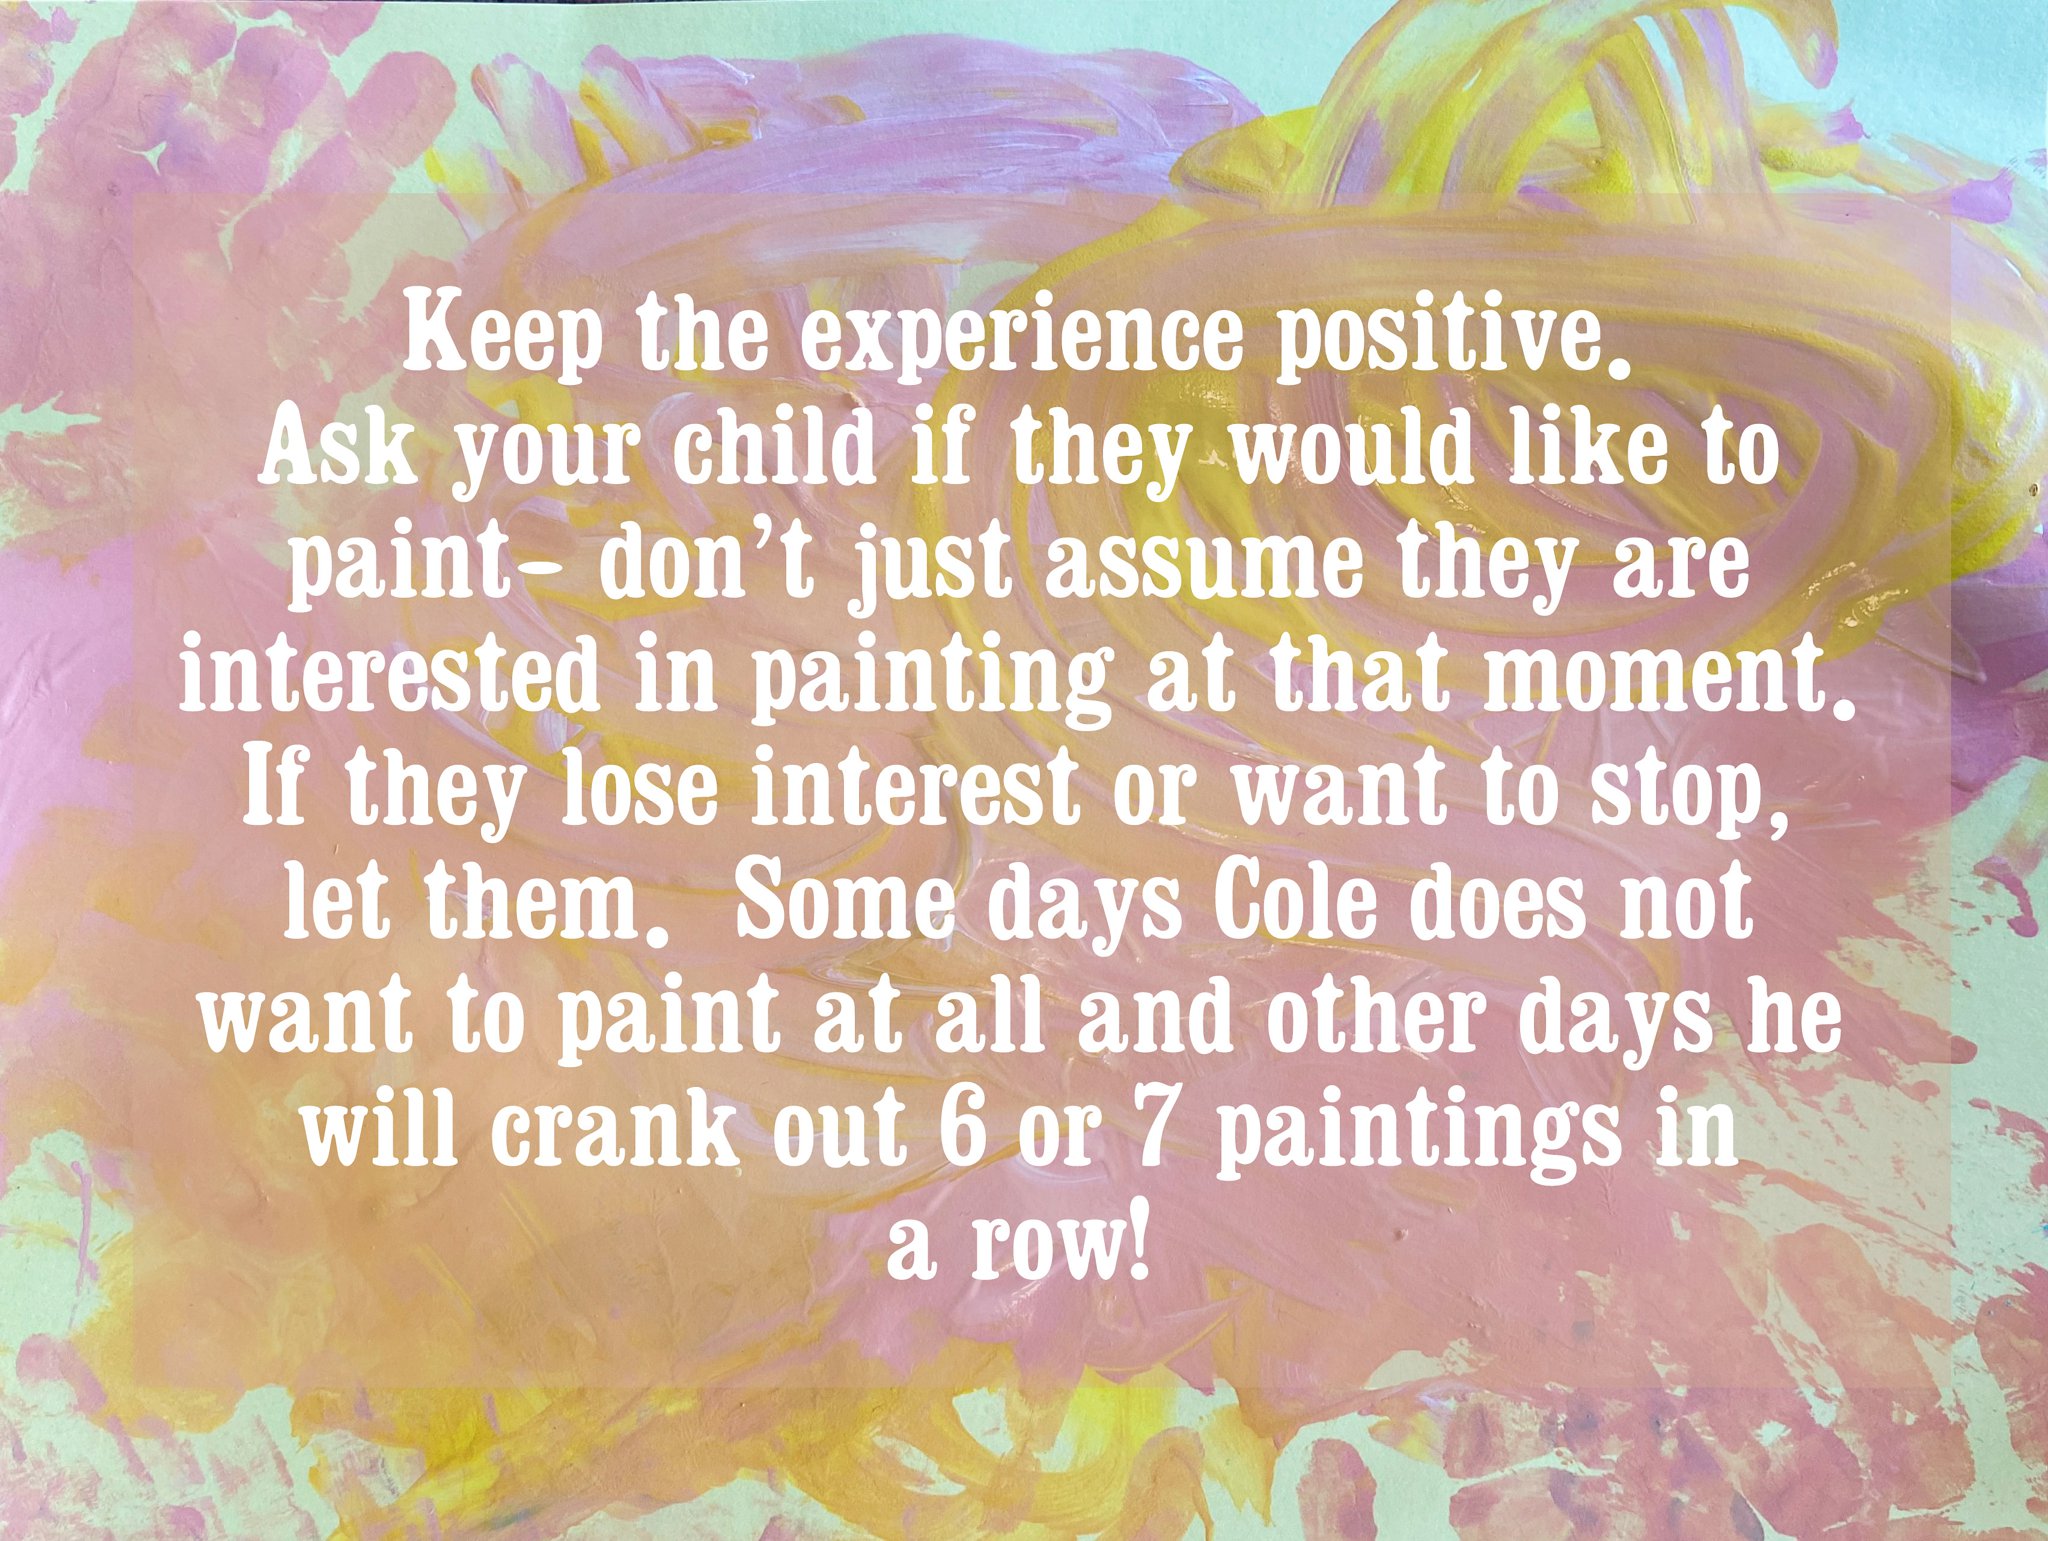
Here are some more tips we put together about painting with your toddler:


Finally, assembling the Easter basket artwork is pretty straightforward. Glue the basket to a piece of paper or greeting card. Next arrange the egg cut outs into a little pile that is aesthetically pleasing to you and glue them along the top of the basket. Again, it’s a good idea to carefully flatten your finished collages under some heavy books for a few hours, just so the edges don’t curl up.
So, there you have it. Collaborative sibling art! Have you tried it? Are you interested in more project ideas? I am definitely inspired after this Easter basket collage and cannot wait to help the kids work on some more collaborative art projects this spring.