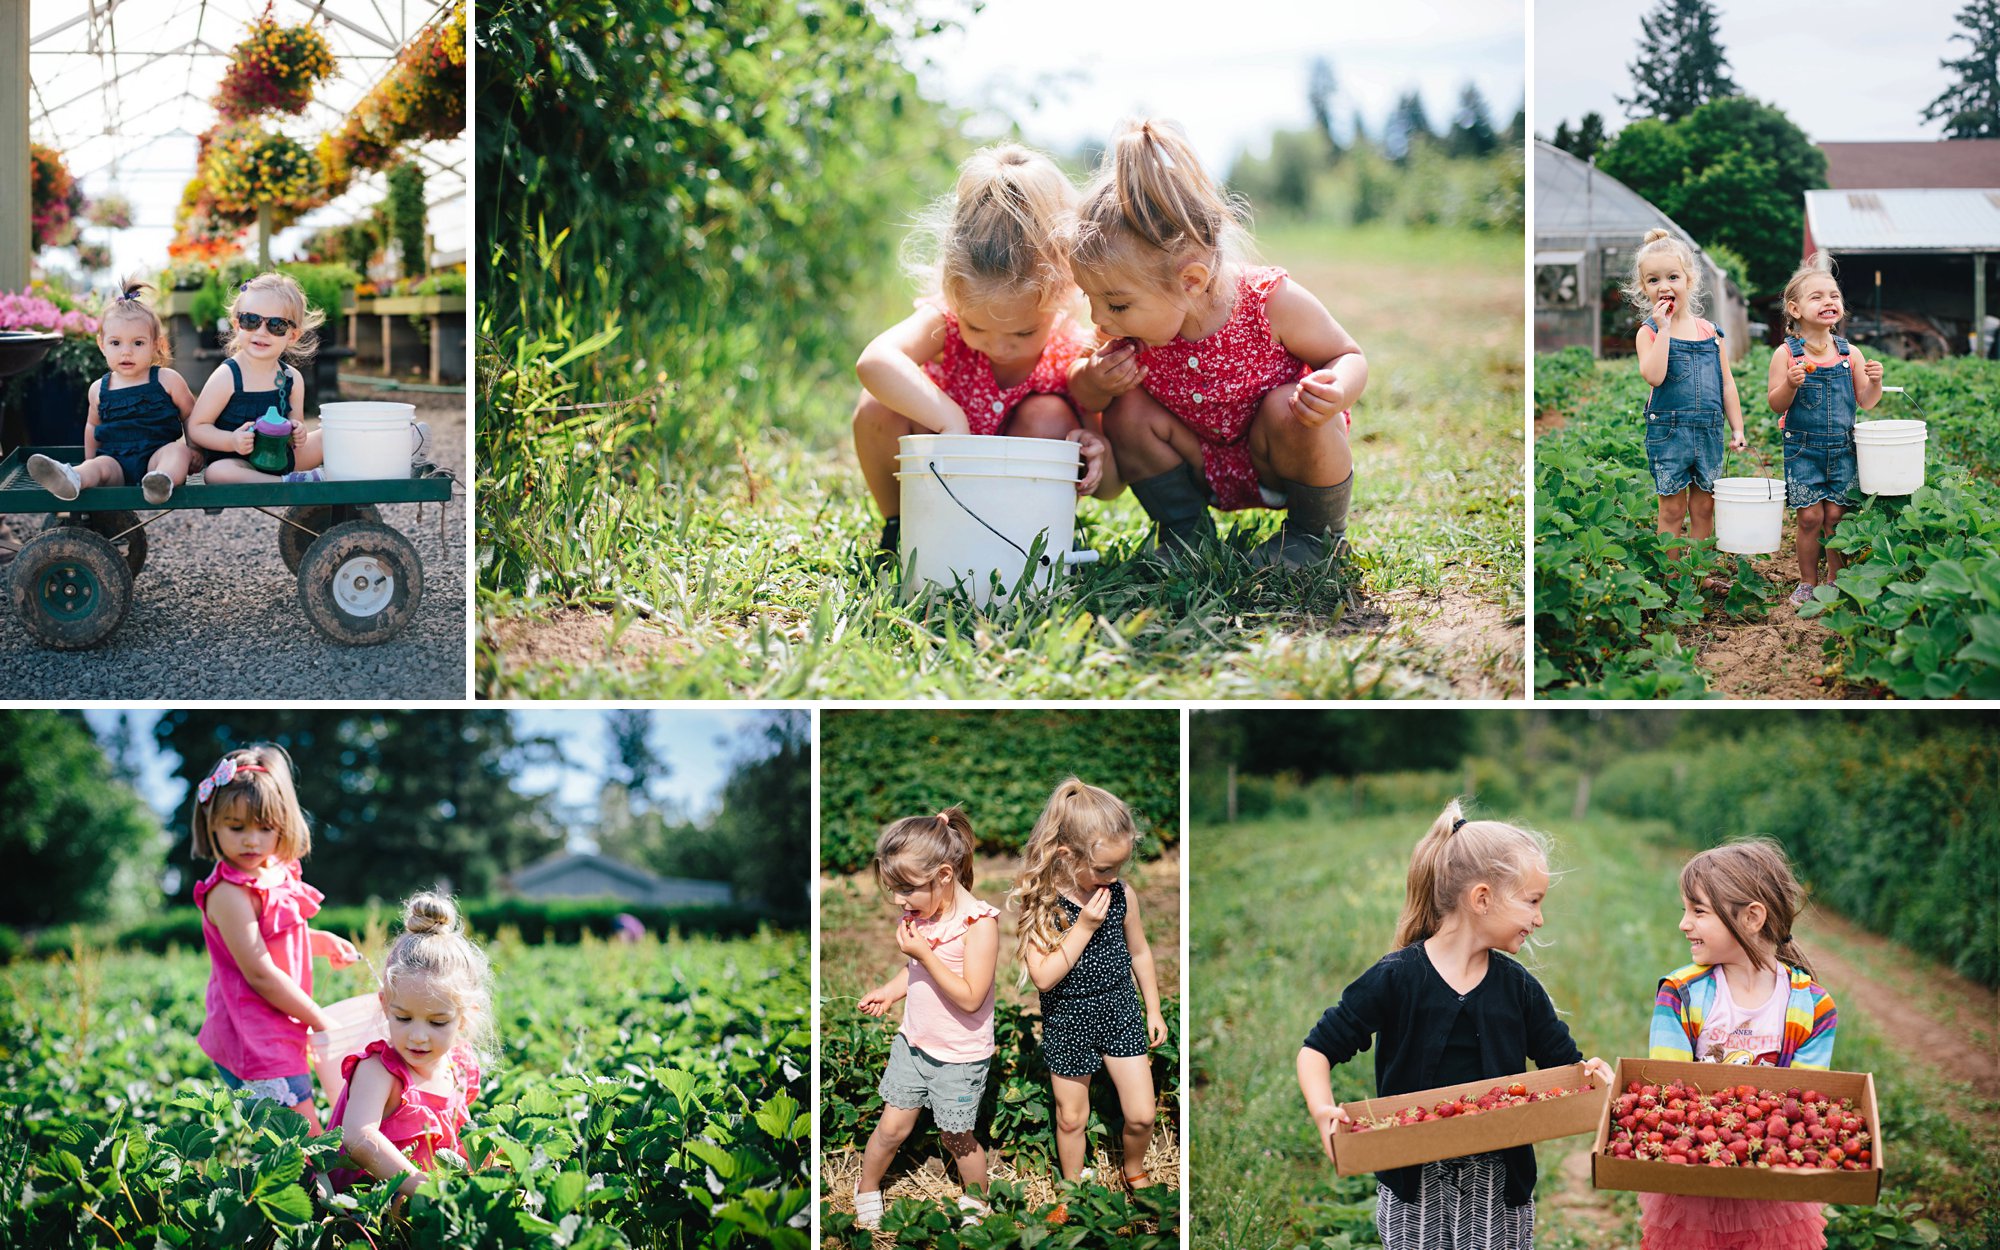
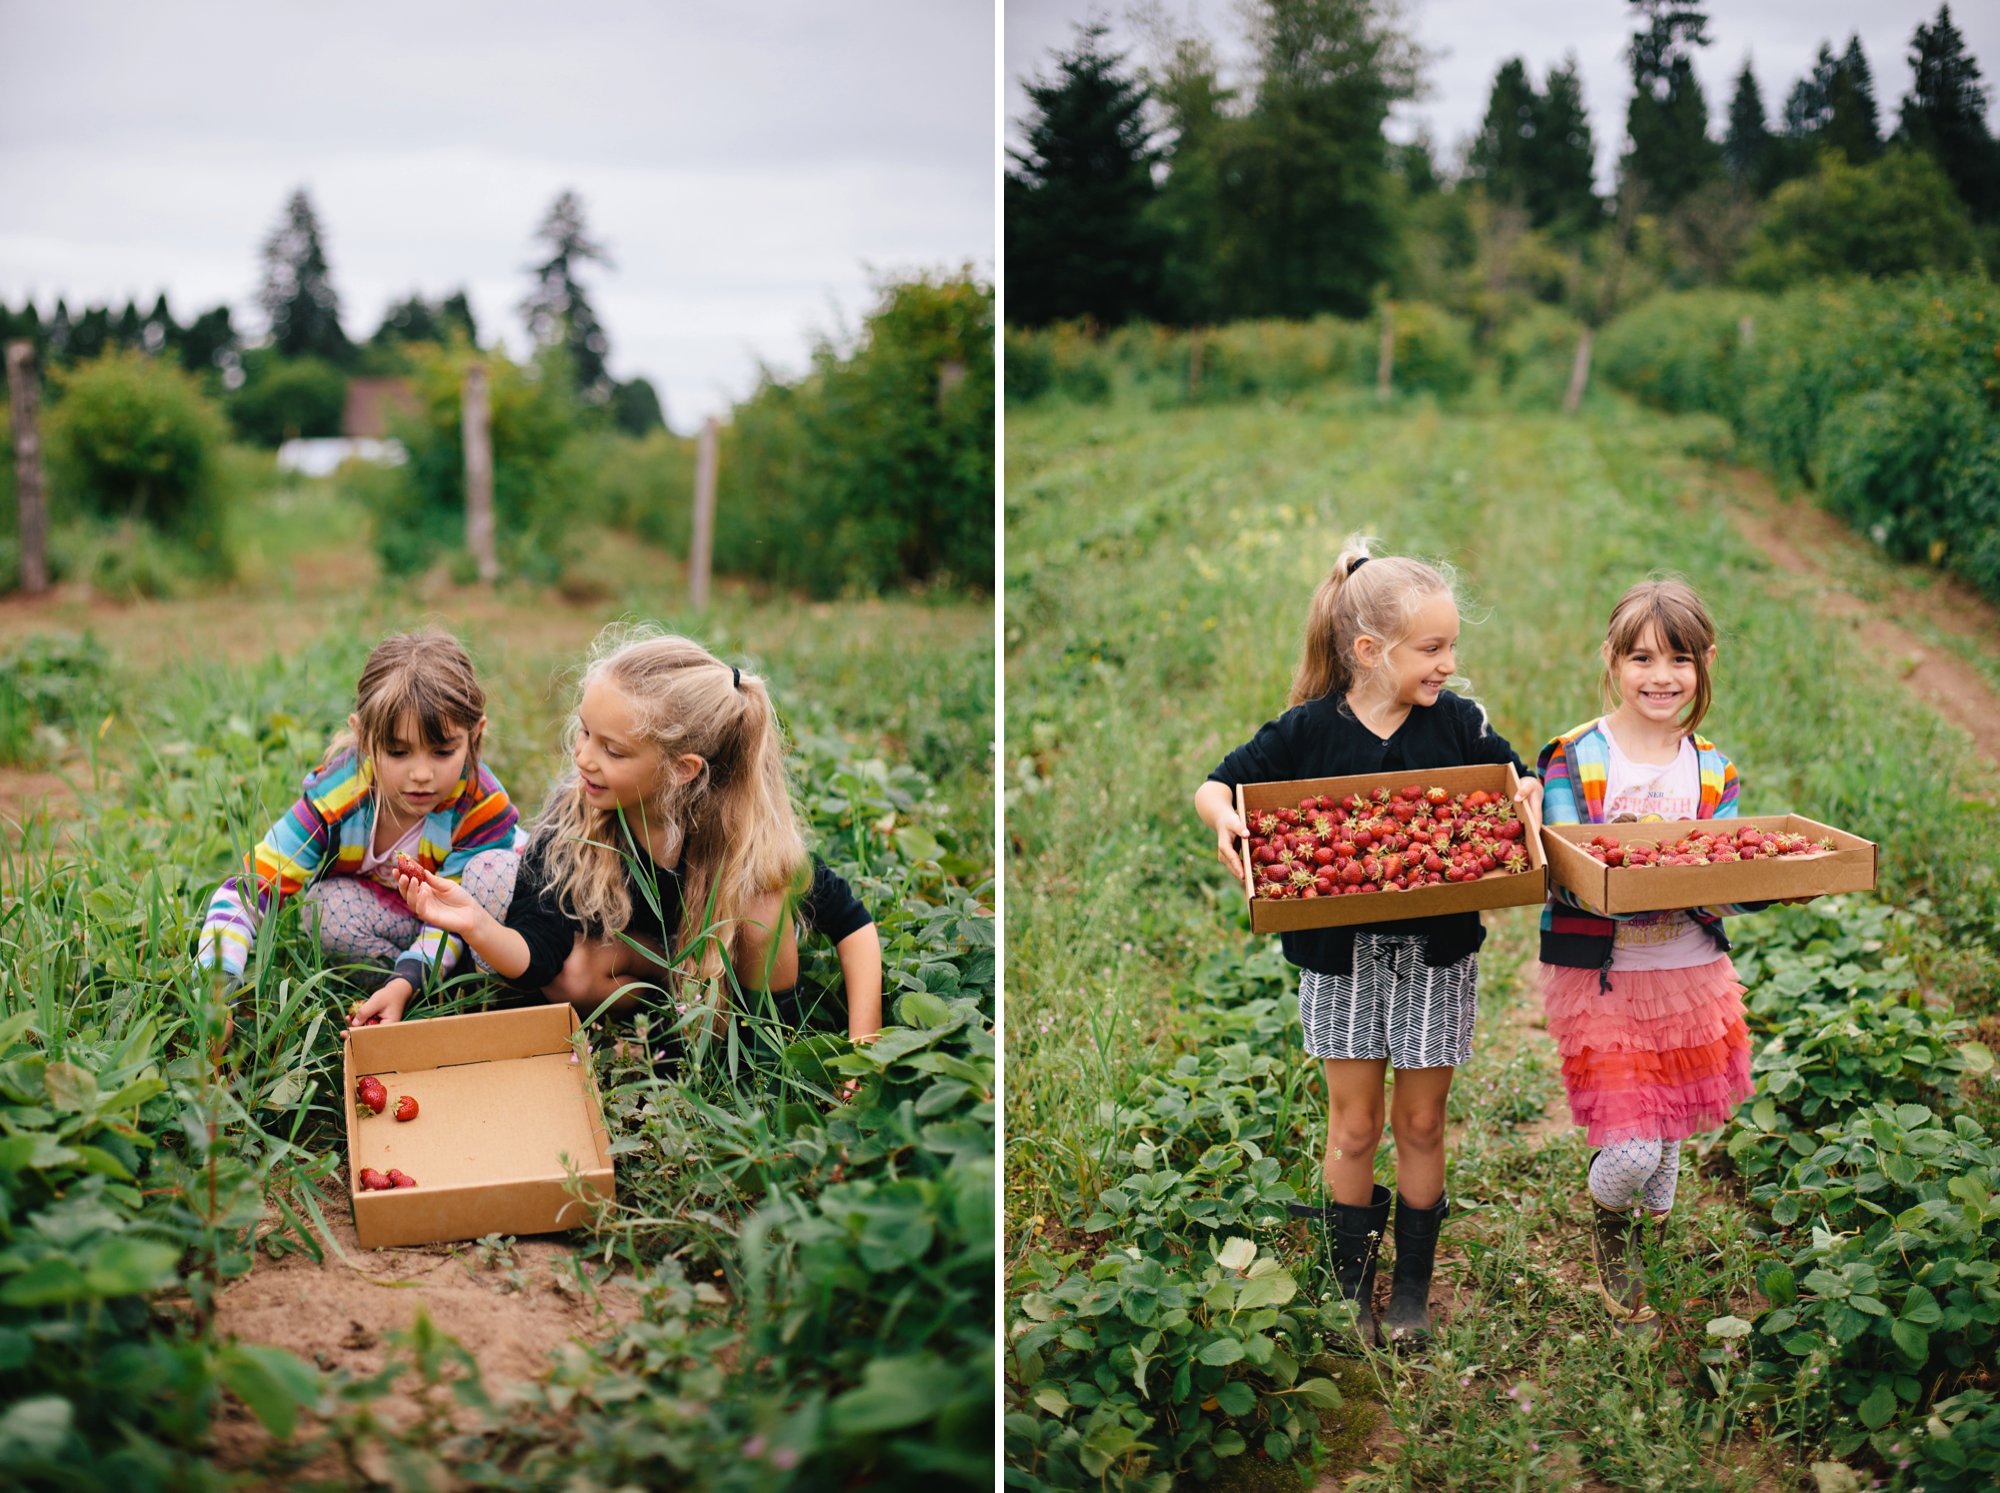
Thanks to an abundance of caution, new farm guidelines, and the courtesy of others, we were able to visit the Smith Berry Barn for our beloved annual berry picking adventure with Toni and Piper. We were SO grateful to be able to keep this mother-daughter tradition going for our 6th year in a row!
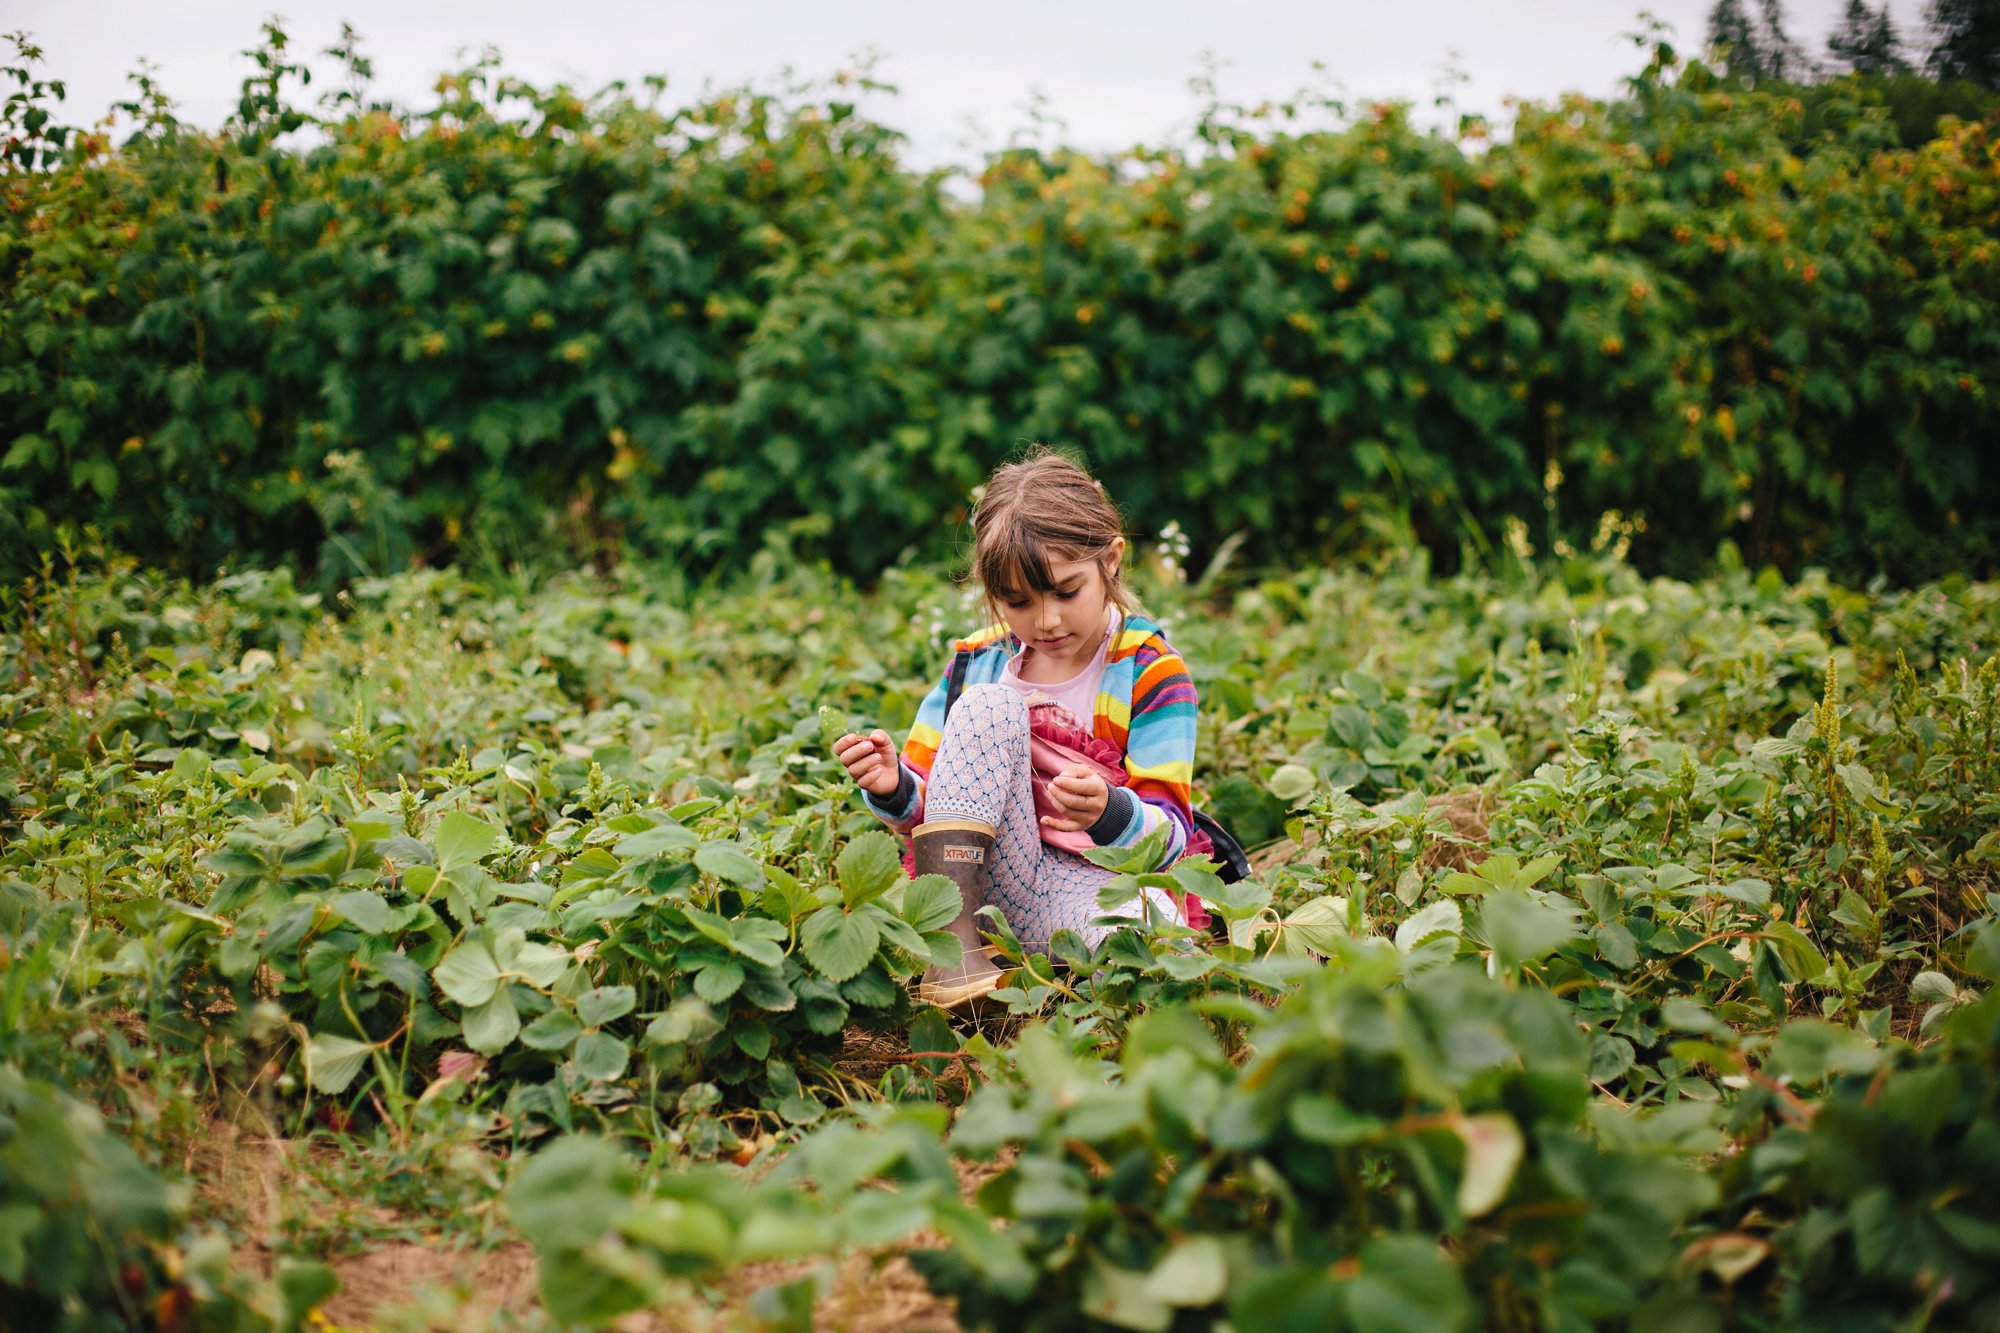
It is hard to believe how much the girls have changed!!!

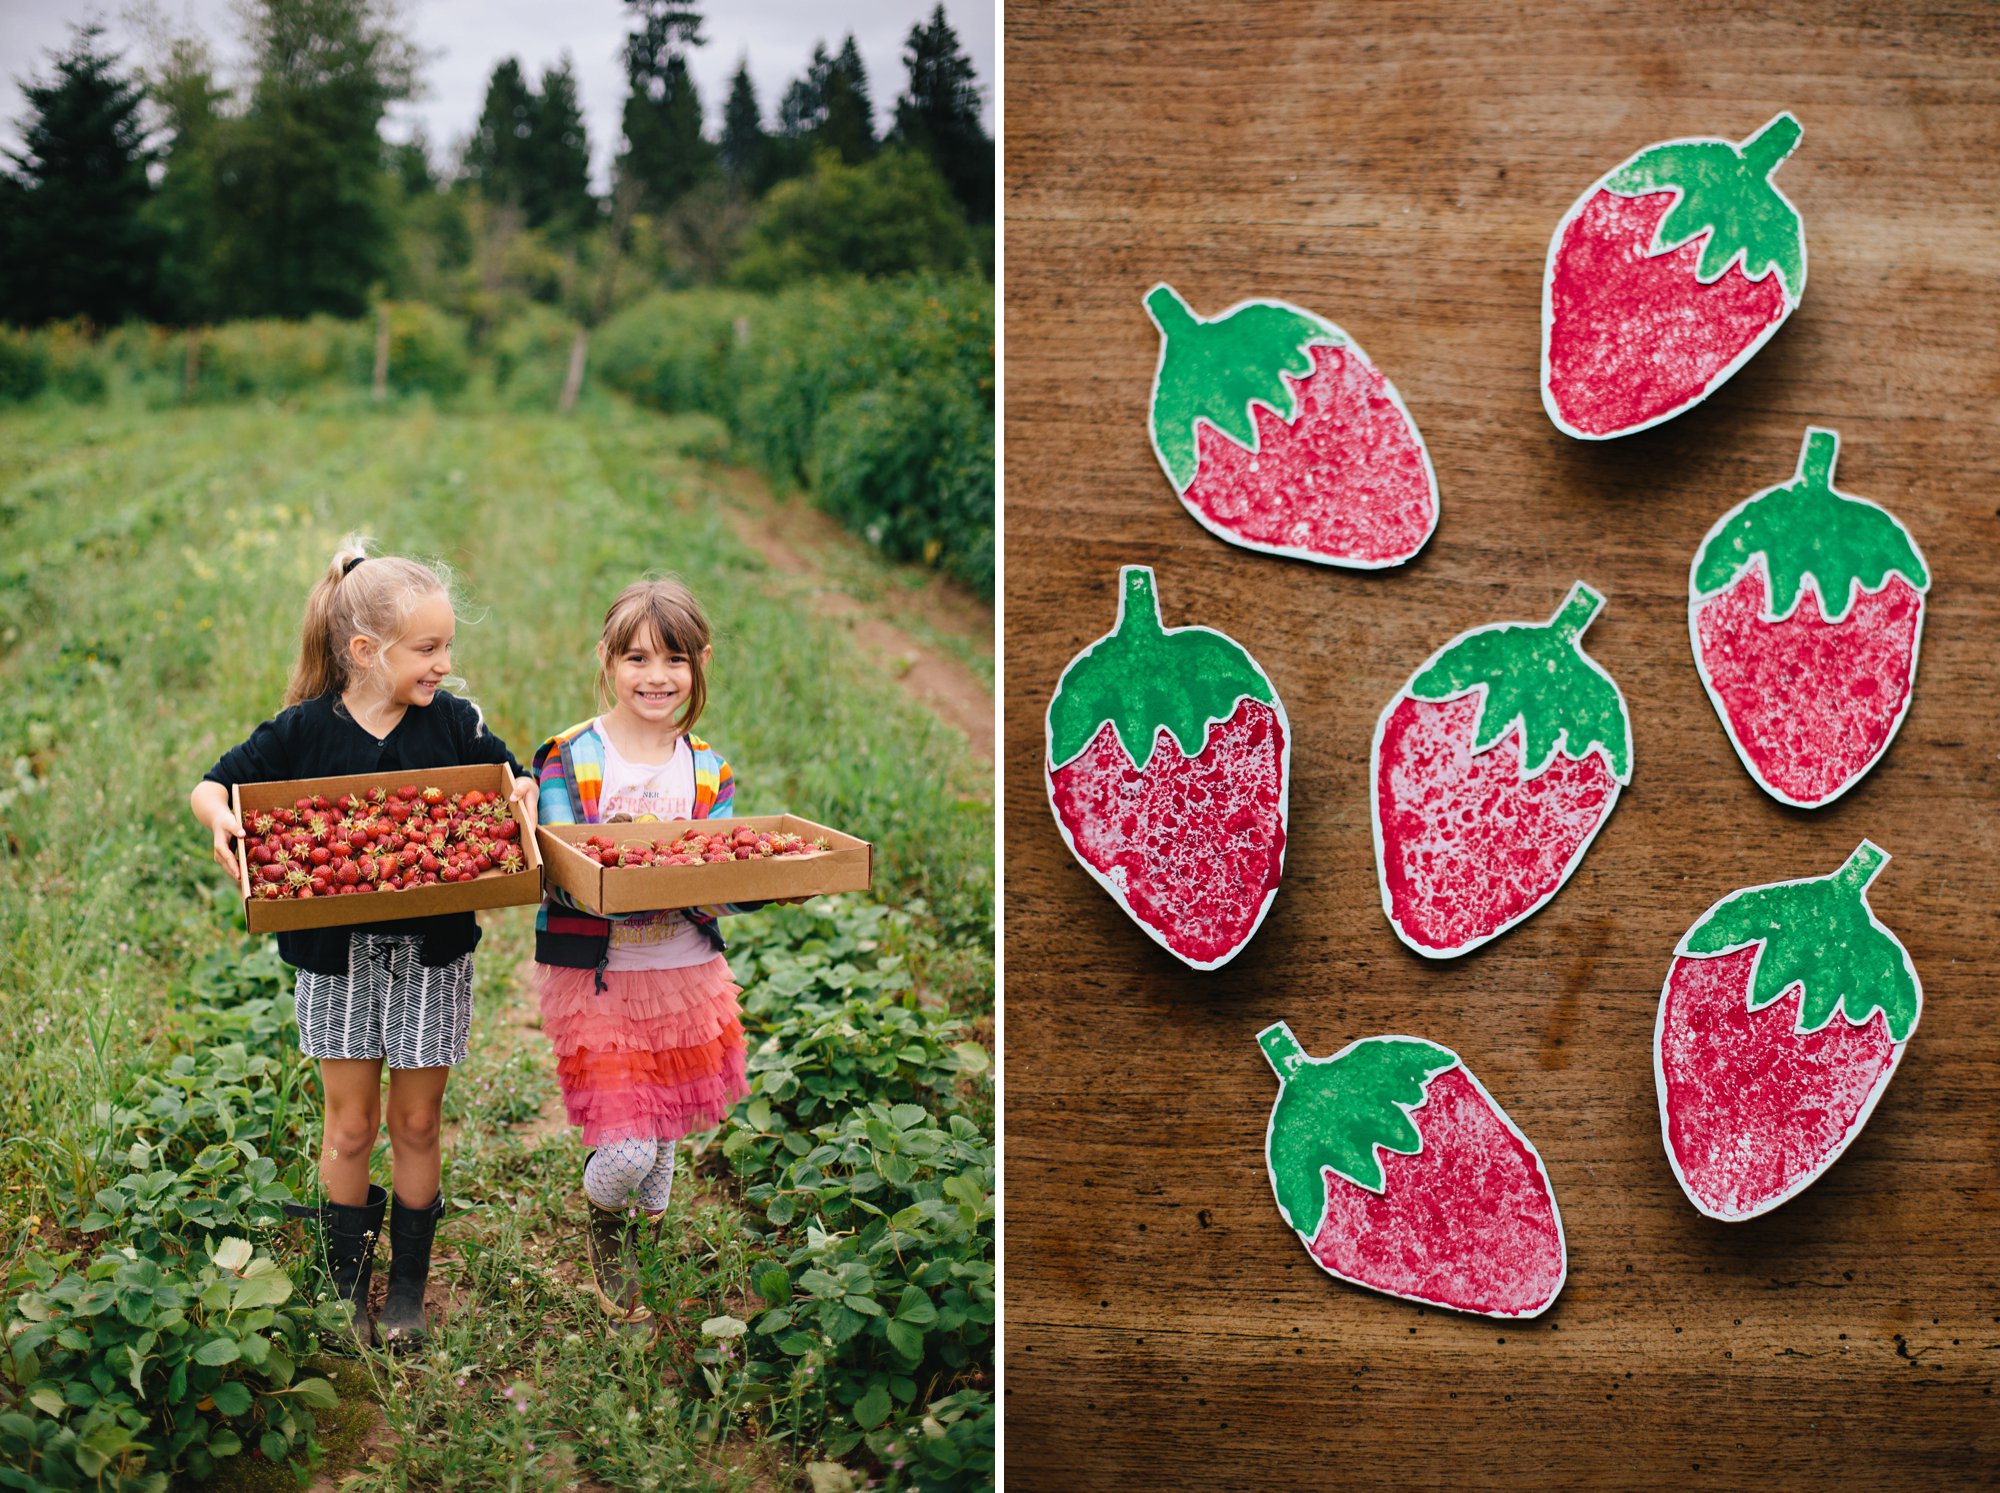
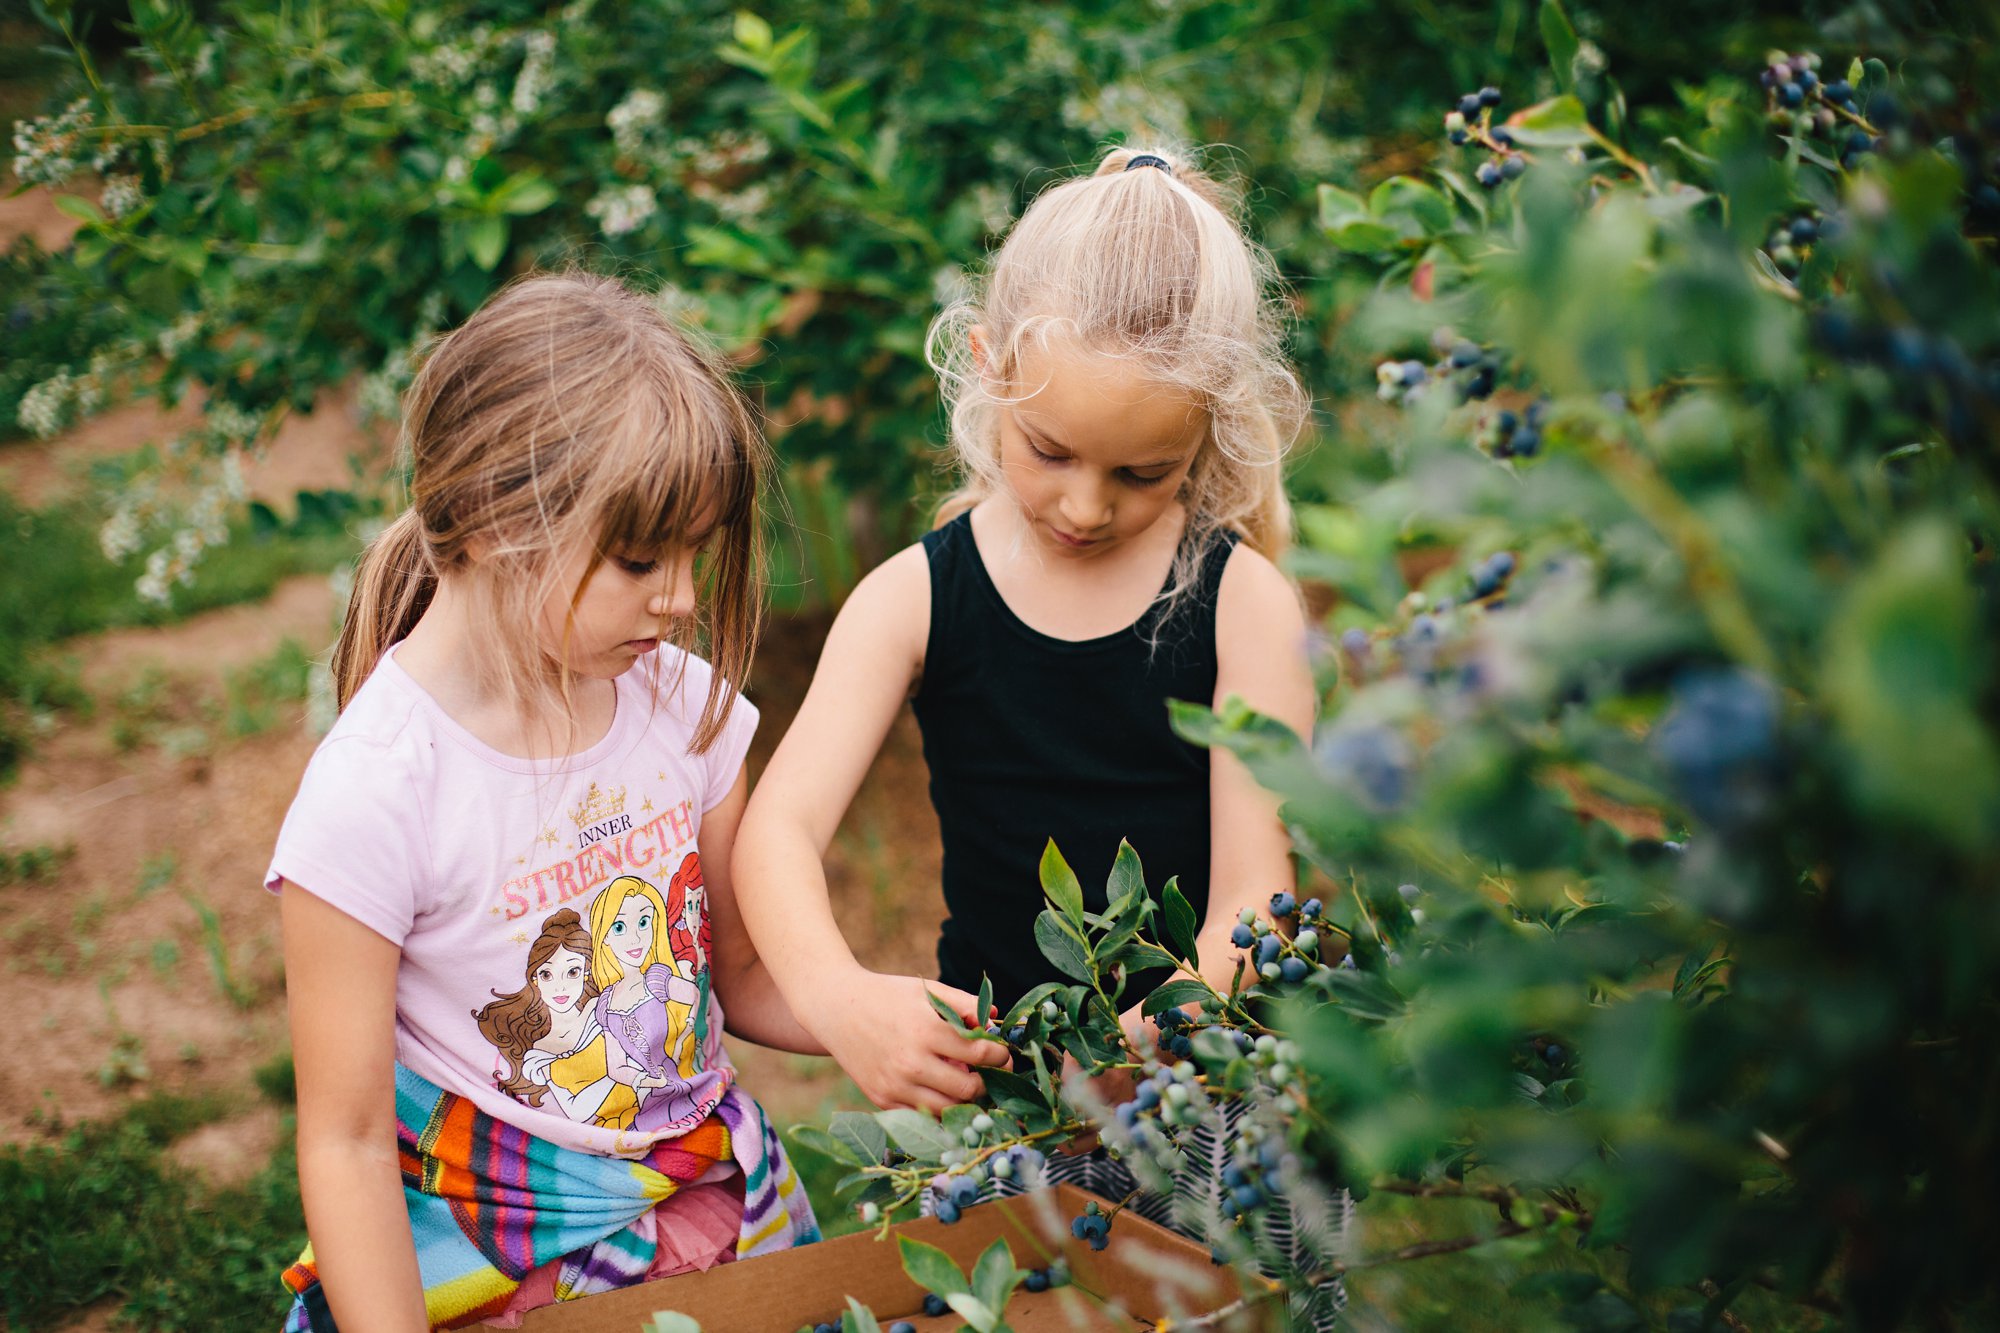
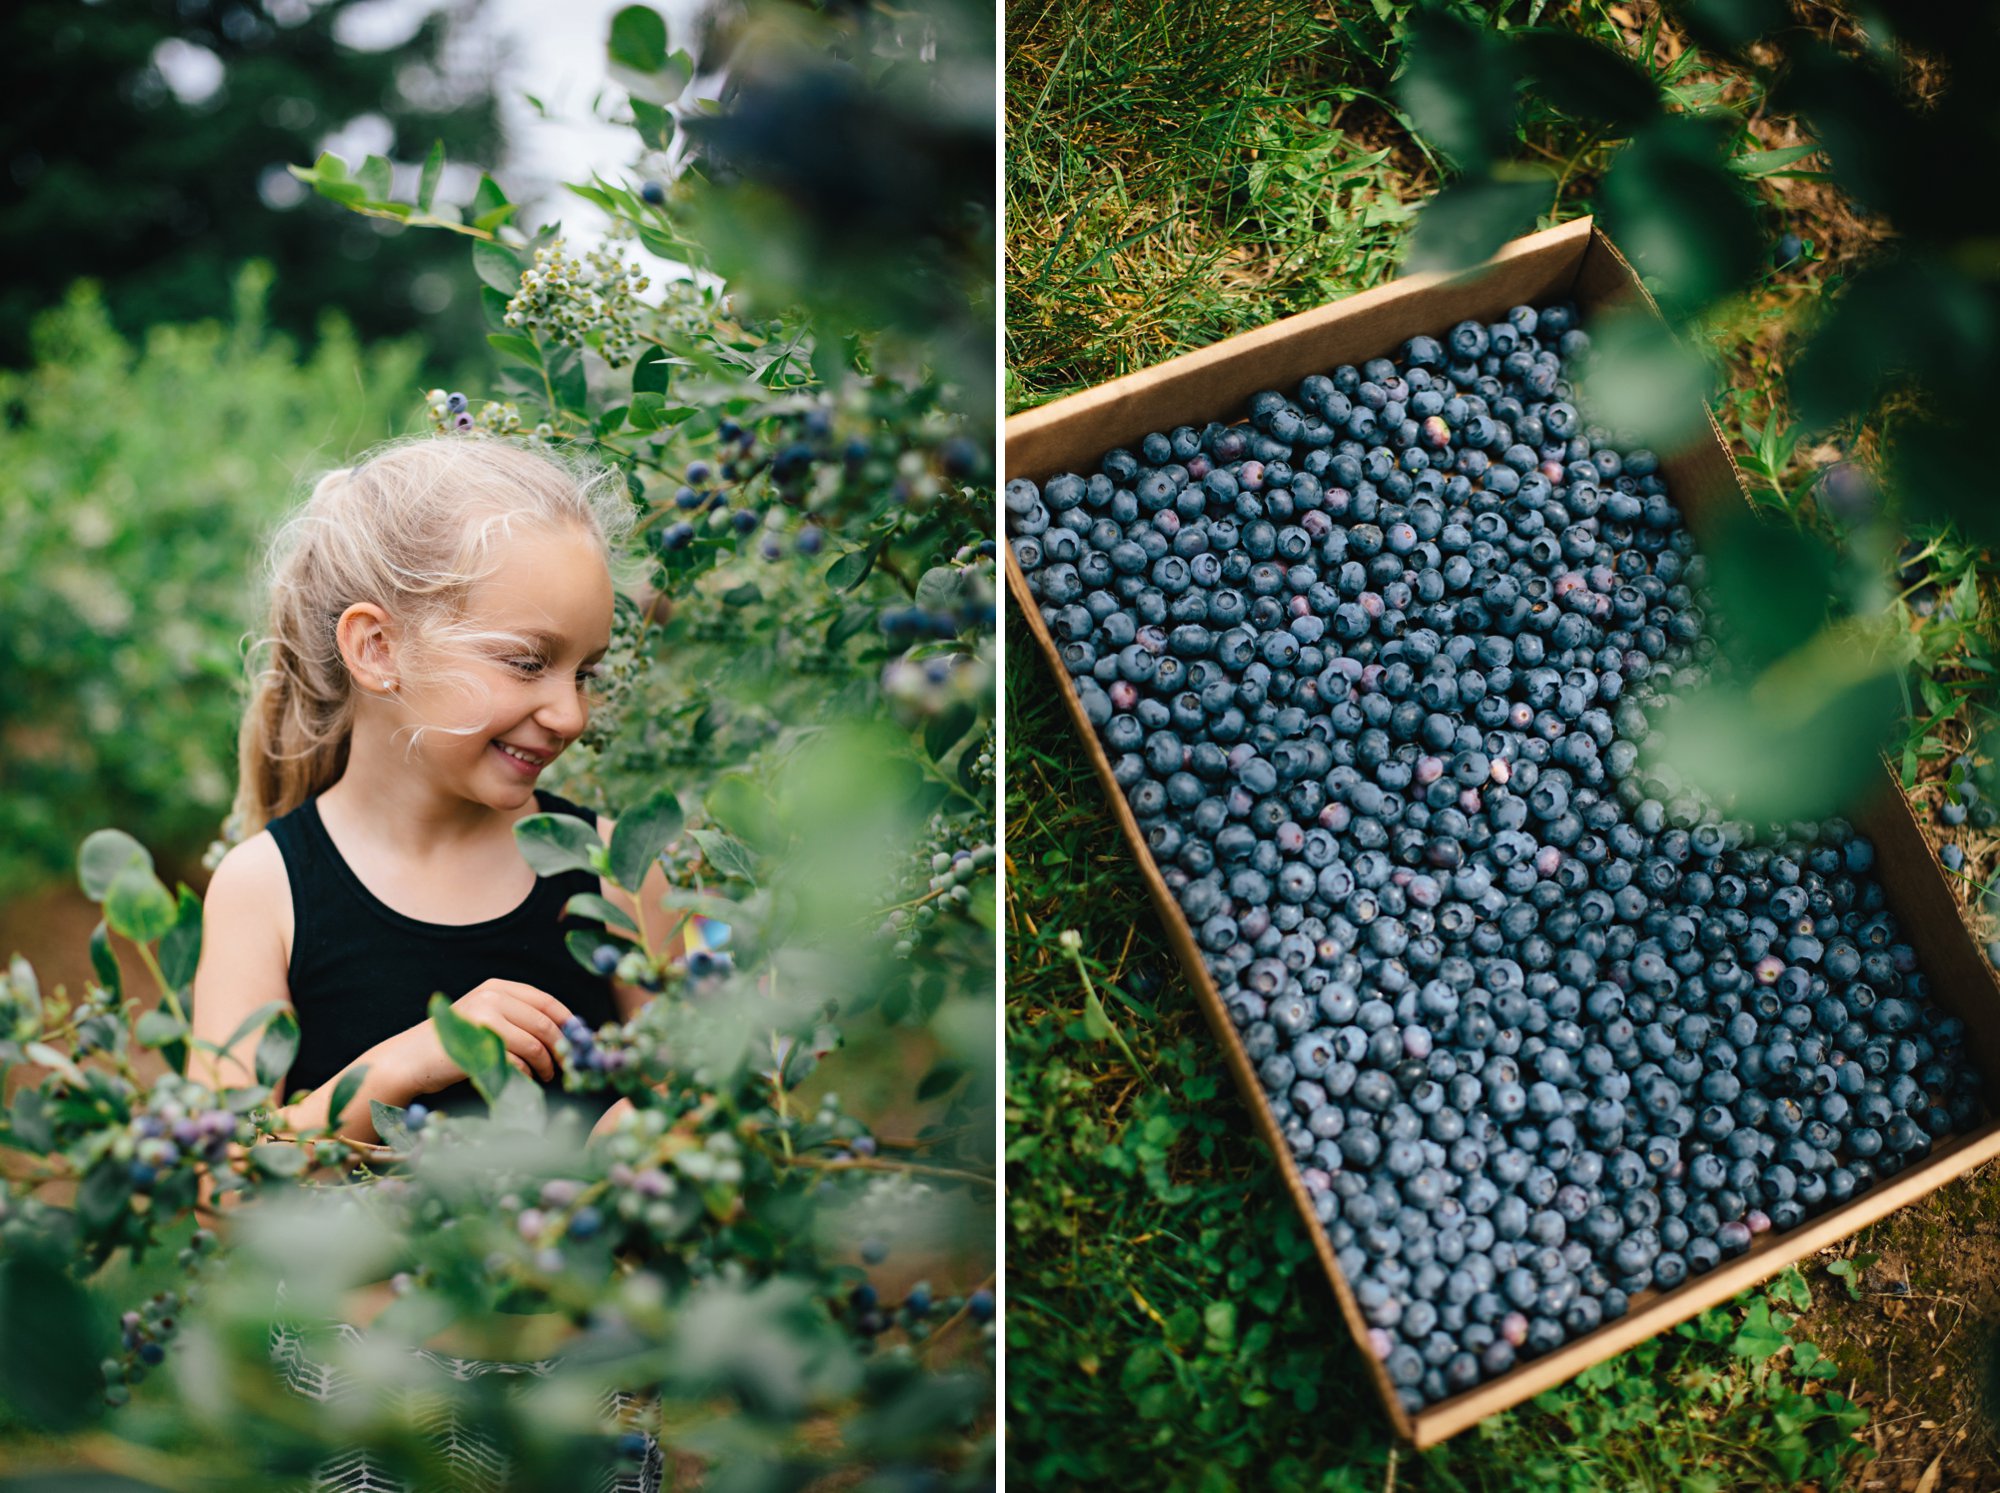
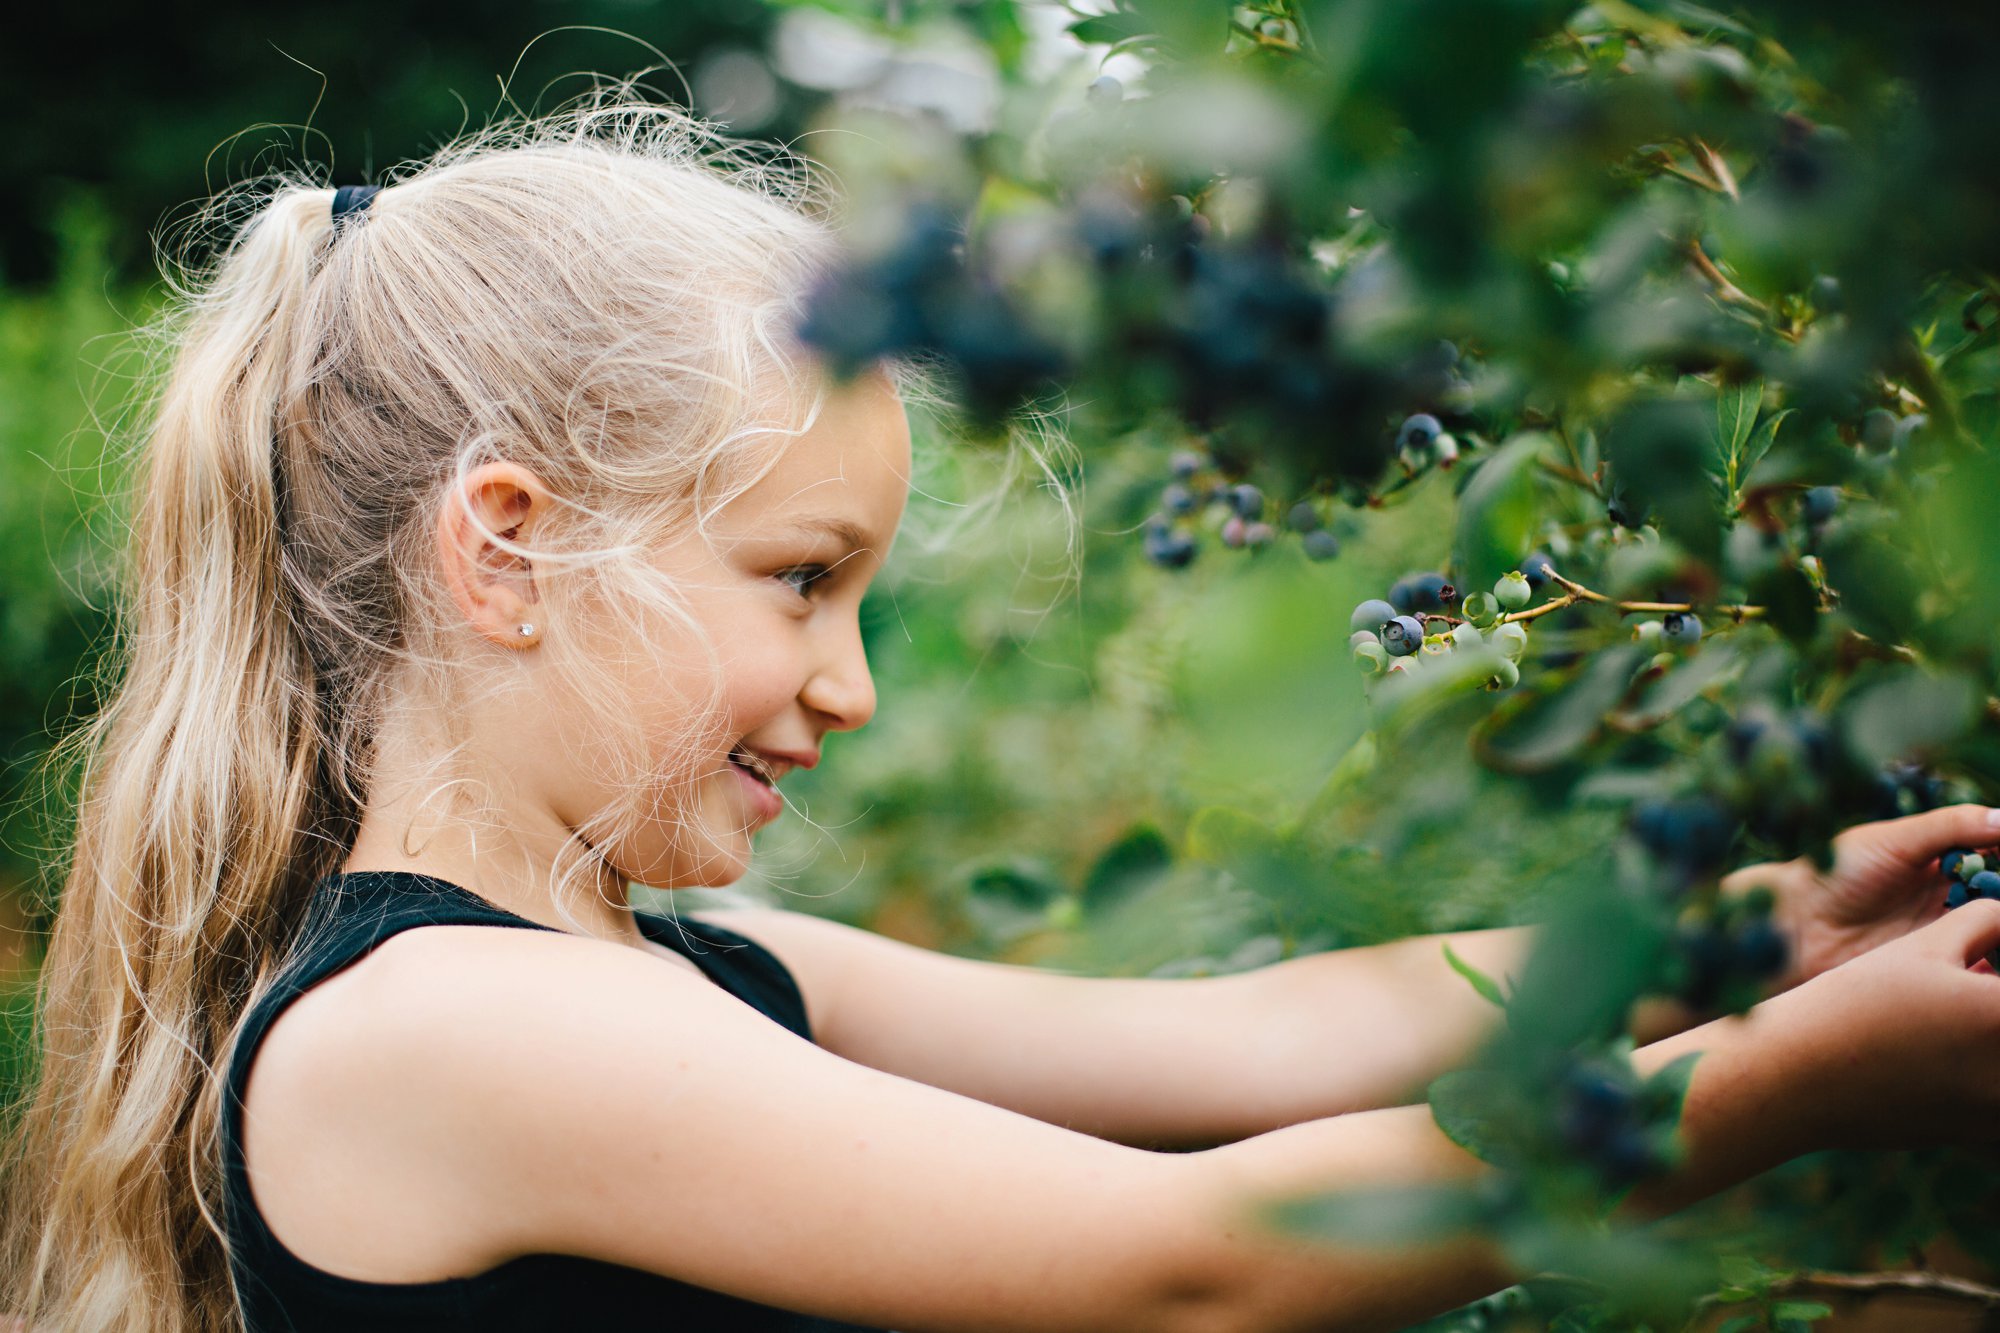
The weather could not have been more perfect and we had the most wonderful time filling our flats with gorgeous strawberries and blueberries!
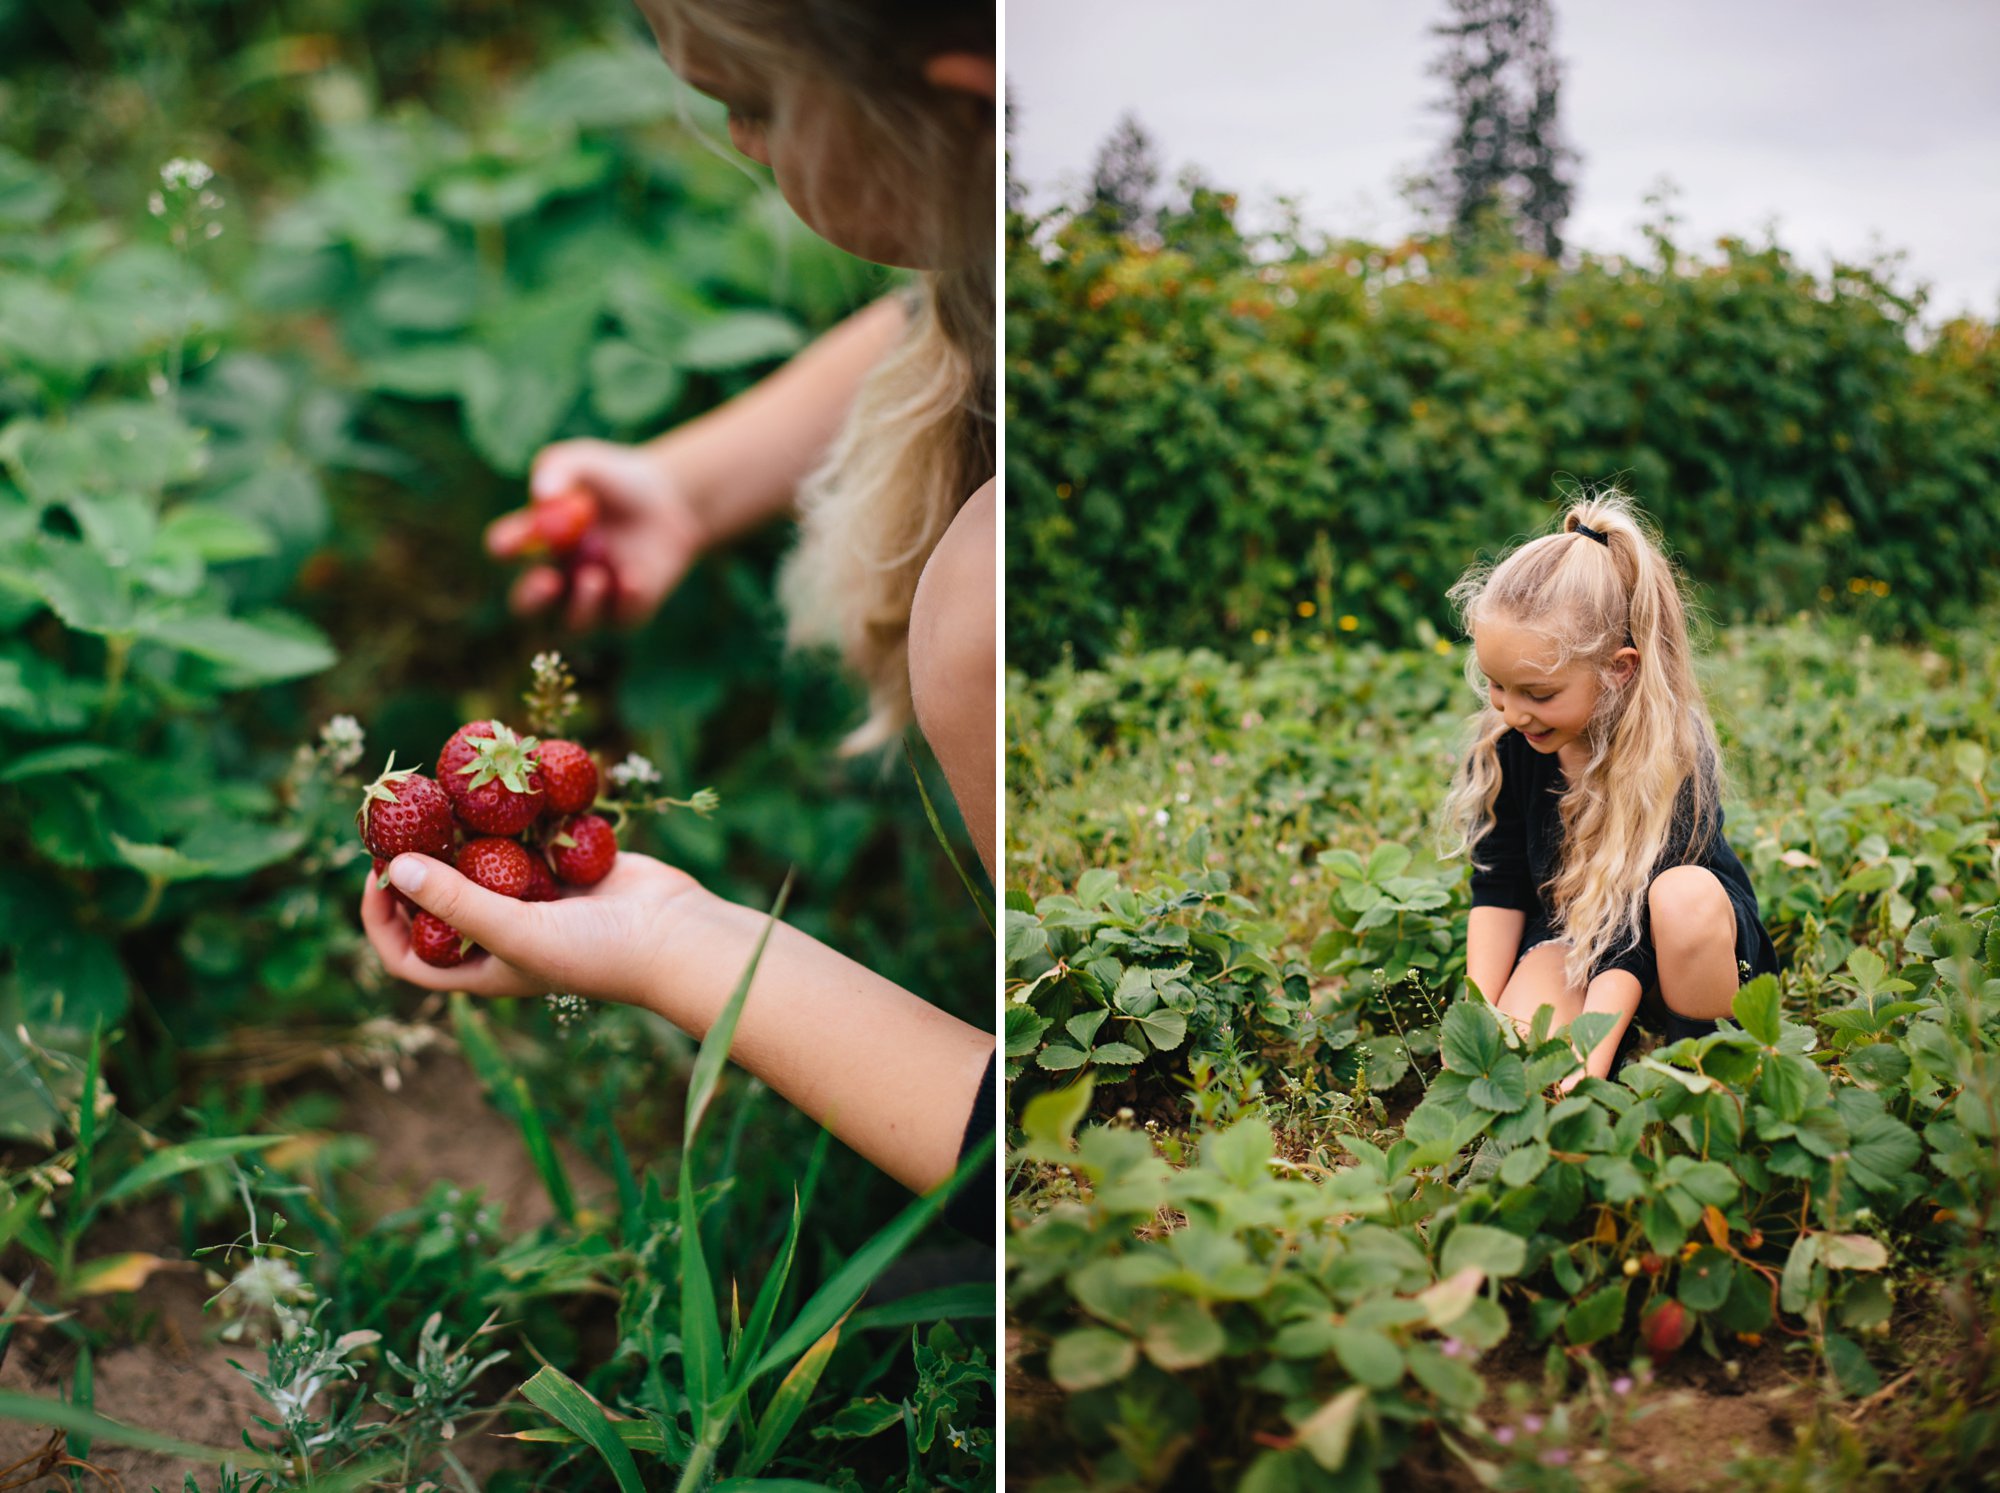
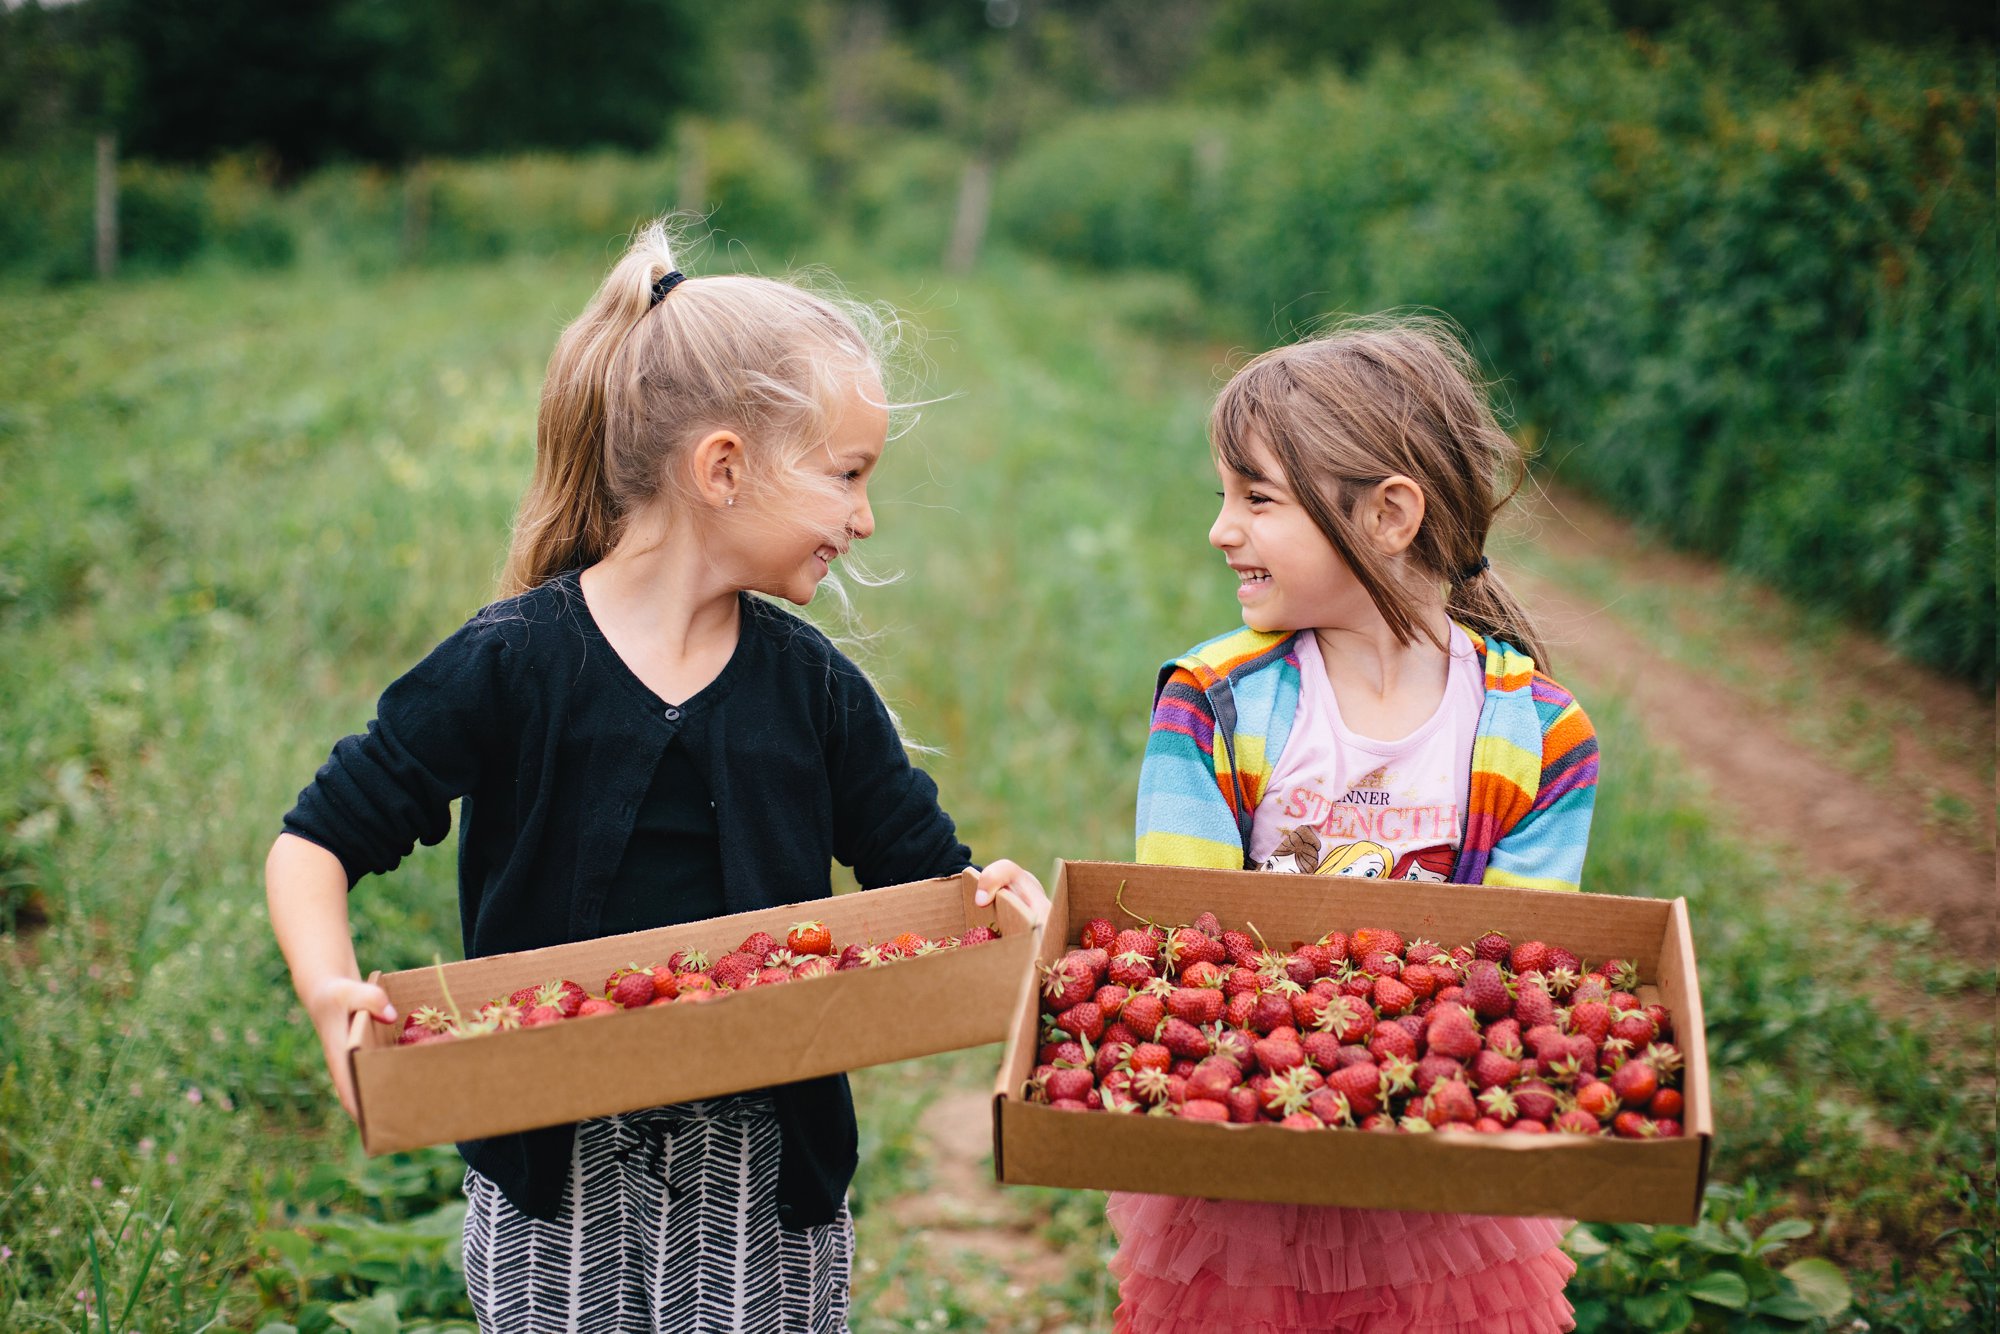

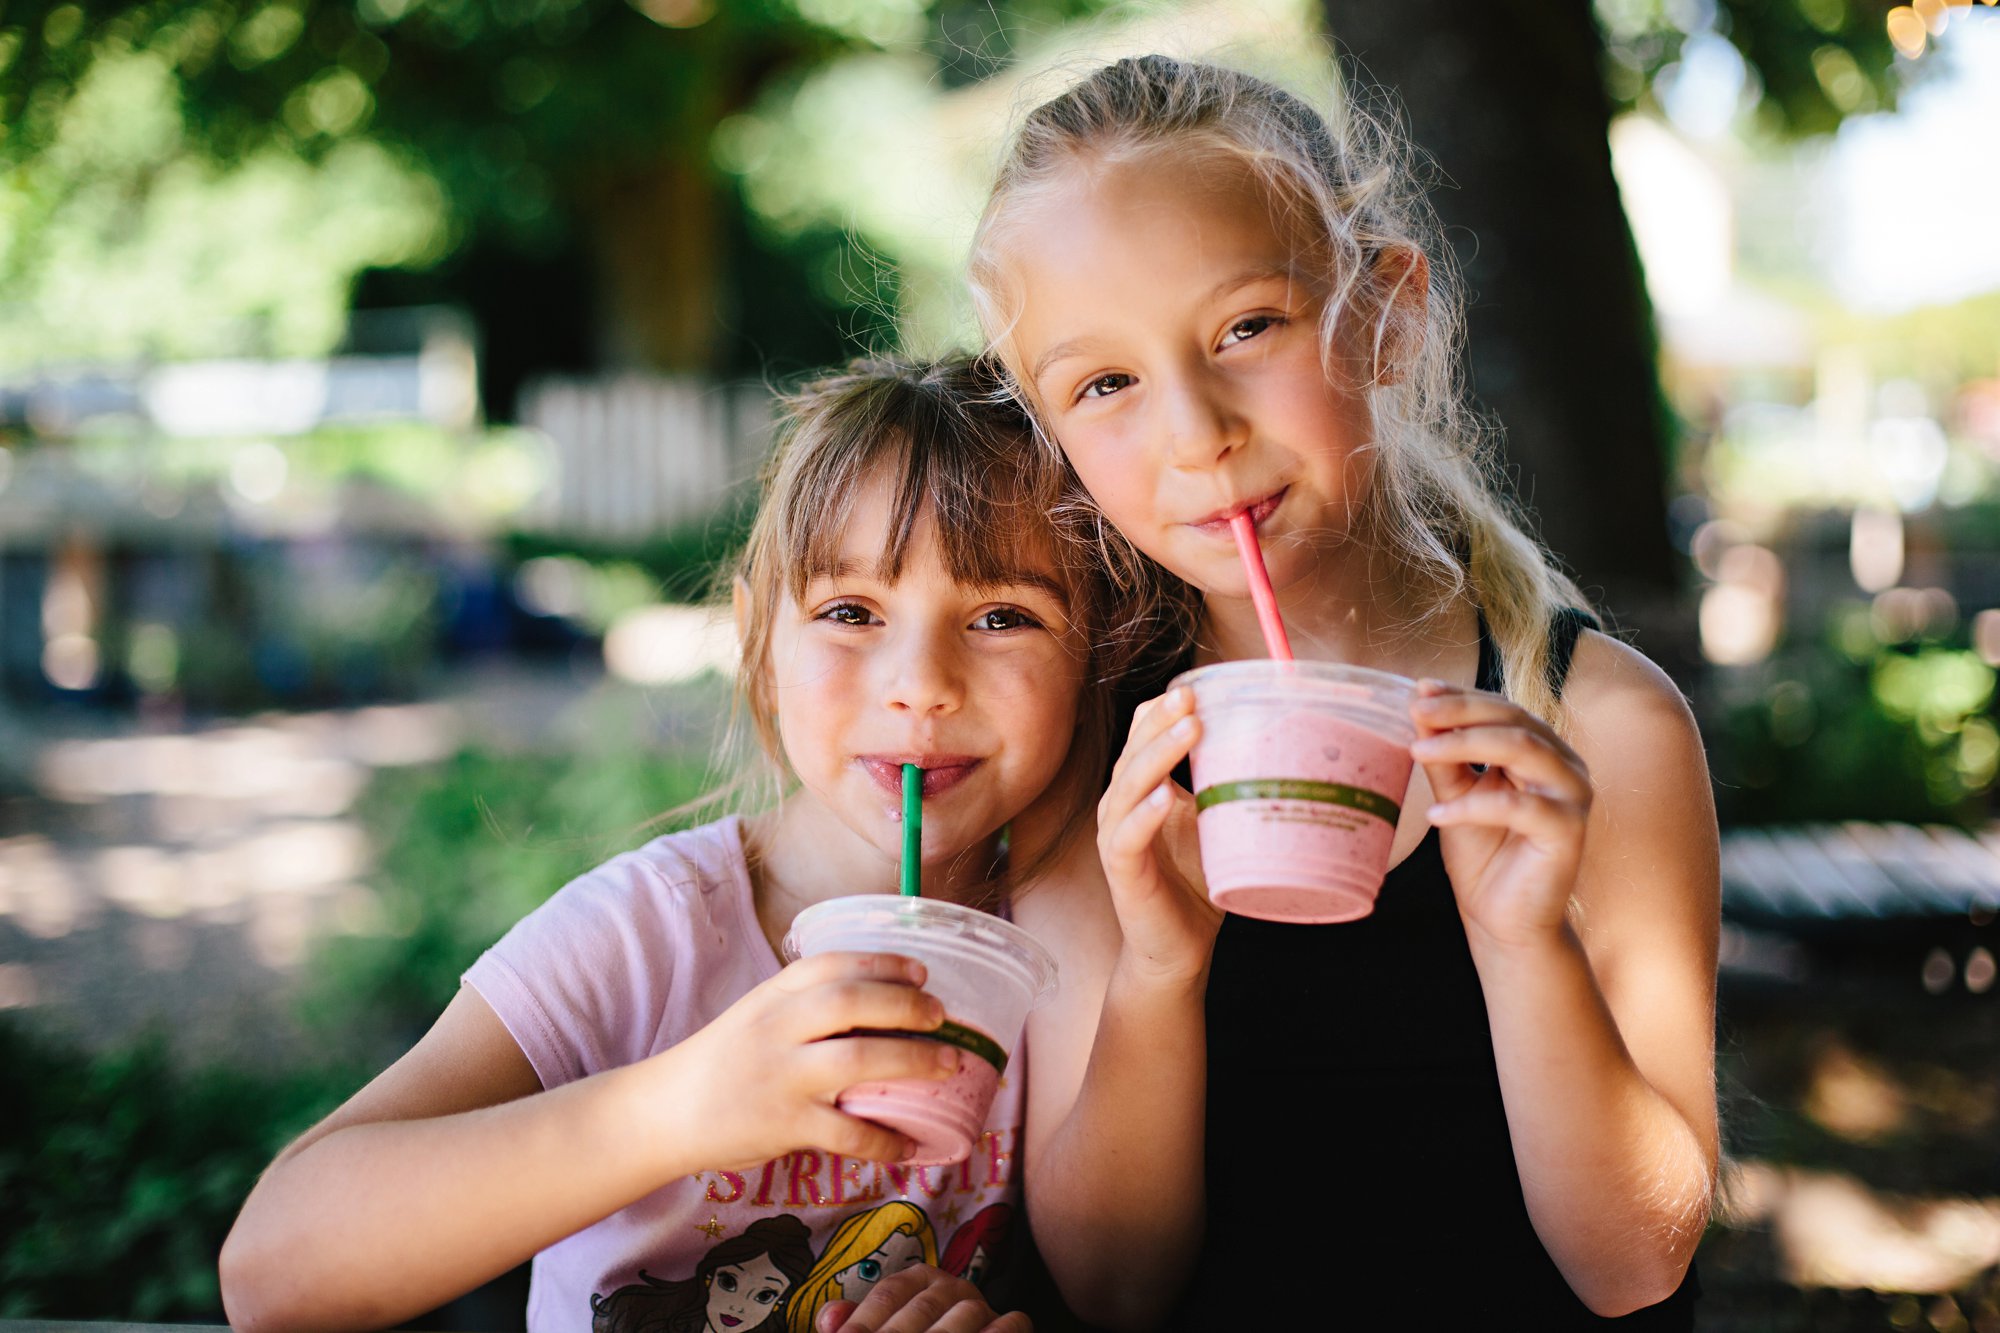
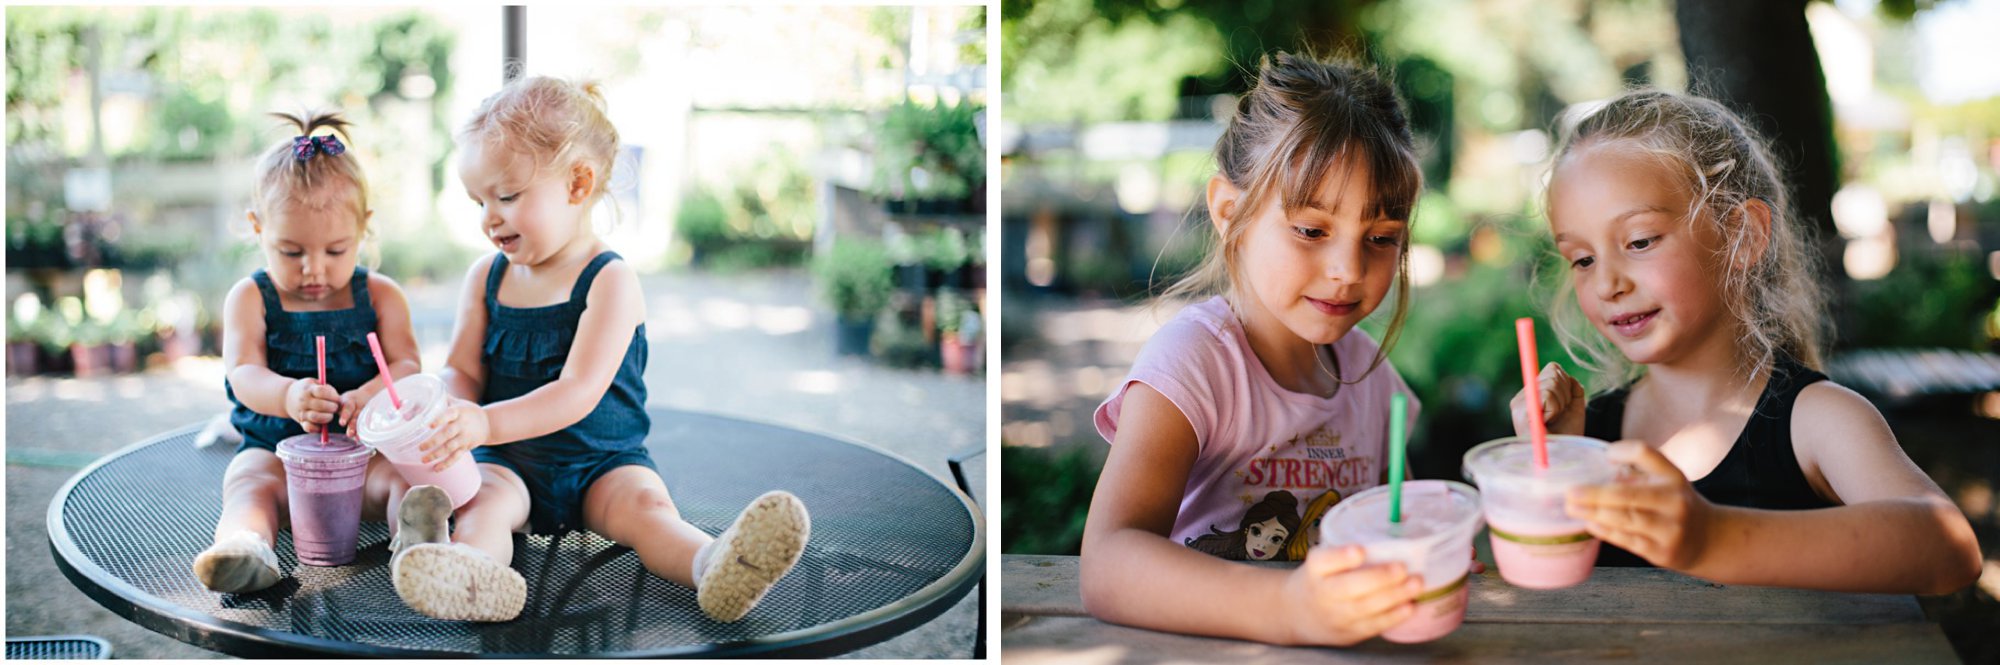
And per tradition, we wrapped up our outing with fresh berry milkshakes. I cannot even handle how sweet and squishy the girls were during our first picking trip!!!
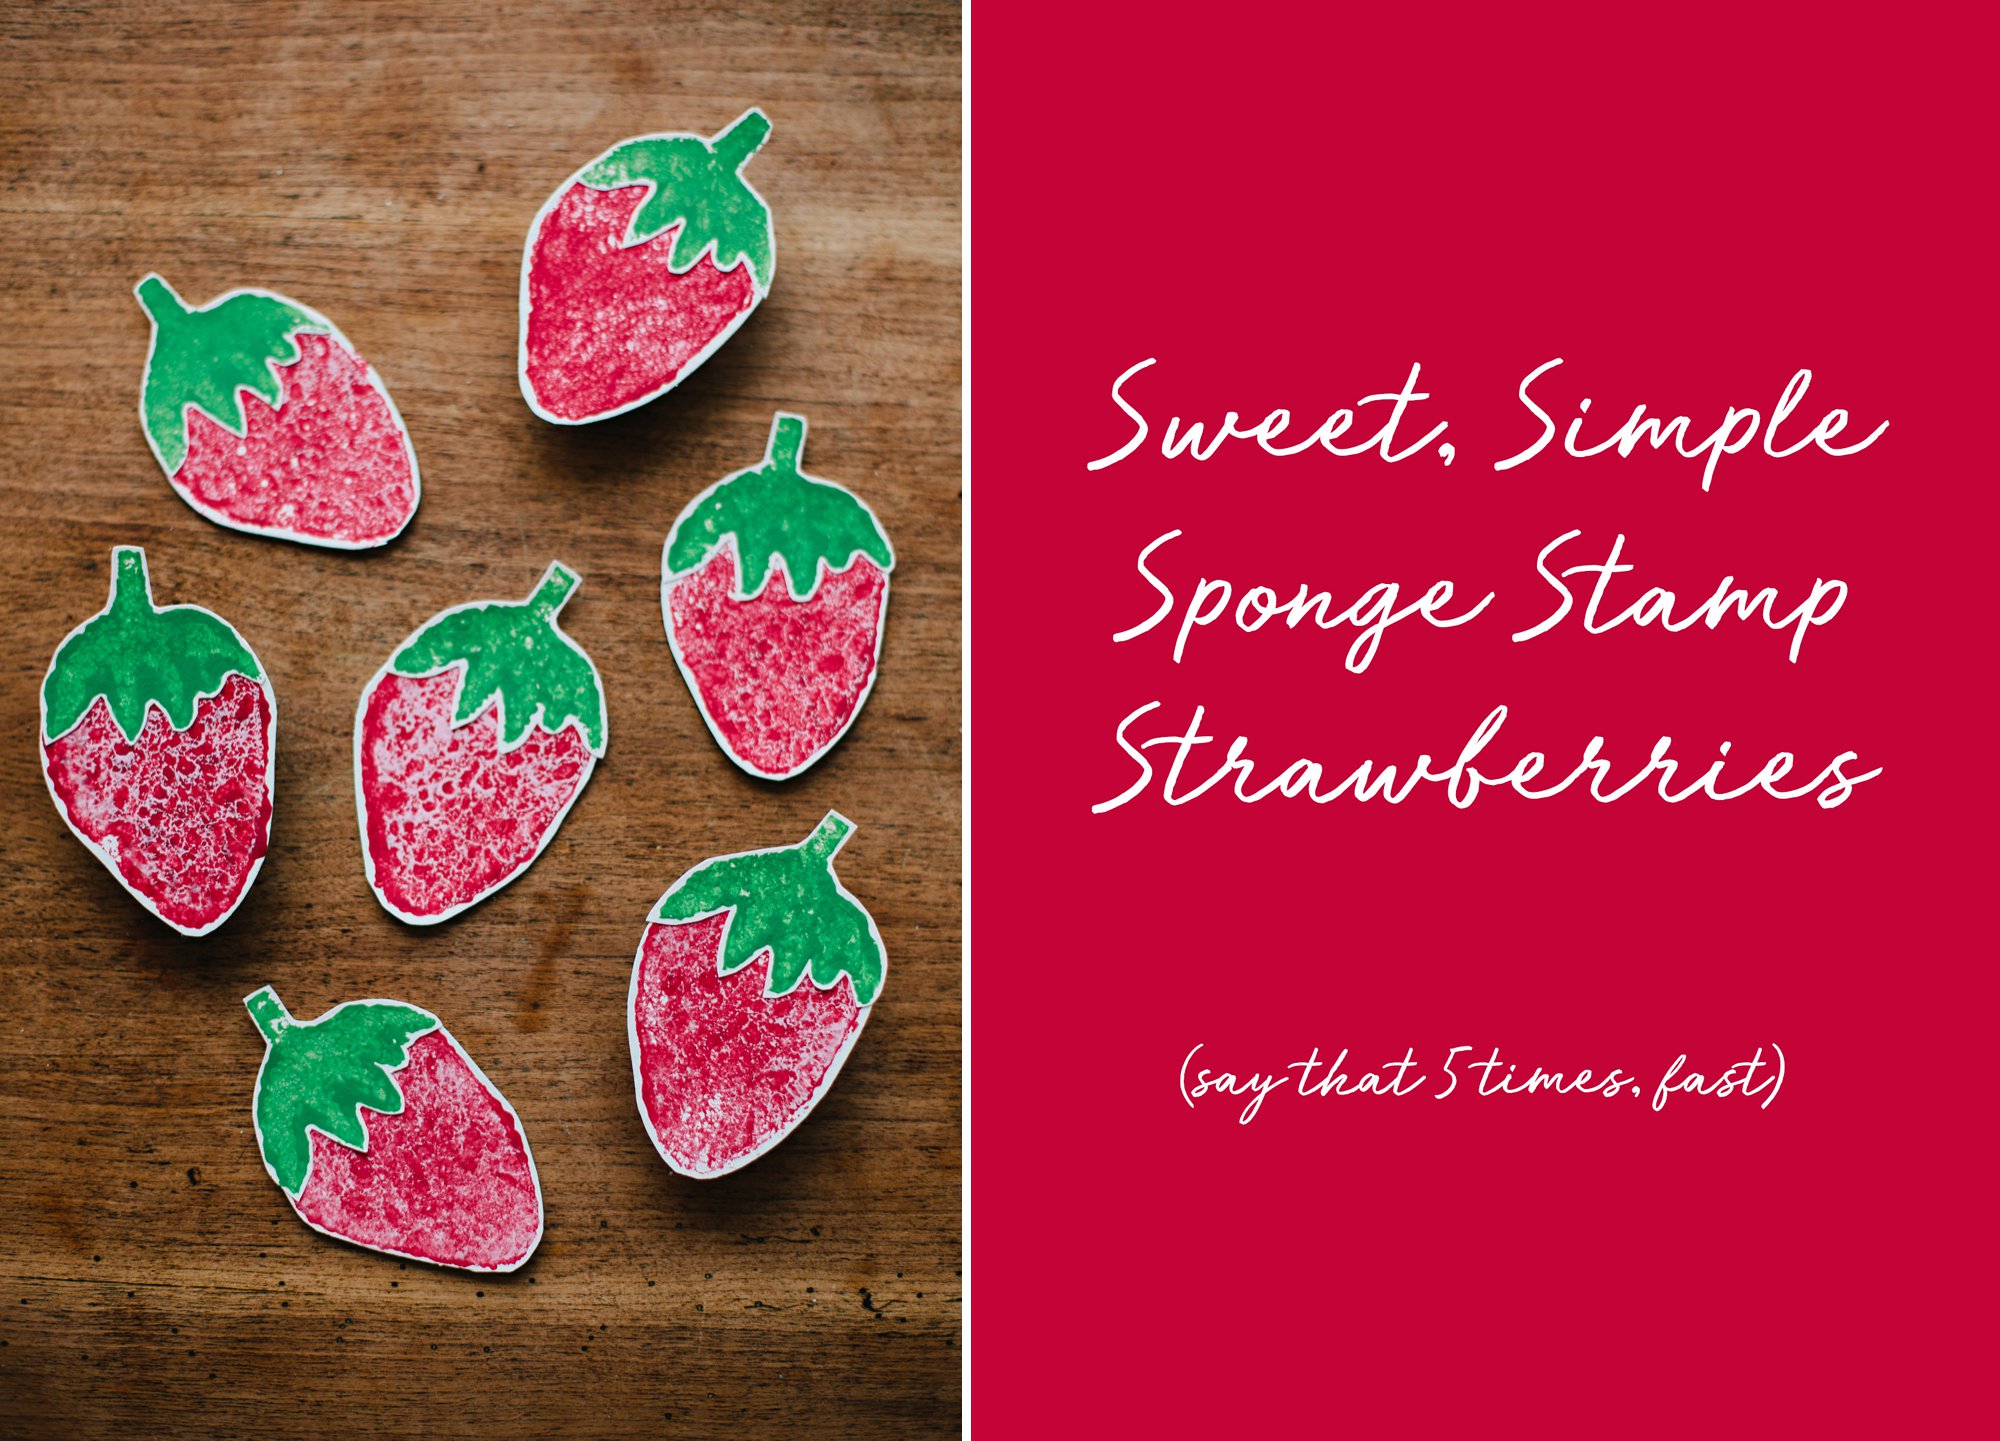
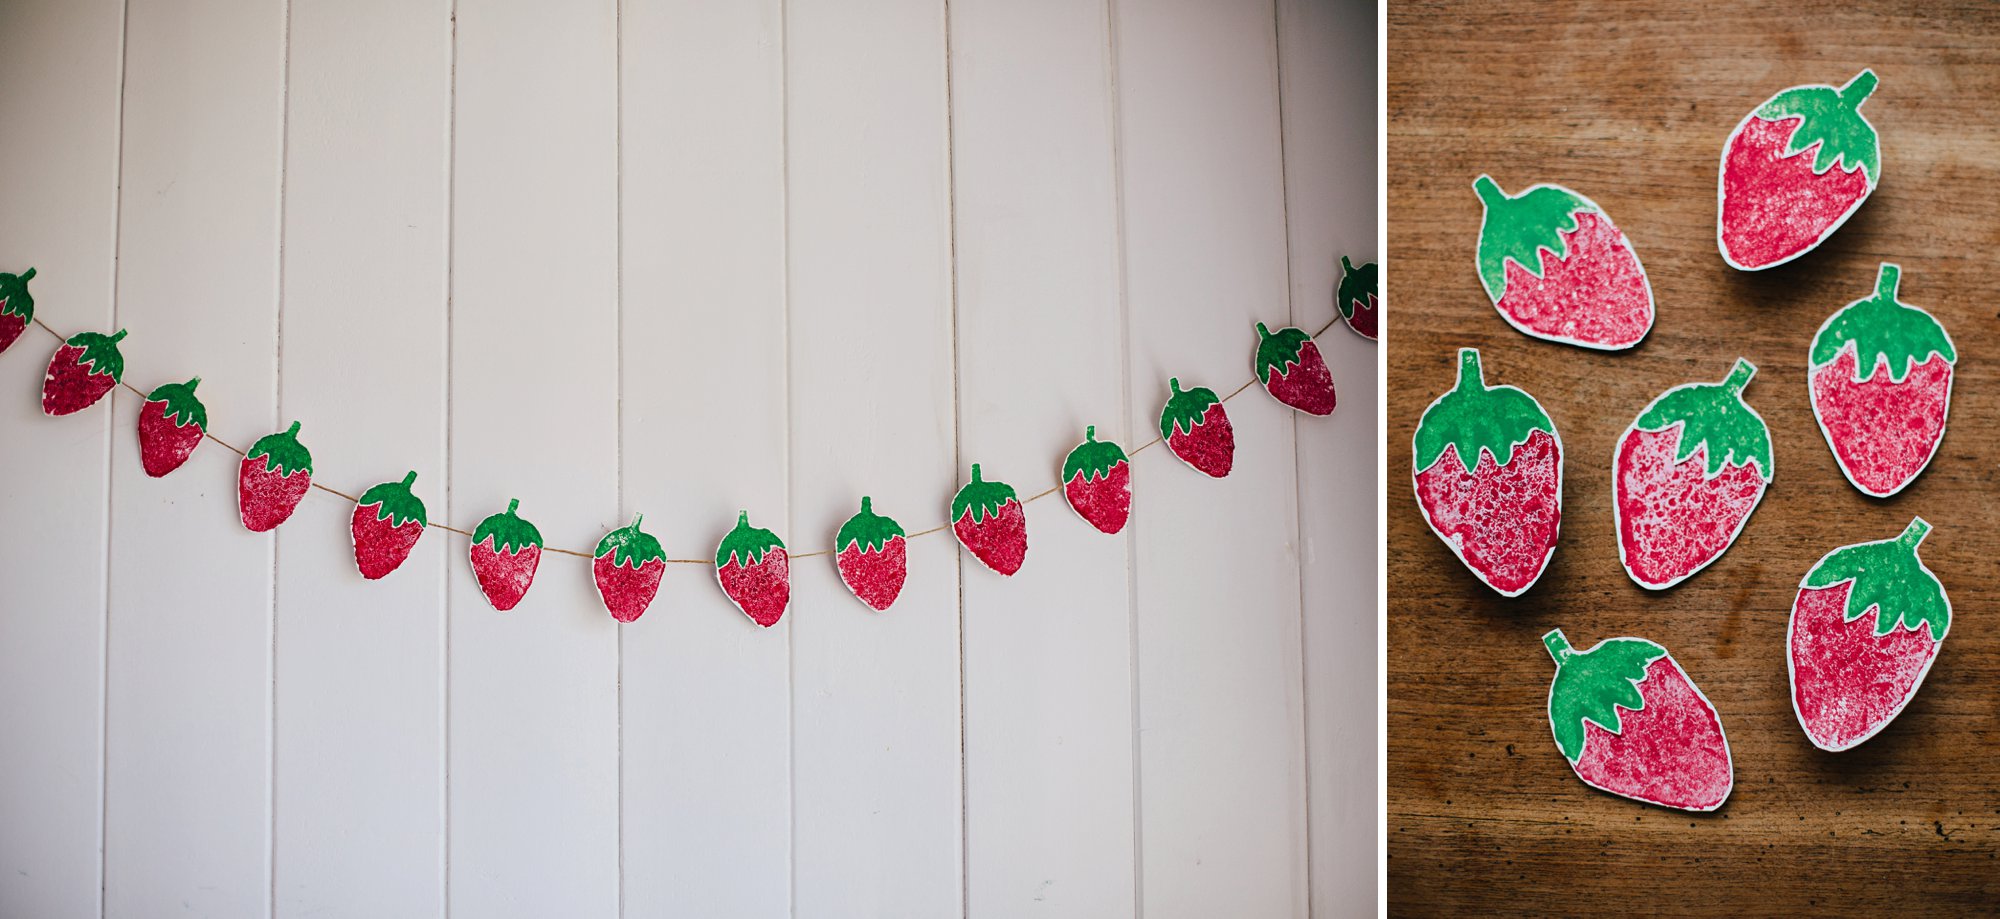
Inspired by our latest berry picking adventure, the kids and I made up a sweet strawberry stamp project using a new kitchen sponge and a little paint. We turned our finished berries into a garland, some magnets, and clips for the kids’ art gallery! Here is a simple tutorial for making your own:⠀
Supplies:
- new sponge
- acrylic paint (red, pink, green)
- sturdy craft paper
- scissors
- sharpie
- glue stick
- *optional supplies* thin cardboard (like a cereal box), twine, hot glue gun, magnets, clothespins
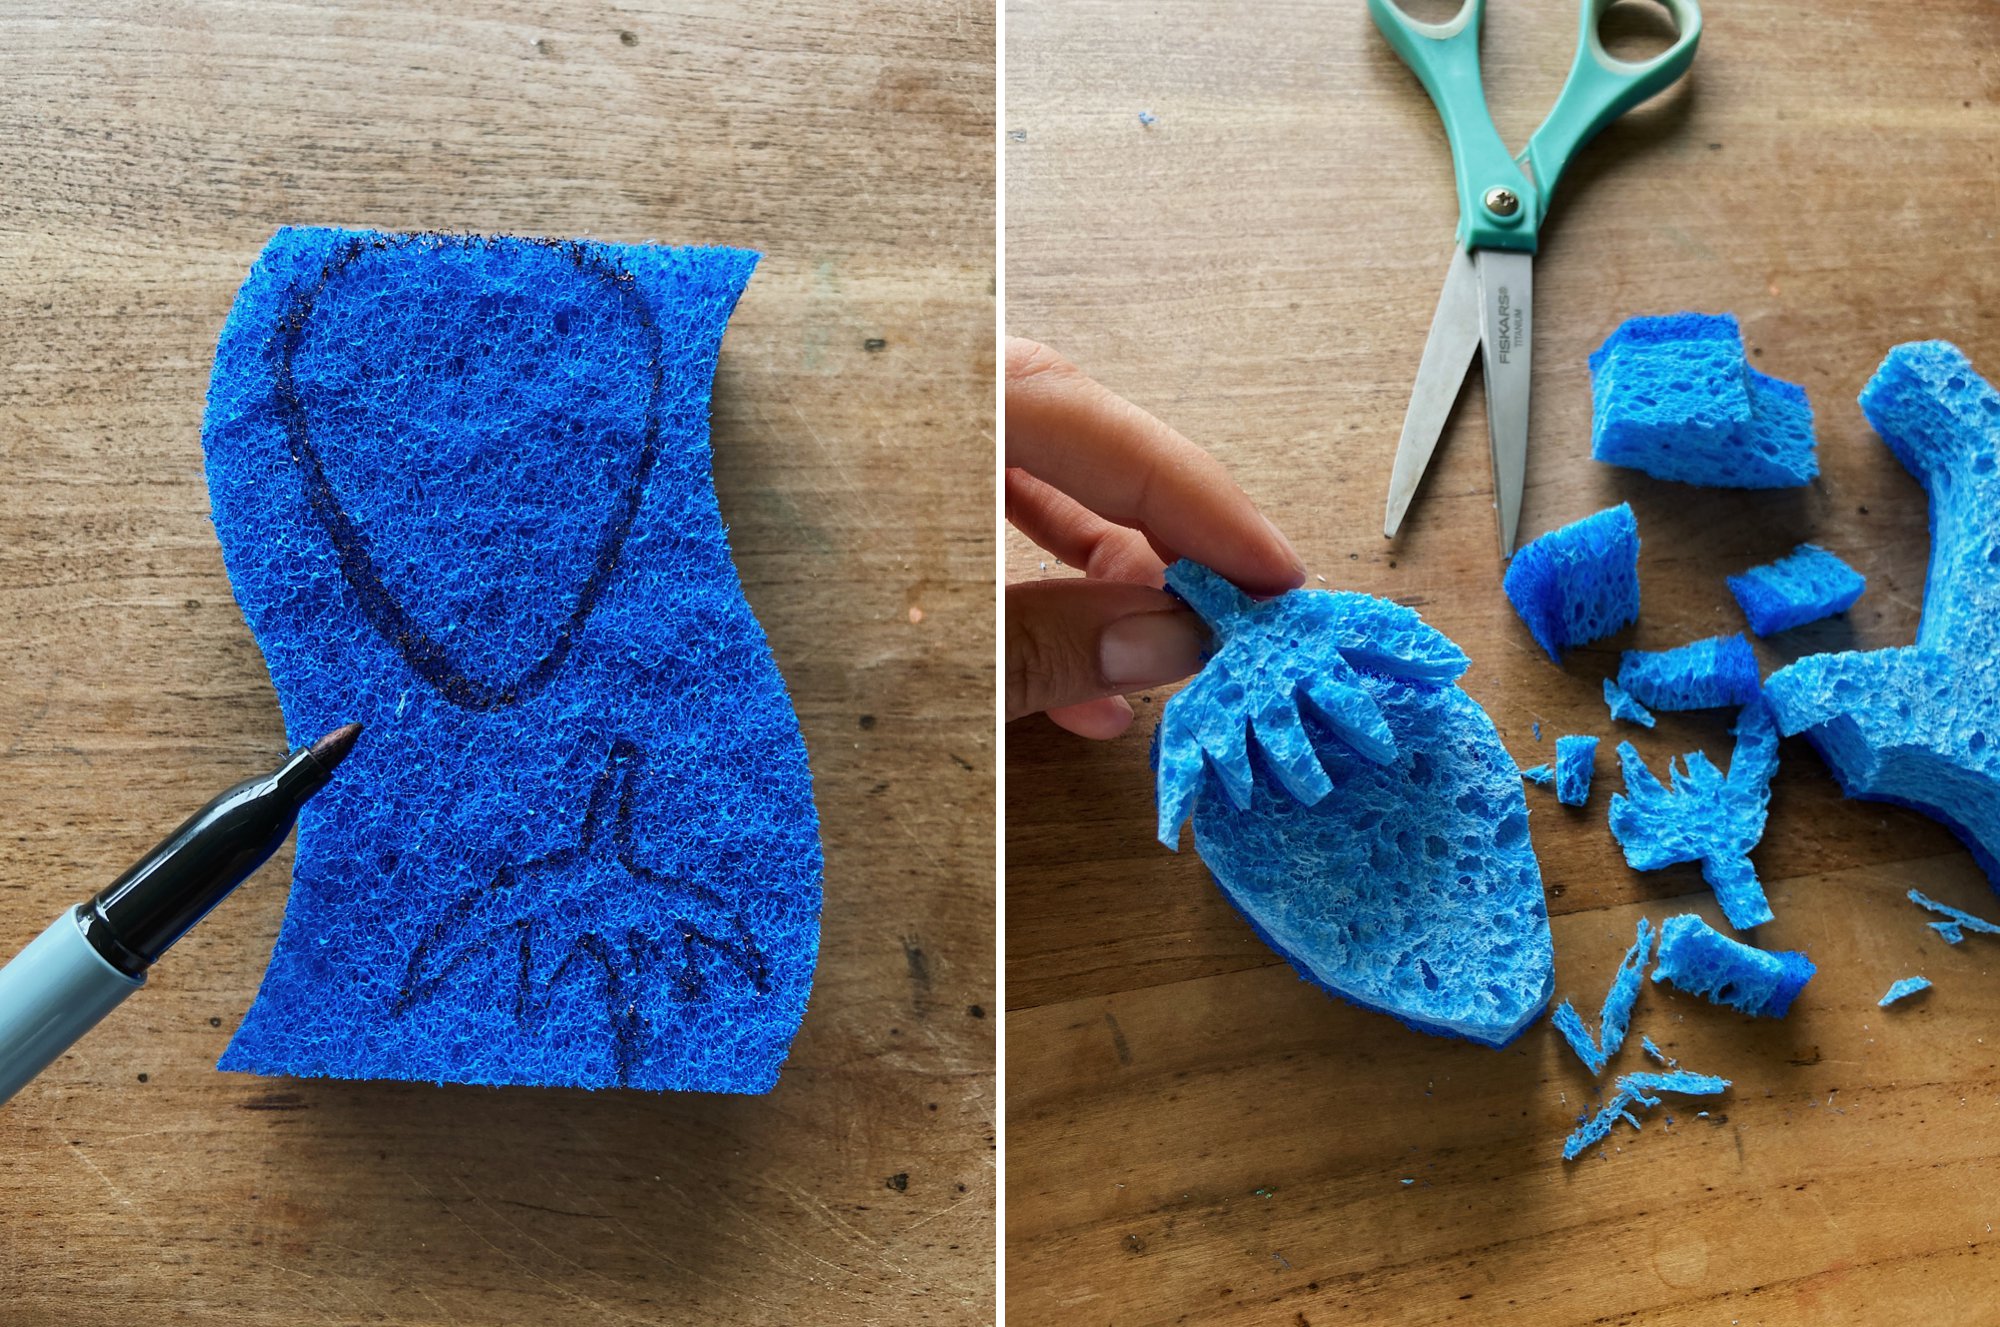
- Use a sharpie to draw a strawberry and strawberry top on your sponge (make sure they are NOT attached)
- Cut out the shapes using sharp scissors
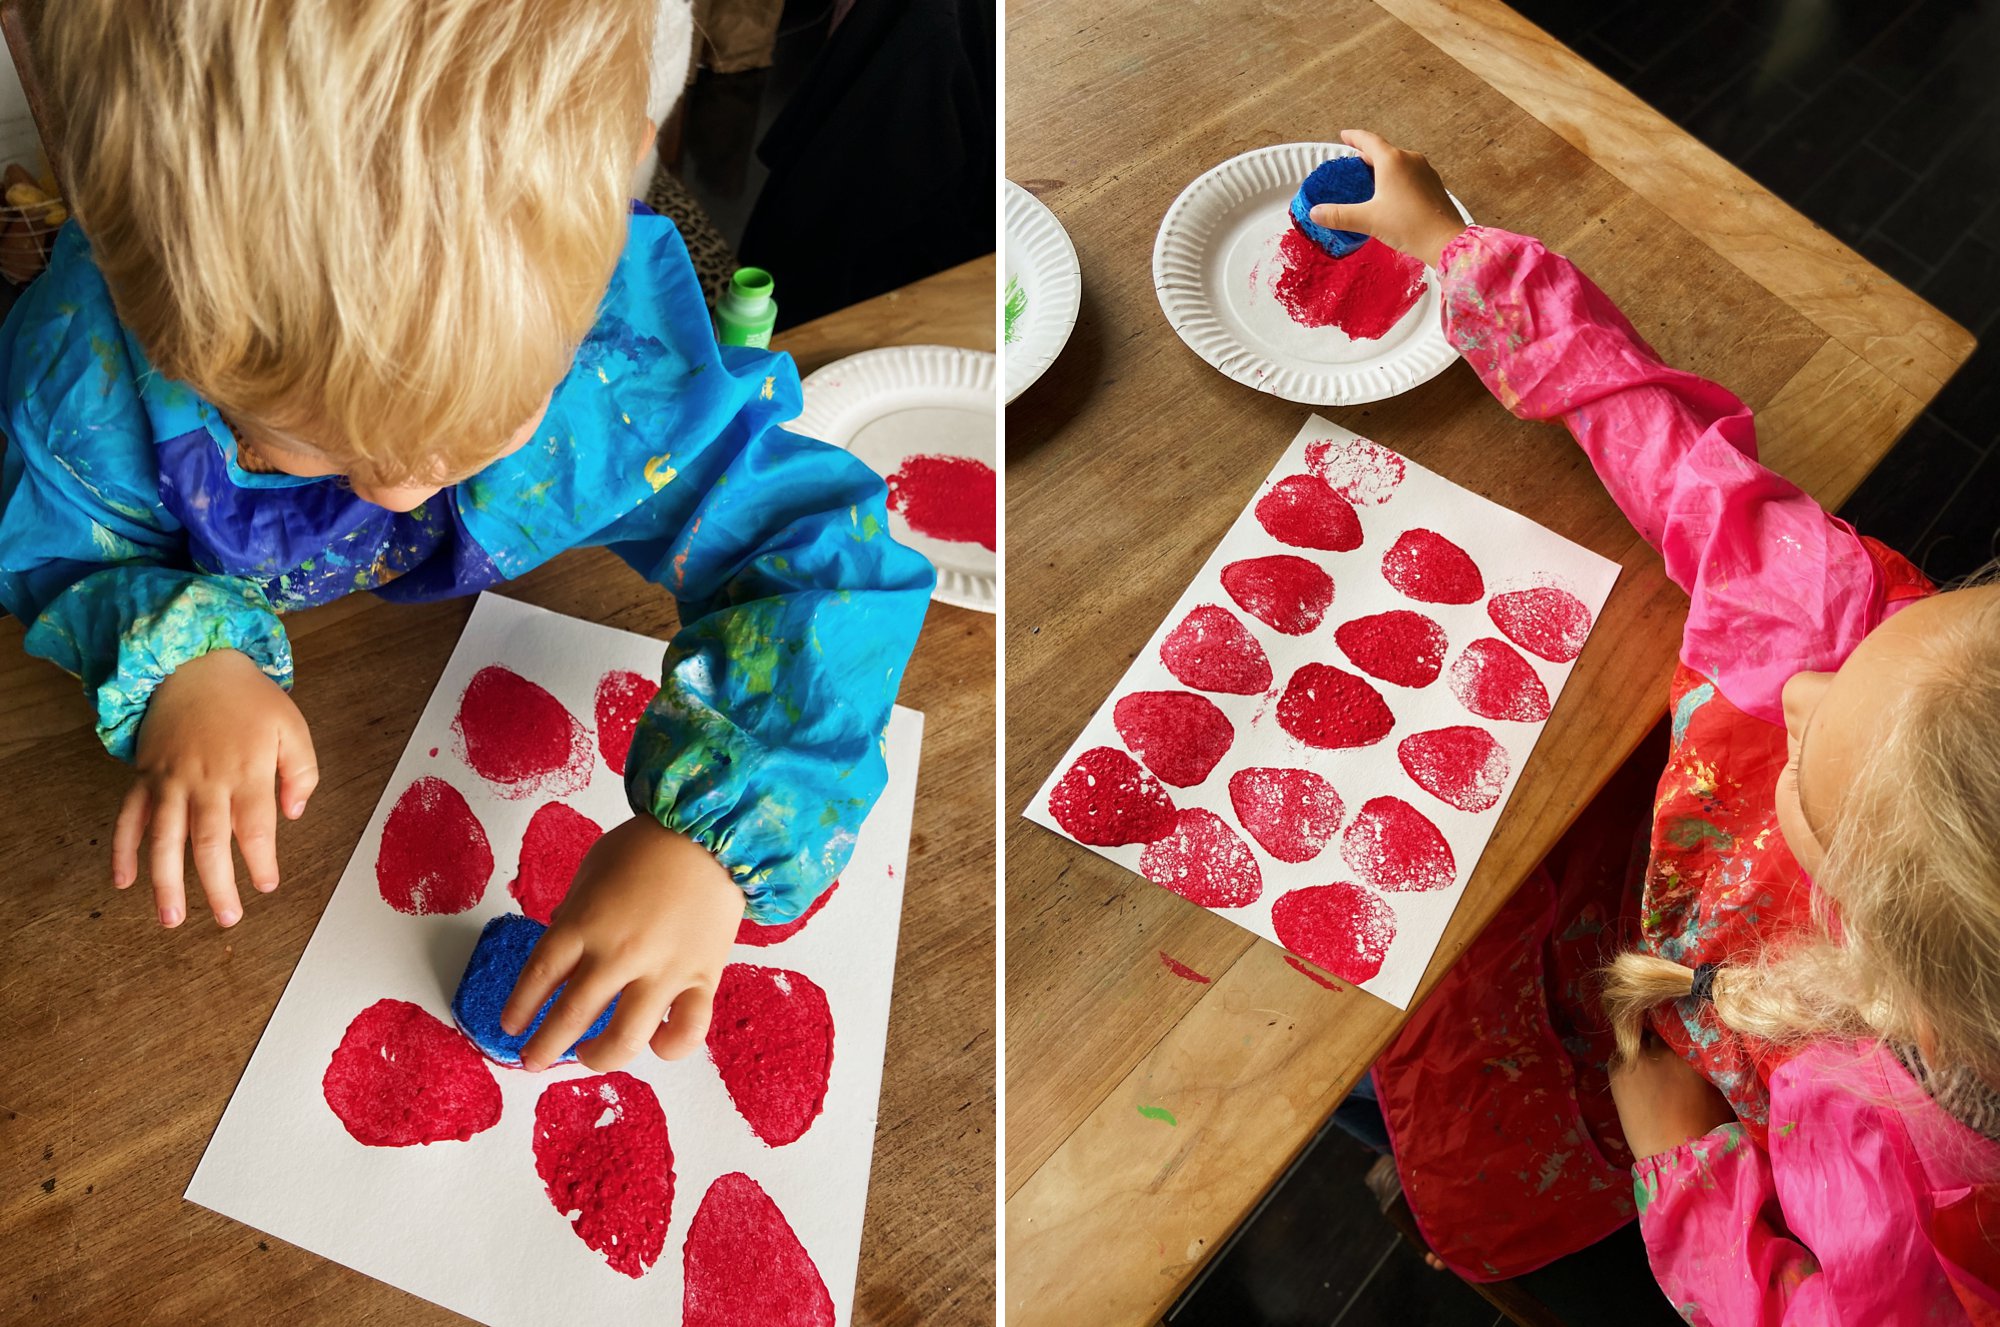
- Dab the strawberry stamp into red acrylic paint and stamp onto sturdy construction paper, leaving a little white space between the berries (you may need to do some test prints to find the paint thickness and pressure that you like)
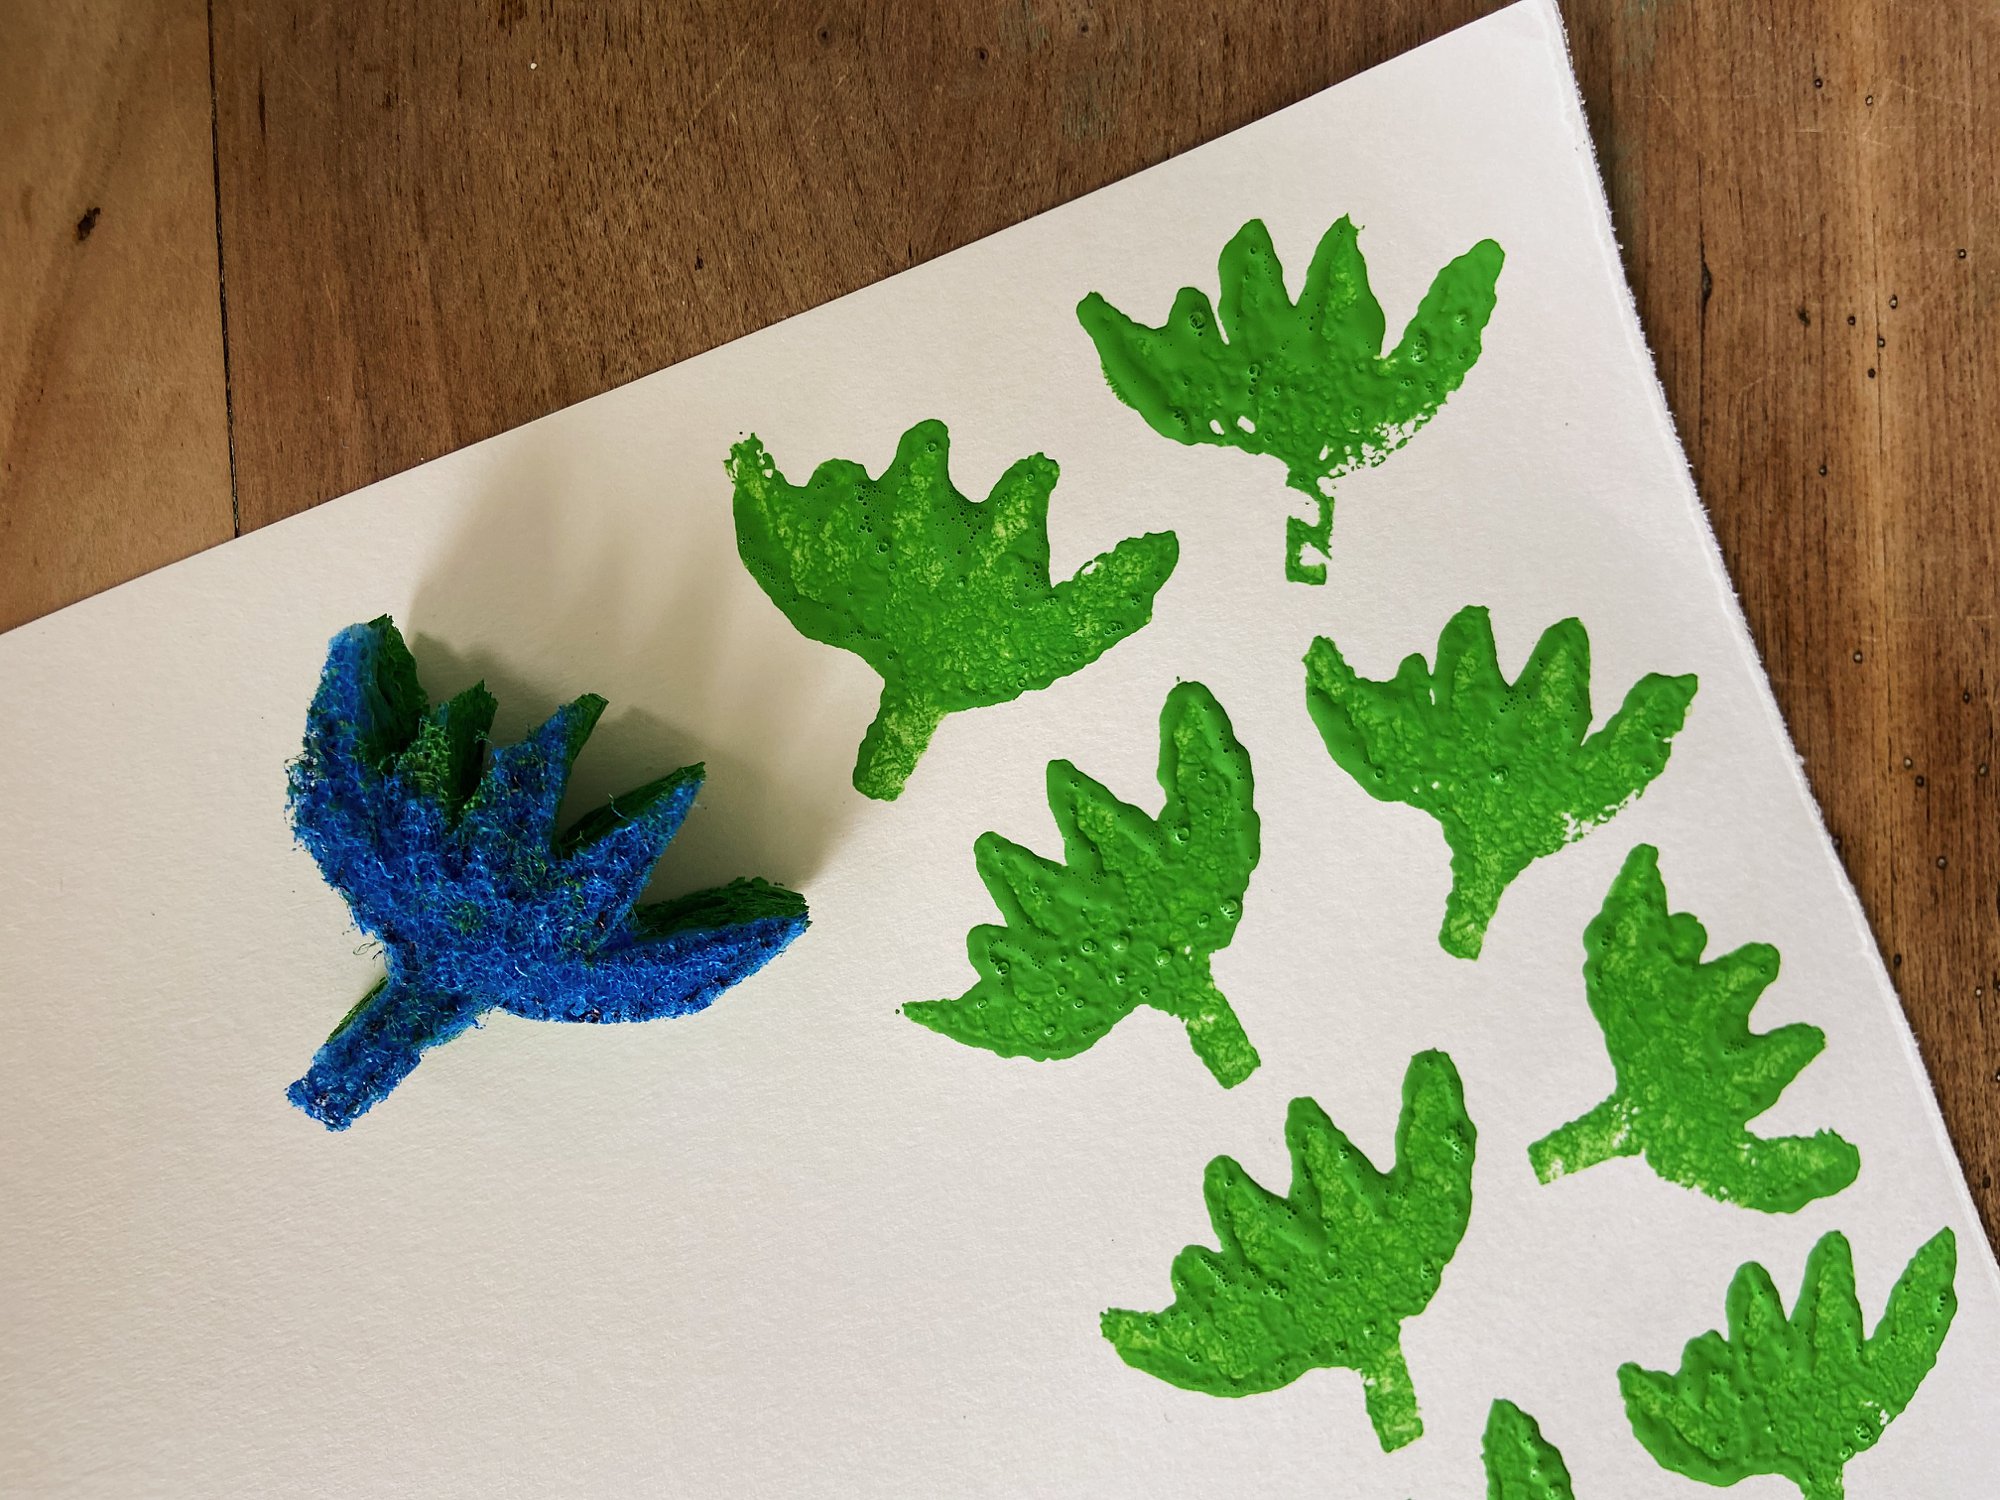
- Repeat process with the strawberry top stamp and green acrylic paint
- When the red strawberry paintings have dried completely, stamp very lightly over them with a thin layer of pale pink paint to add texture (we stamped most of our pink paint onto a spare paper towel first and then used the very last bit to gently layer over the red)
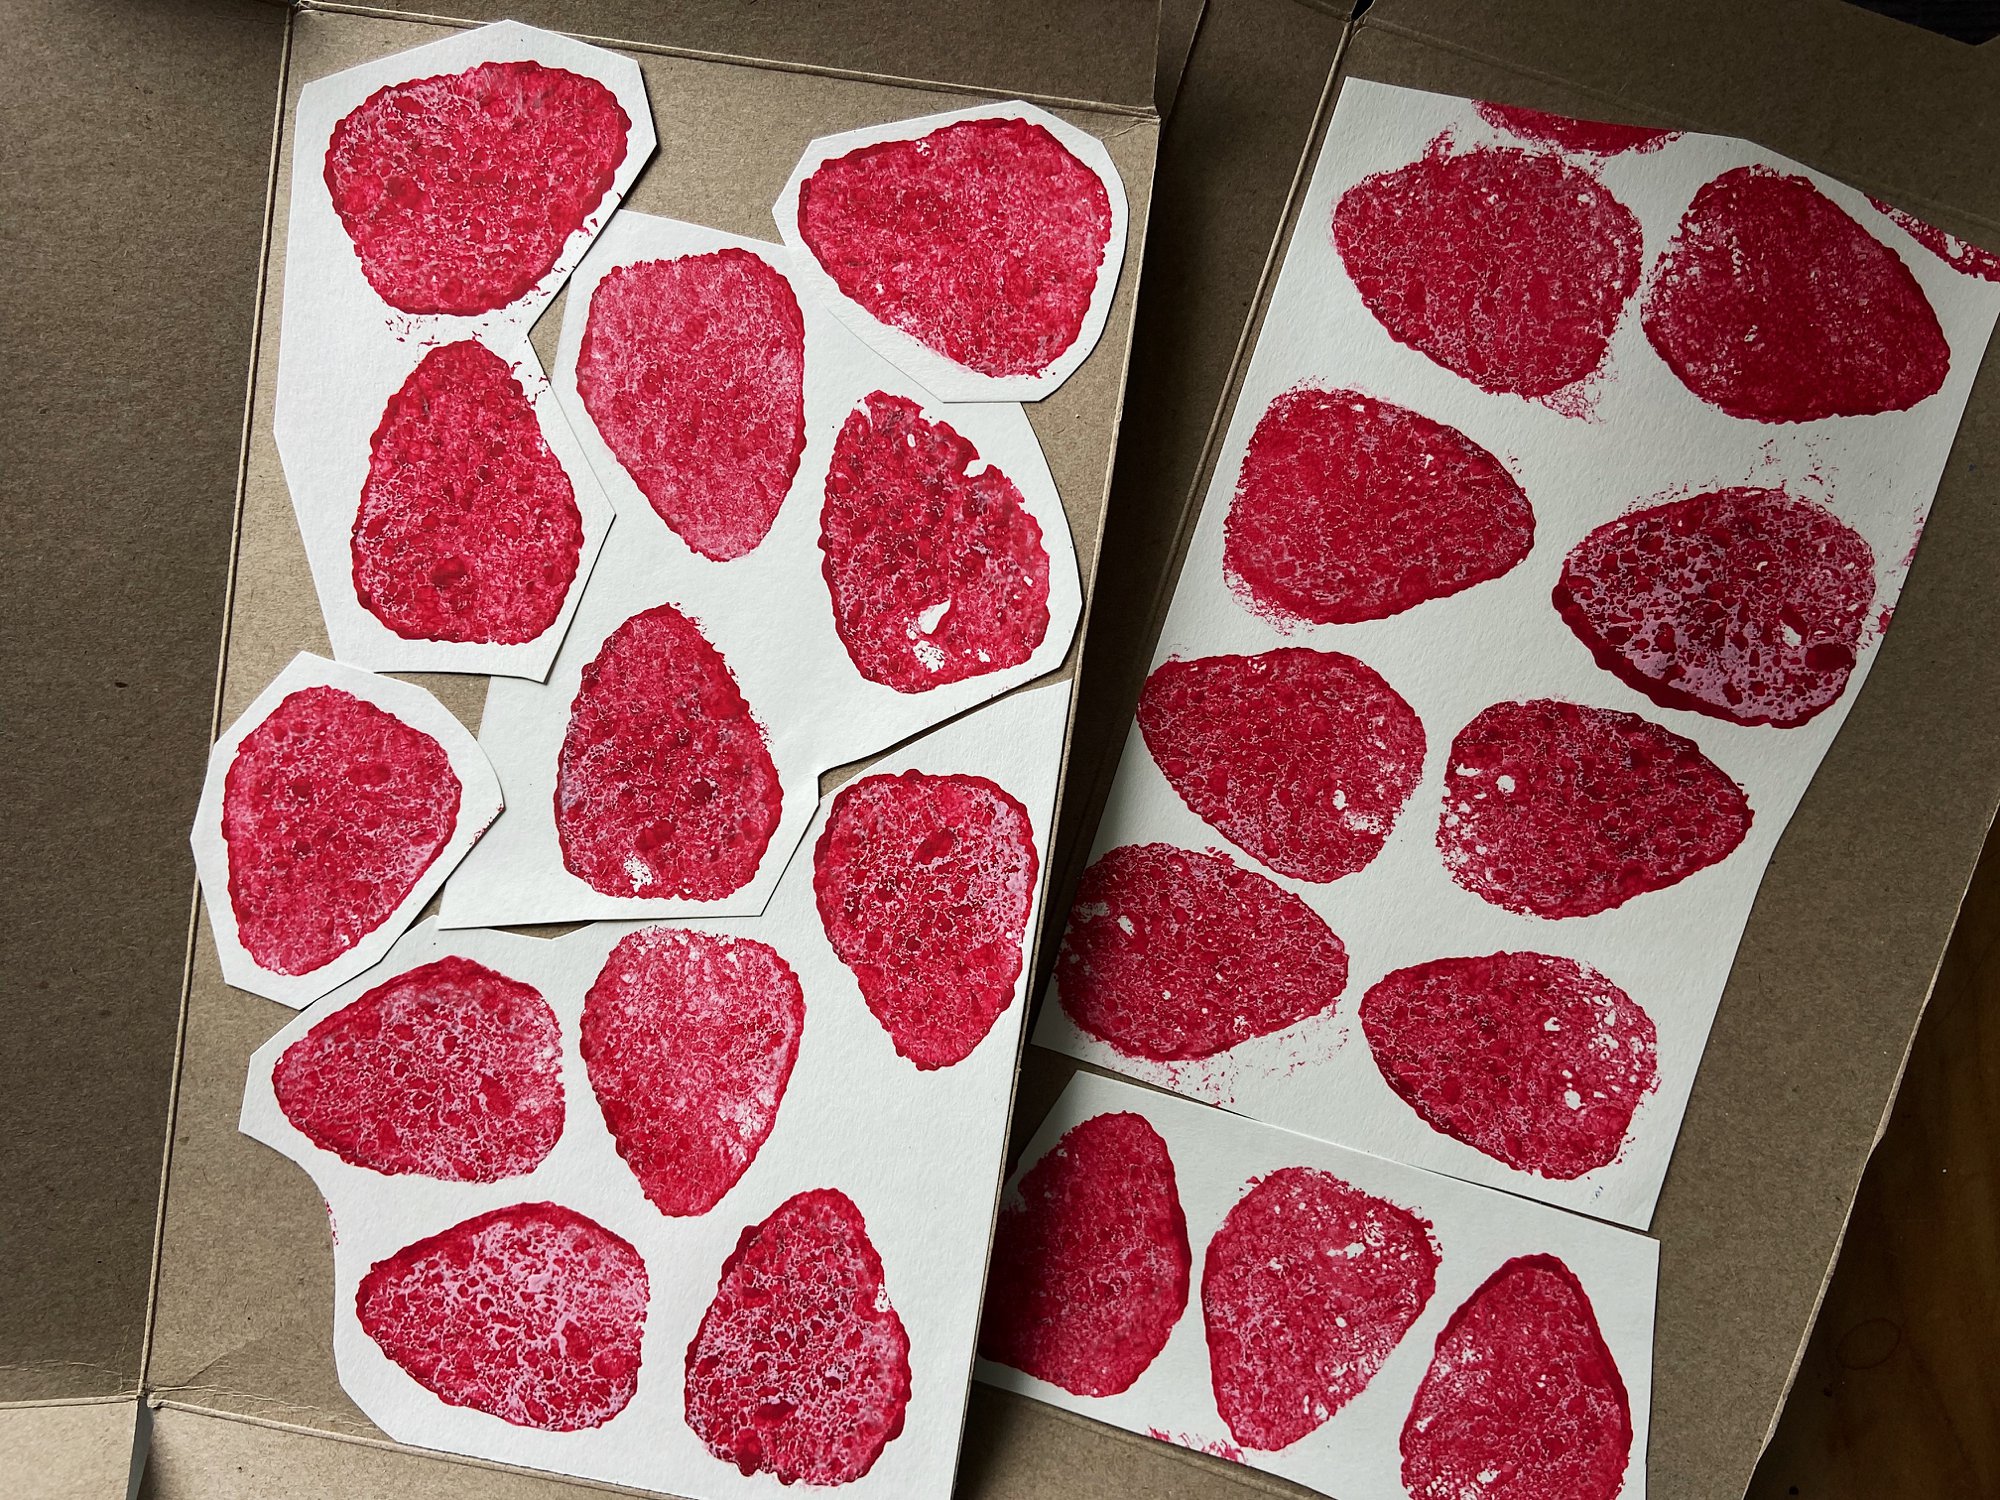
- When all the paintings are completely dry, cut out the strawberries and tops, leaving a thin edge of white around each.
*OPTIONAL STEP* (see below) BEFORE cutting out the strawberries, glue the strawberry pages to a thin piece of cardboard, like a cereal box, so that your finished pieces are more sturdy. Don’t goof like I did and glue them to the pretty tan side— make sure you glue to the side with all the printing so that backs of your berries are all neutral.

- Use a glue stick to attach the tops to the strawberries. Voila!
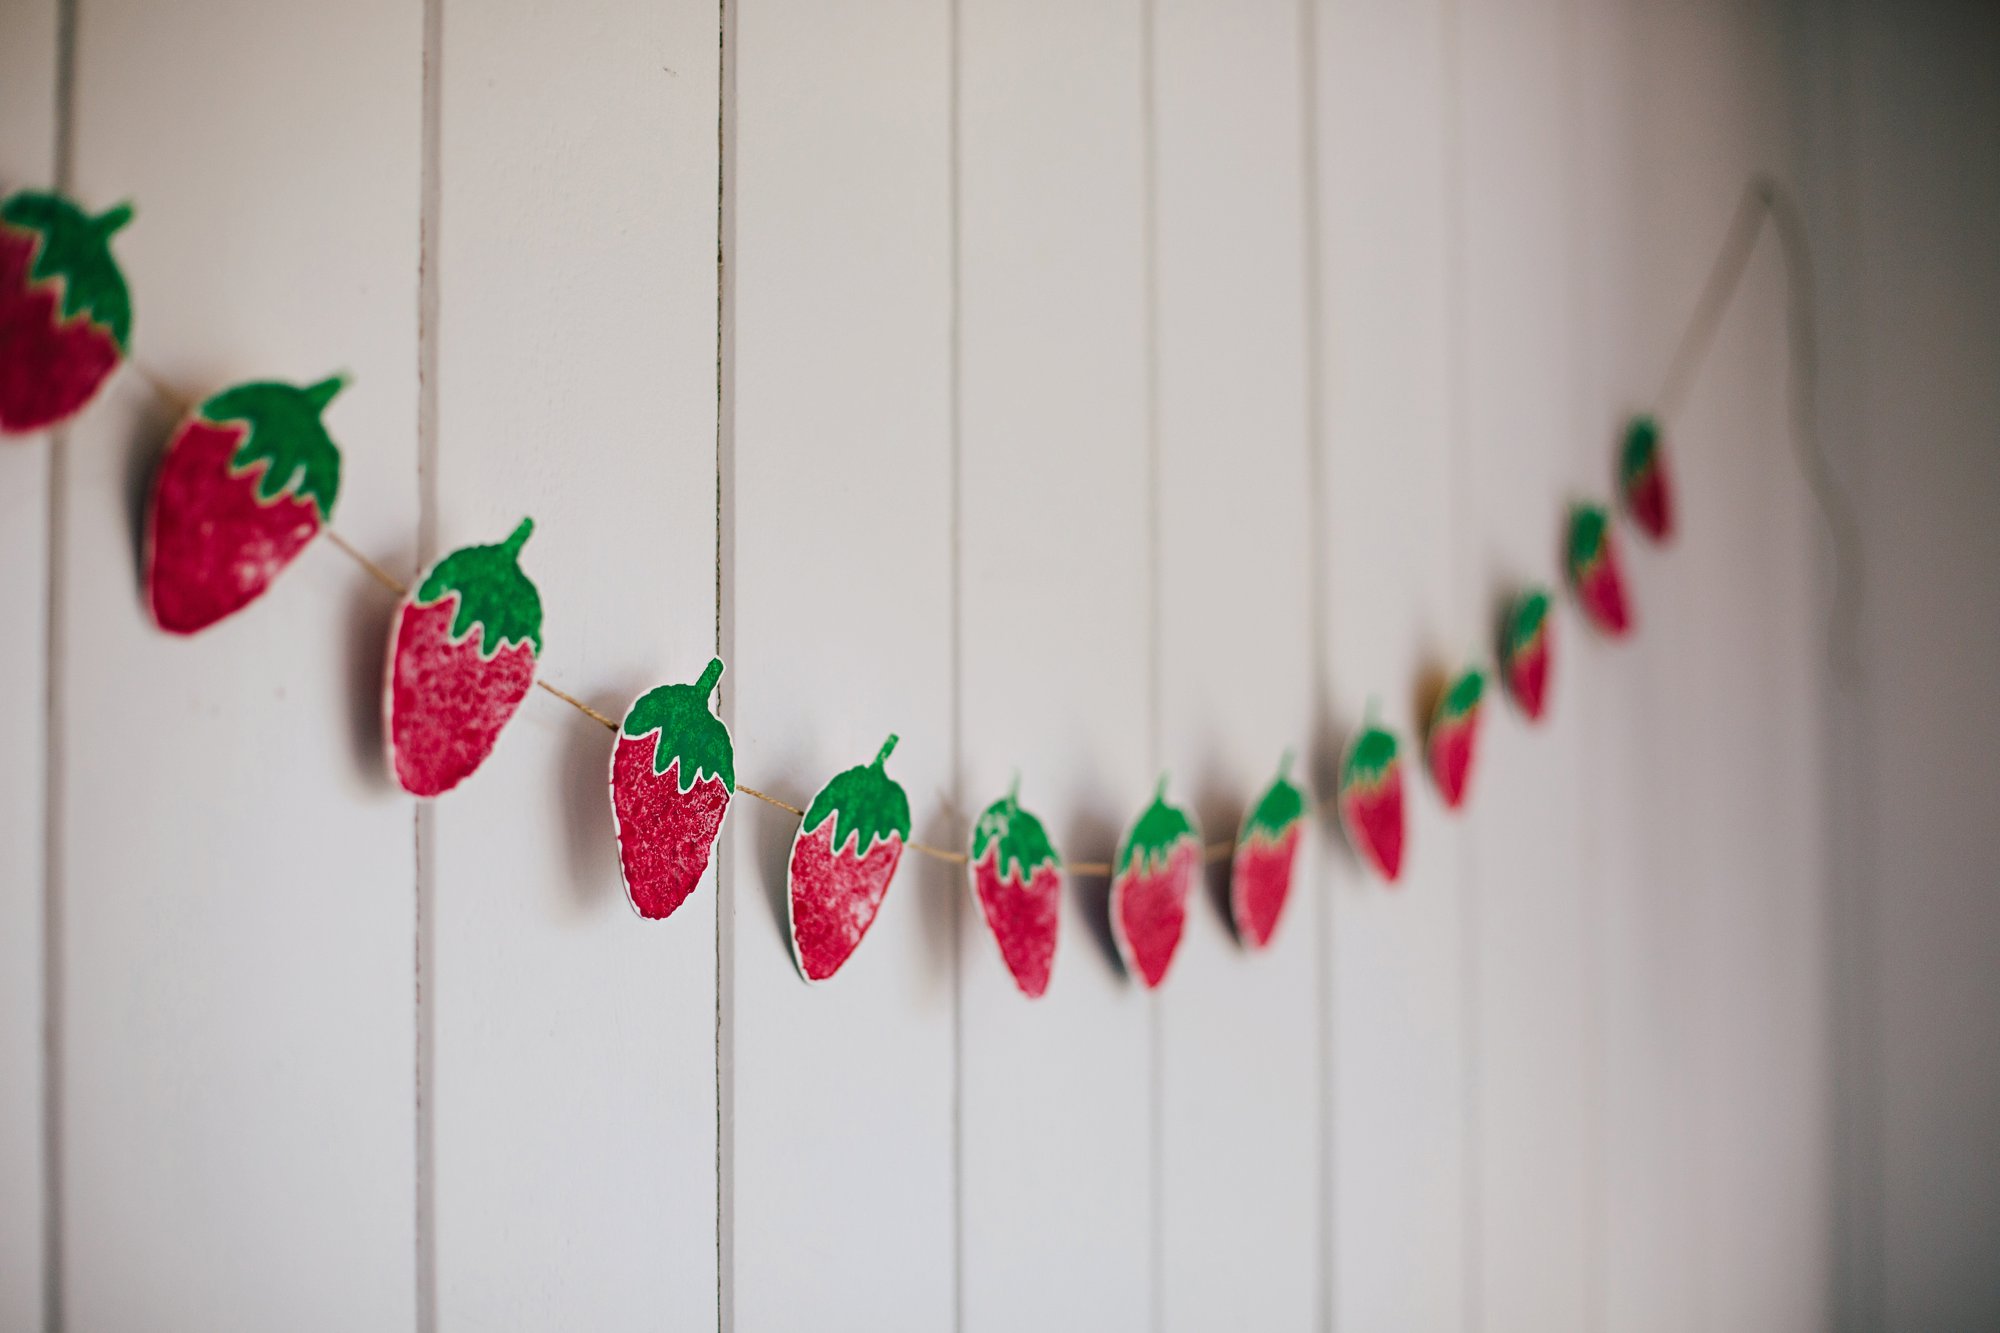
Decide how you would like to display your strawberries— string them in a garland, attach a magnet on the back, attach a clothespin on the back, glue to the front of blank cards, etc. The possibilities are endless!
What kinds of crafts have you been making this summer? We are now working on a fun beach mural/collage installation for our entry wall that we will share soon!
⠀