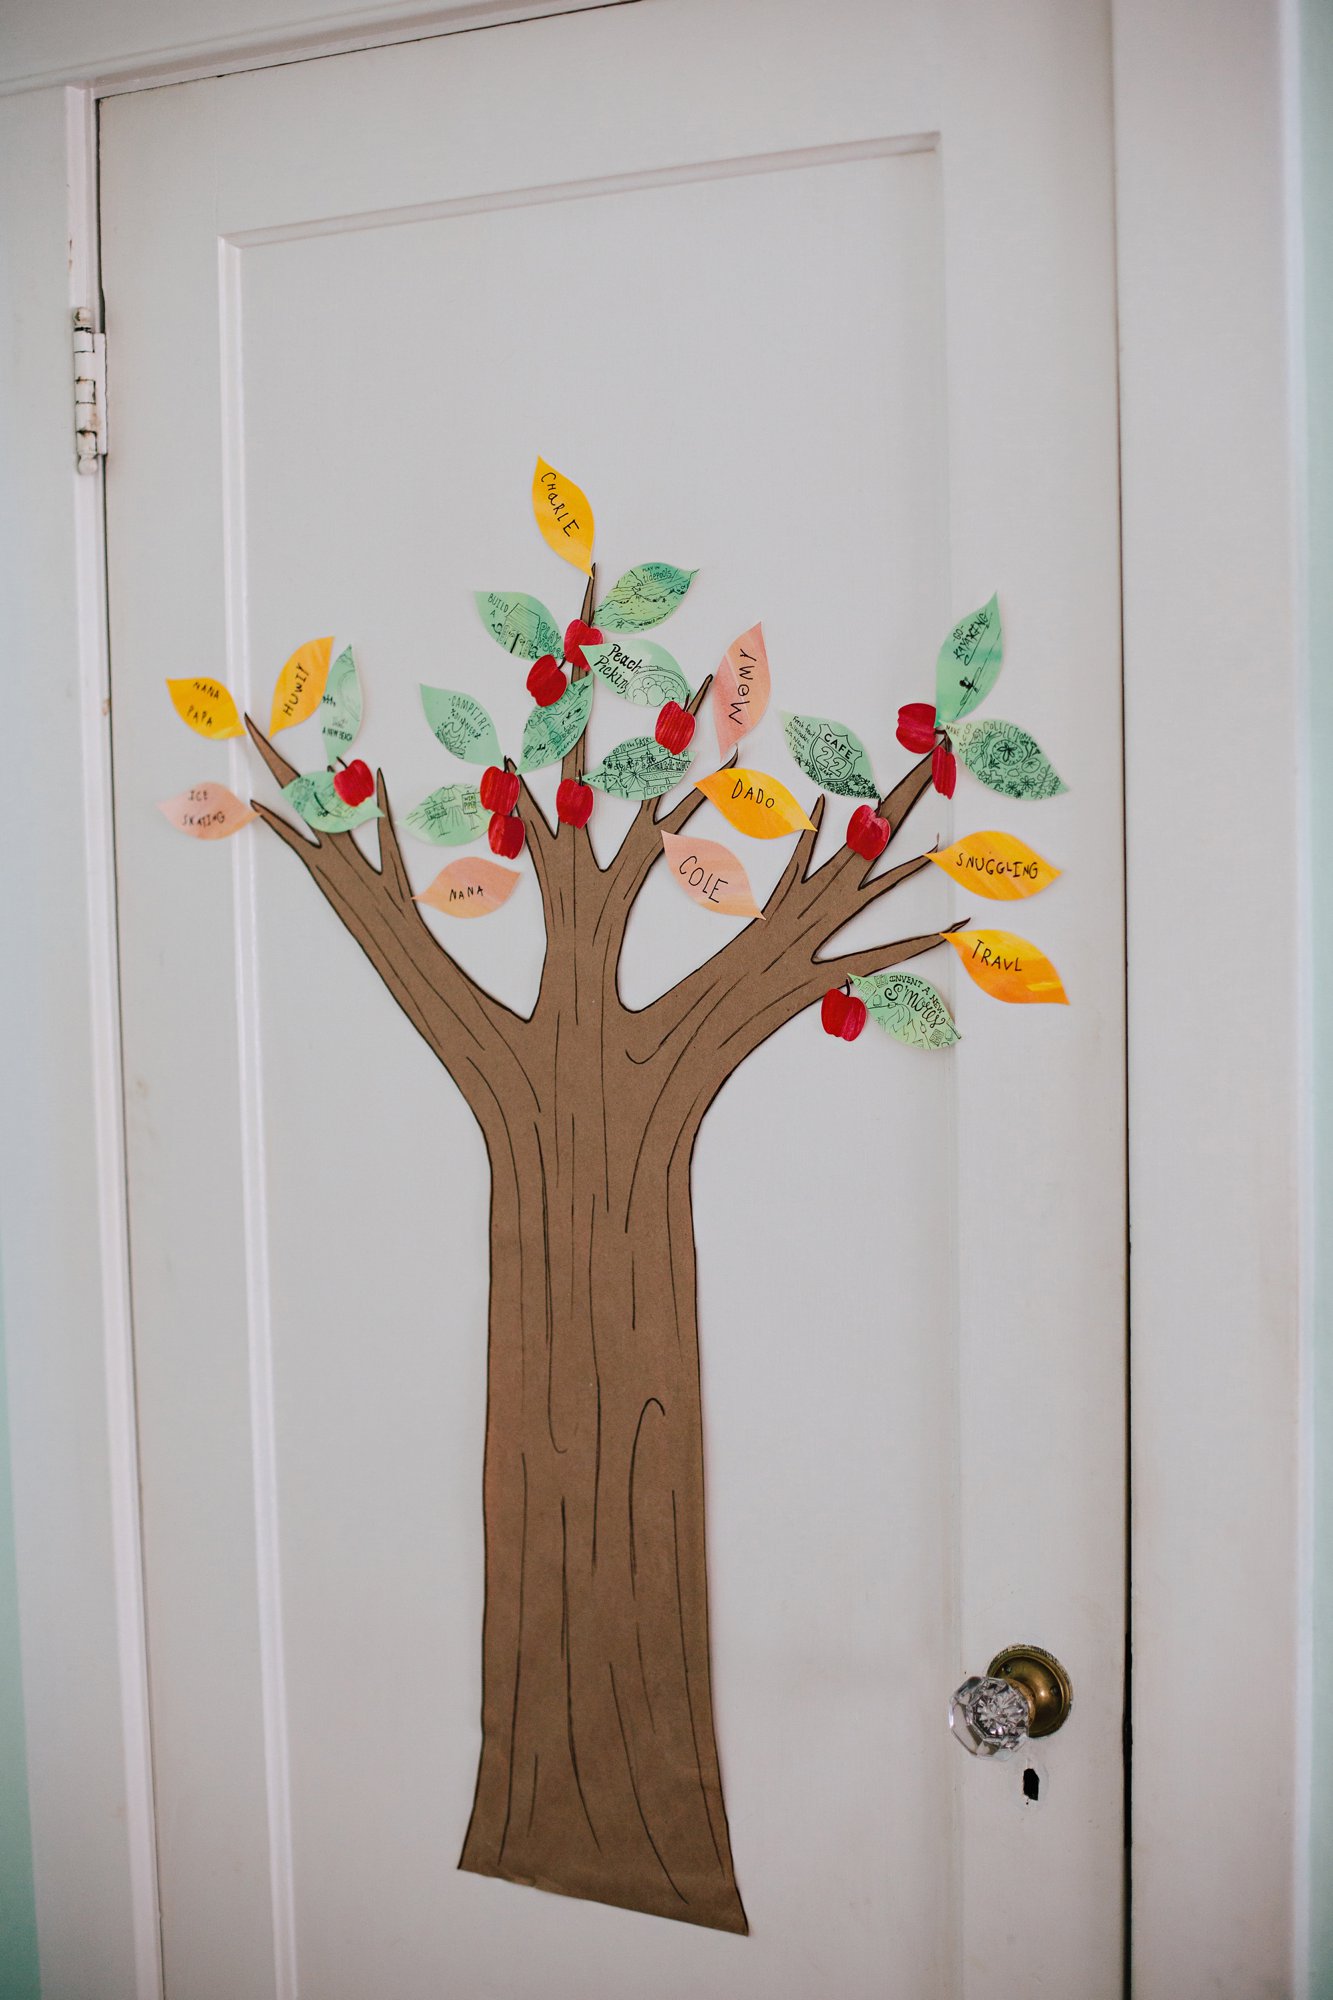
We love honoring the seasonal changes around us through art projects, family time, and reflective practices. As the seasons move from one to the next, we mimic the transition on the tree in Isla’s room. This summer it displayed all our summer fun leaves. In October we began replacing the green leaves with colorful fall leaves that display the things Isla is thankful for.
Below we’re sharing how we’ve used our tree over the past two seasons and how your family can make your own Thankfulness Tree!

How We Transition Summer Fun Leaves to Fall Thankfulness Leaves:
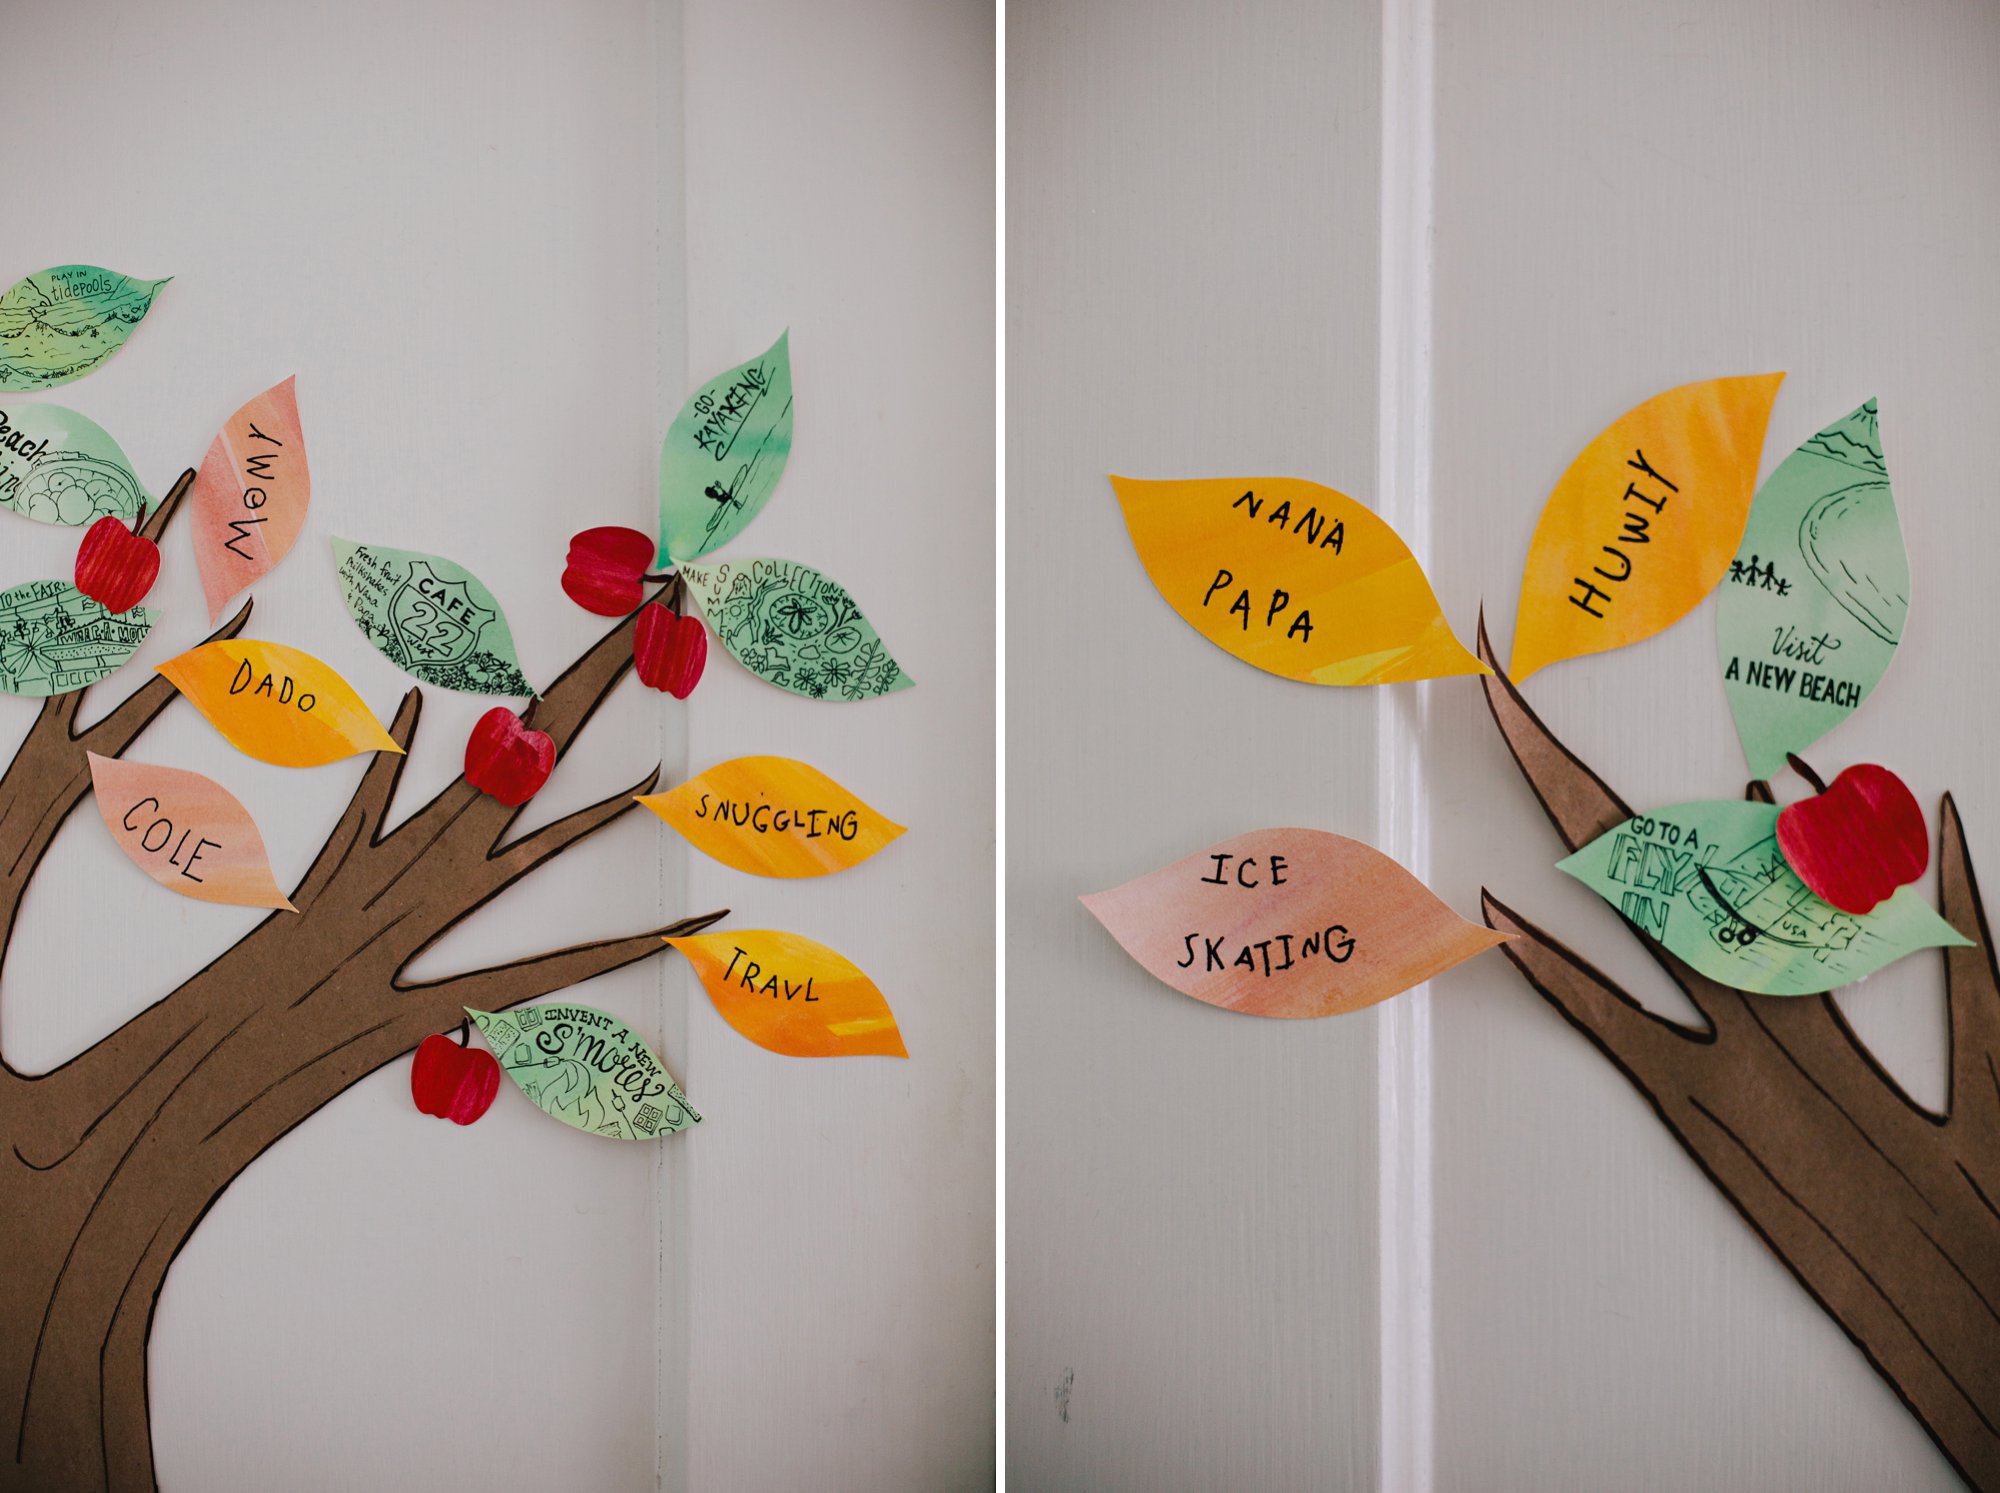
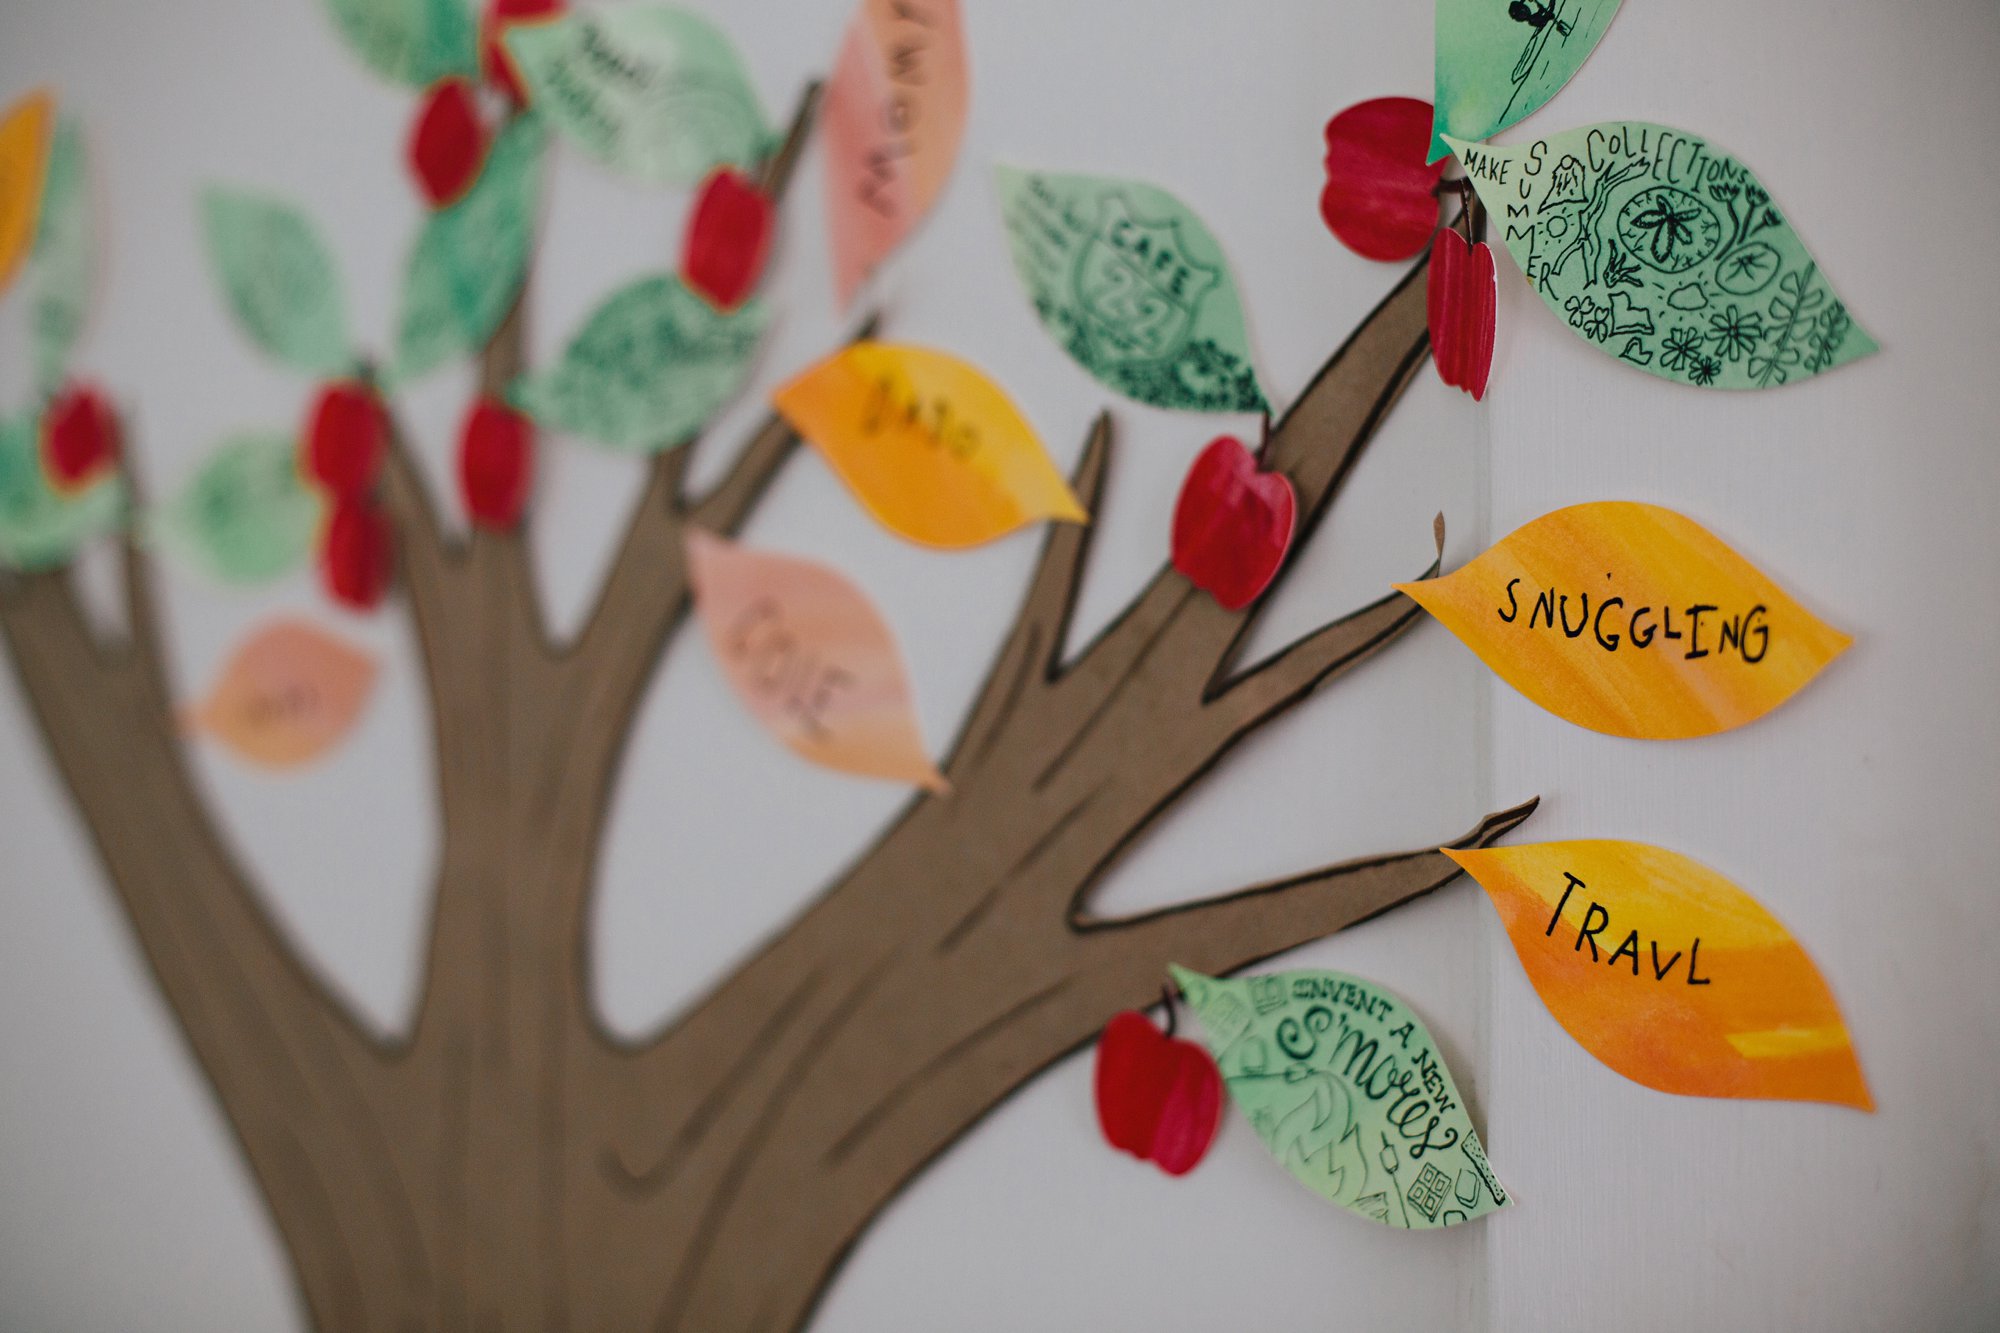
Summer: First we worked as a family to create a list of all the things we wanted to experience together over the summer. Isla painted a vibrant green watercolor wash onto sturdy papers and when they dried we cut them into leaves. Isaac hand-lettered one summer fun activity on each leaf. We put them up on the tree on Isla’s door. See full instructions HERE.
Apples: As the summer progressed and we completed our summer fun activities, we “checked them off” with a little apple. This was a great way to easily visualize what we had done and what we still had left on our list. Also, as September approached, Isla’s tree filled with apples, just like real apple trees do! See full instructions HERE.
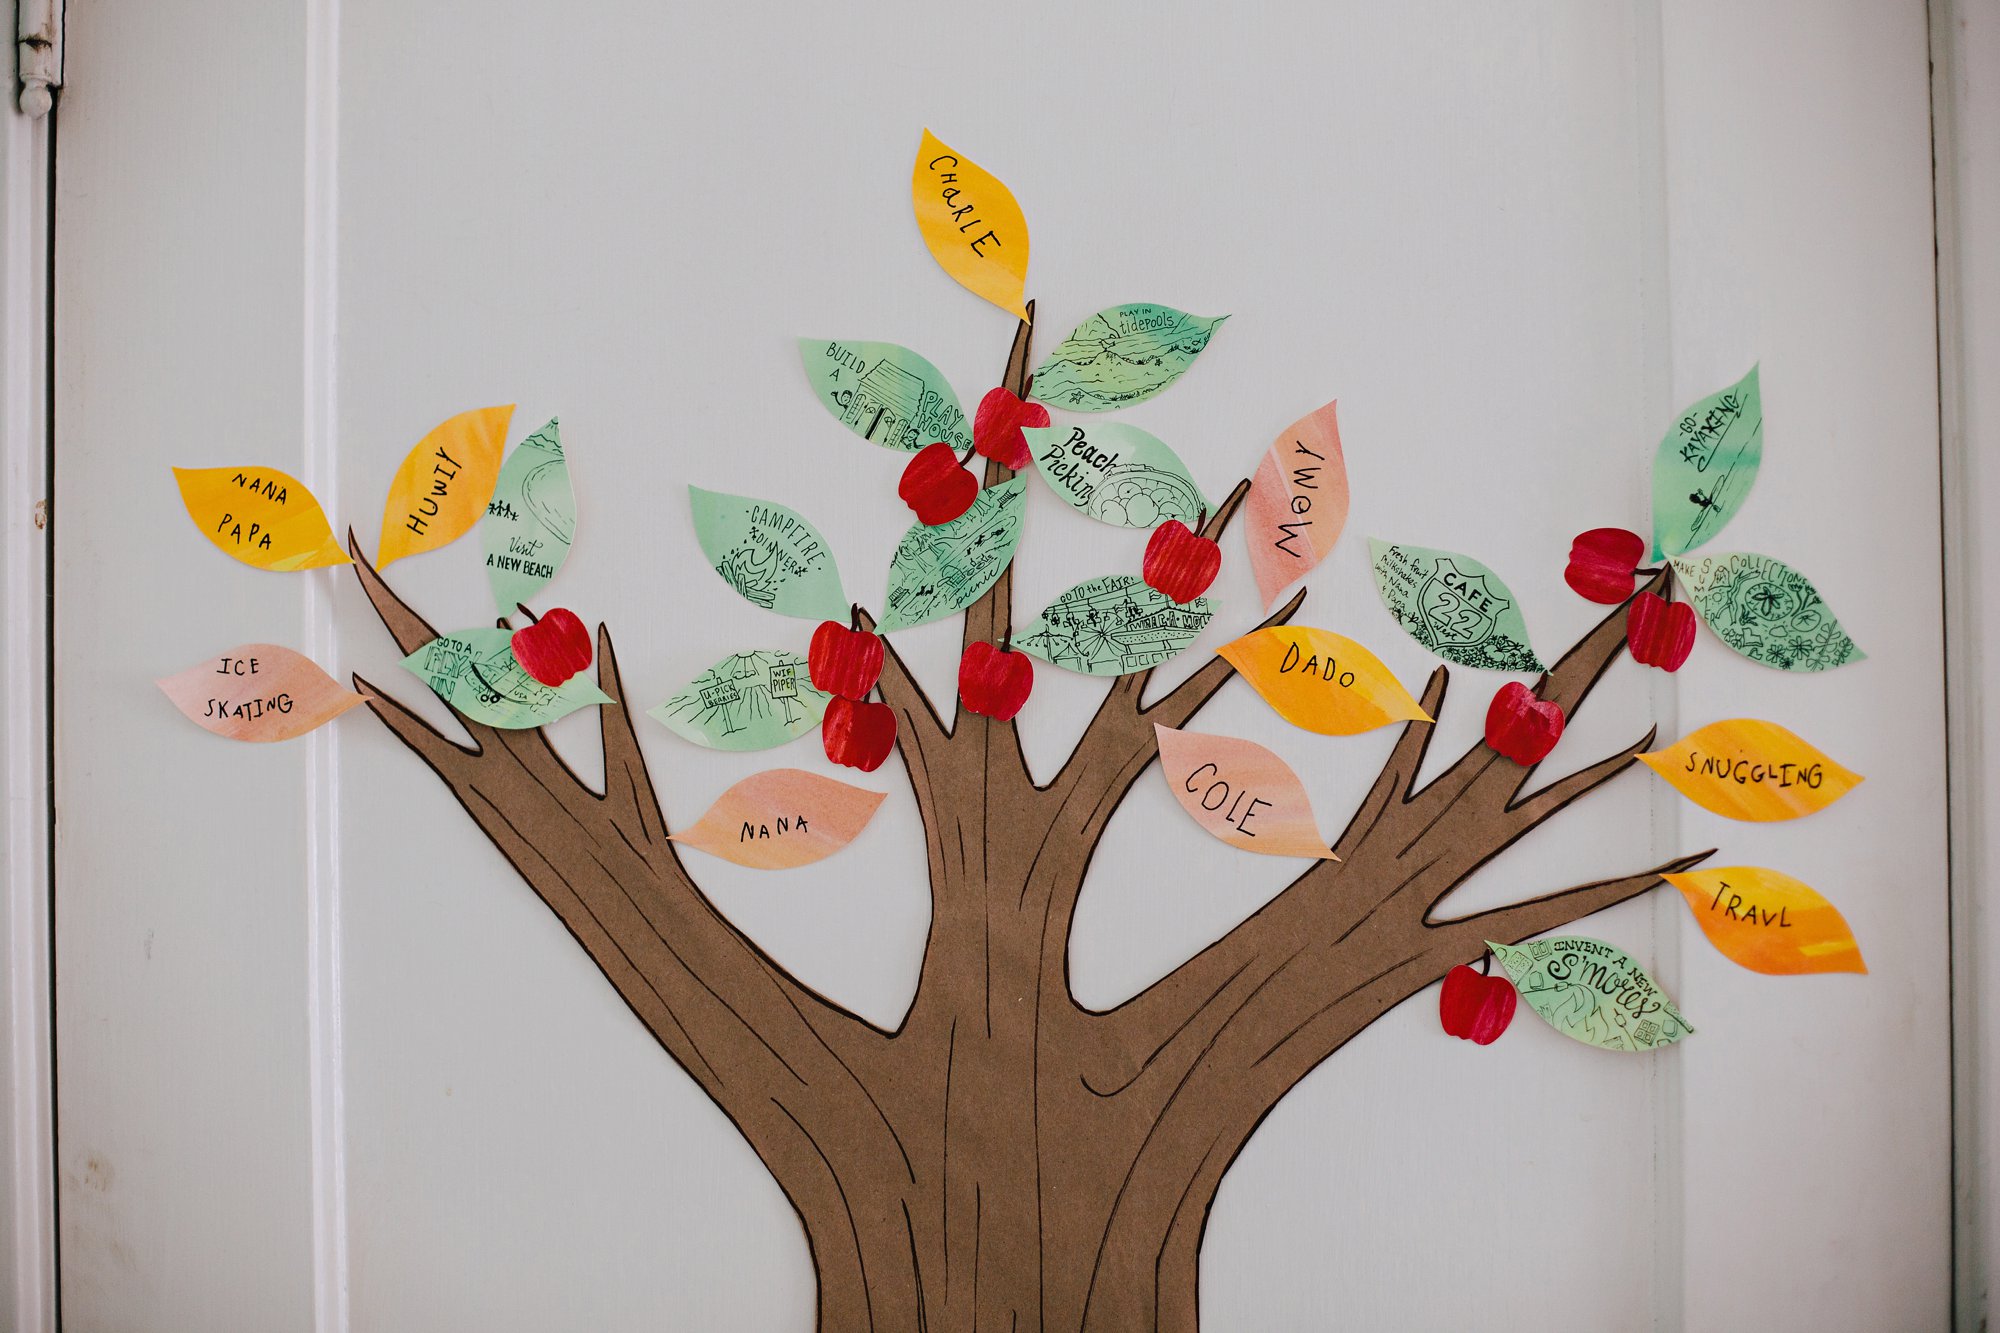
Fall: In October we began to replace the summer fun leaves with our thankfulness leaves. Each night before bed we’d take down one or two summer fun leaves, reflect upon the experiences we shared as a family, and then replaced the leaves with thankfulness leaves. We’re still in the middle of this process, but we’ll be sure to post an update of Isla’s completed thankfulness tree once it is up! Also, we will be sharing a simpler gratitude art project for toddlers shortly.

All About our Fall Thankfulness Leaves:
To make the leaves, Isla created a watercolor wash of oranges, yellows, reds, and browns on our favorite watercolor paper. Then I used my Silhouette Cameo to cut out the leaf shapes. As Isla is learning to read and write in kindergarten, we thought it would be extra meaningful (and great practice) to have her write the things she was thankful for on each leaf.
Make Your Own Thankfulness Tree!
To make the tree trunk and branches use a roll of brown kraft paper (we buy ours from the Dollar Store). Sketch a tree with pencil, outline it in brown marker, cut it out, and use rolls of tape to attach it to your child’s door or wall. Have your child paint a few pages of fall colors, using a watercolor wash technique (large brush, watered down paint, spread in broad strokes in one direction across the paper). Once the papers dry, cut the leaves out, and each day have your child write down one or two things they are thankful for, discuss as a family, and tape them up to the tree. By the time you reach Thanksgiving you will have a vibrant tree, filled with the people, places, and things your child (or family) is most thankful for!
The fun doesn’t stop after fall– just wait until you see how we use this tree over the holiday season!
*This post contains some affiliate links, meaning we may receive commissions for purchases made through the links on this post. All opinions are our own, and we only endorse products that we truly love and use ourselves. So, if you see something you genuinely would like to buy, we would greatly appreciate if you use the links we provide. Thanks so much for your support, friends!*